


-4- G7153 Universal Bender
OOPPEERRAATTIINNGG PPRROOCCEEDDUURREESS
Your tool is capable of many different types of
bending operations. Materials which can be
shaped include steel, iron, brass, wrought iron
and aluminum.
To determine how to properly set the tool up, you
first must determine what type of bending opera-
tion you wish to perform. Round shapes, angles
or spiral operations are each described in the
following sections. The numbers in parentheses
relate to the reference number on the exploded
parts view on page 8.
When performing the bending operations, be
aware of the “spring-back” characteristic of cer-
tain materials. This will require that you overbend
the material to a certain degree to end up with the
desired degree of bend. Different materials have
differing degrees of springback. Do a test bend to
determine how much “spring-back” you will need
to compensate for.
GGeenneerraall
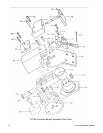
11..
Make sure the Die Mounting Plate (4) is
attached to the Body. Refer to
FFiigguurree 11
for the
hole positions needed for Round Operations.
22..
Make sure the Stop (2) is loose.
33..
Move the Vise Assembly (5-9 & 15) to the rear
position on the arm of the Mounting Plate.
44..
Screw the Round Die Mounting Shaft (28) into
the Mounting Plate.
55
. Set the Round Die (29) onto the Mounting
Shaft.
66
. Move the Bending Block Assembly (16, 17,
22-24) back all of the way. You may have to
release the Bending Block Locking Plate (21)
by loosening the two Hex Key Bolts (20). Do
not secure the Locking Plate at this time.
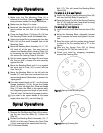
RRoouunndd OOppeerraattiioonnss
77..
Set stock against the Round Die and close the
Vise so that it clamps the work securely
against the Die.
88..
Move the Bending Block in until it is up against
the work and its Face (16) is even with the
Vise Face (8). Secure the Bending Block by
tightening the two Bolts.
99..
Move the Bending Block to the left with the
Handle (27) until you have achieved your
desired angle bend, remembering to account
for “spring-back”.
1100..
If you wish to do repeat bends at the same
arc, tighten the Stop at the point where you
finished making your bend and tighten it.
1111..
When you wish to do complete 360° rings,
make sure you clamp the very end of your
workpiece in-between the Vise and the Die.
Bend your stock all the of the way around, and
cut off the excess.
1122..
To make springs, loosen the Stop (2), and lift
the stock to be formed slightly as you bend the
stock around the Die. When starting and fin-
ishing the spring, make a complete 360° ring
as described in Step #11.
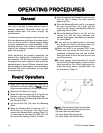
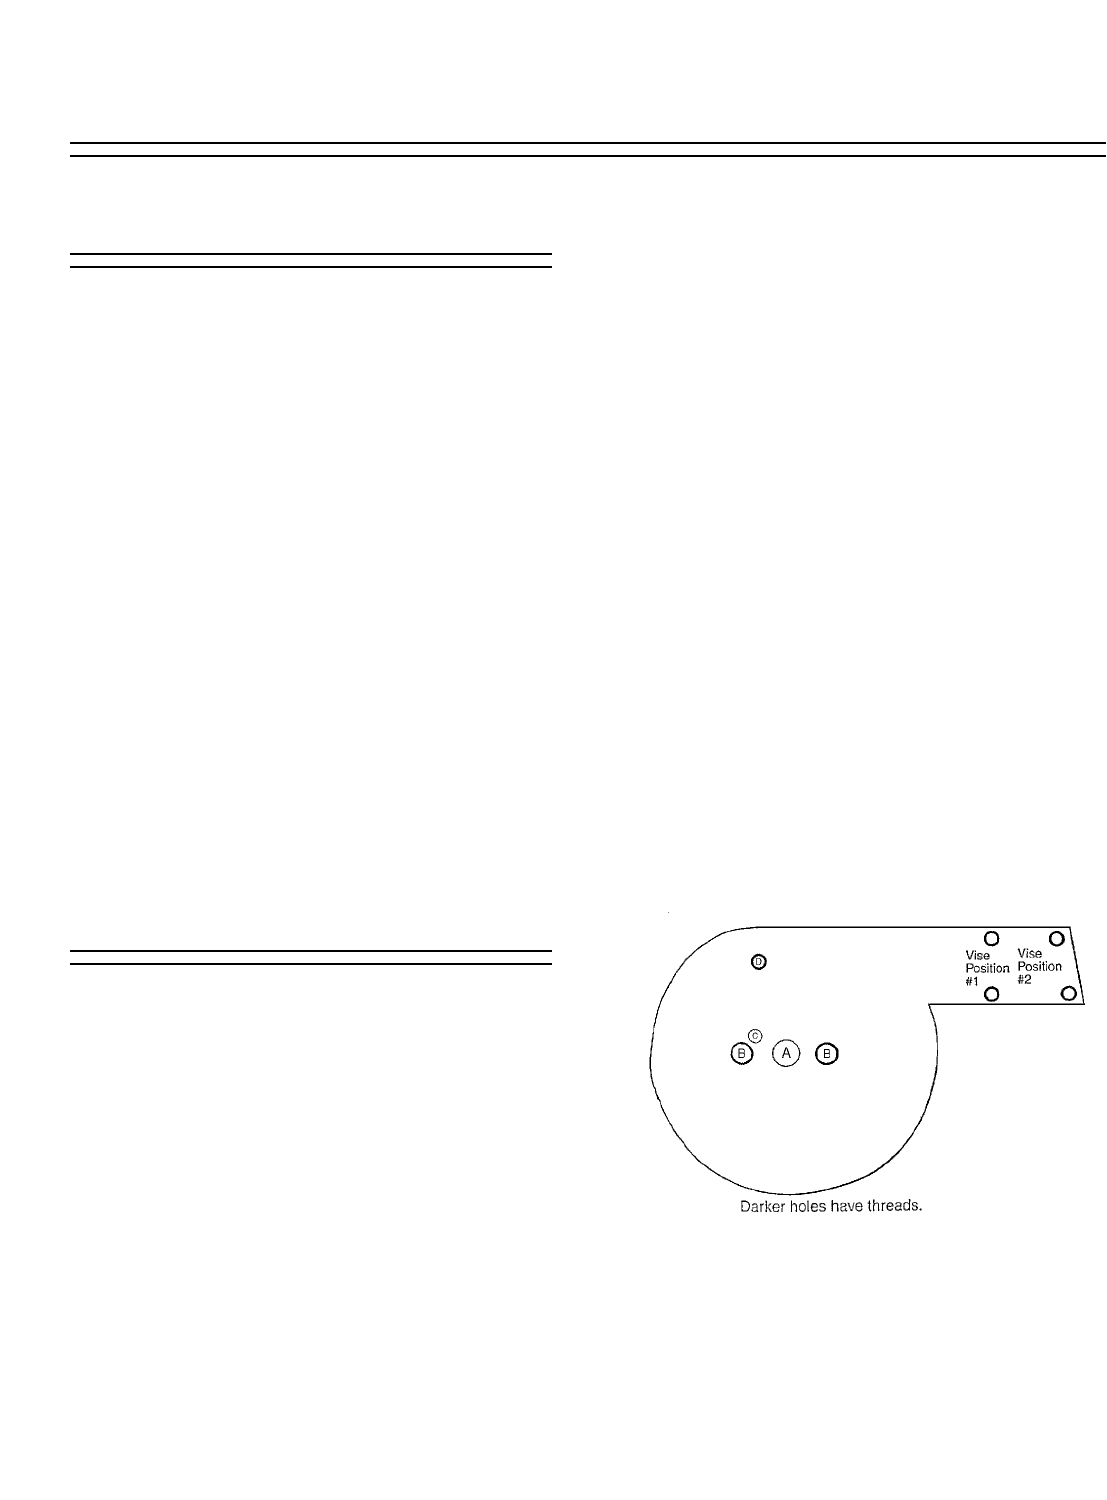
FFiigguurree 11..
Die Mounting Plate Hole Location
(A) Insert Round Die Mounting Shaft here
(B) Insert Hex Key Bolts here
(C) Insert Angle Die Spring here
(D) Insert Angle Die Hex Bolt here