


– 7 –
PL-40984-1
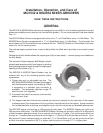
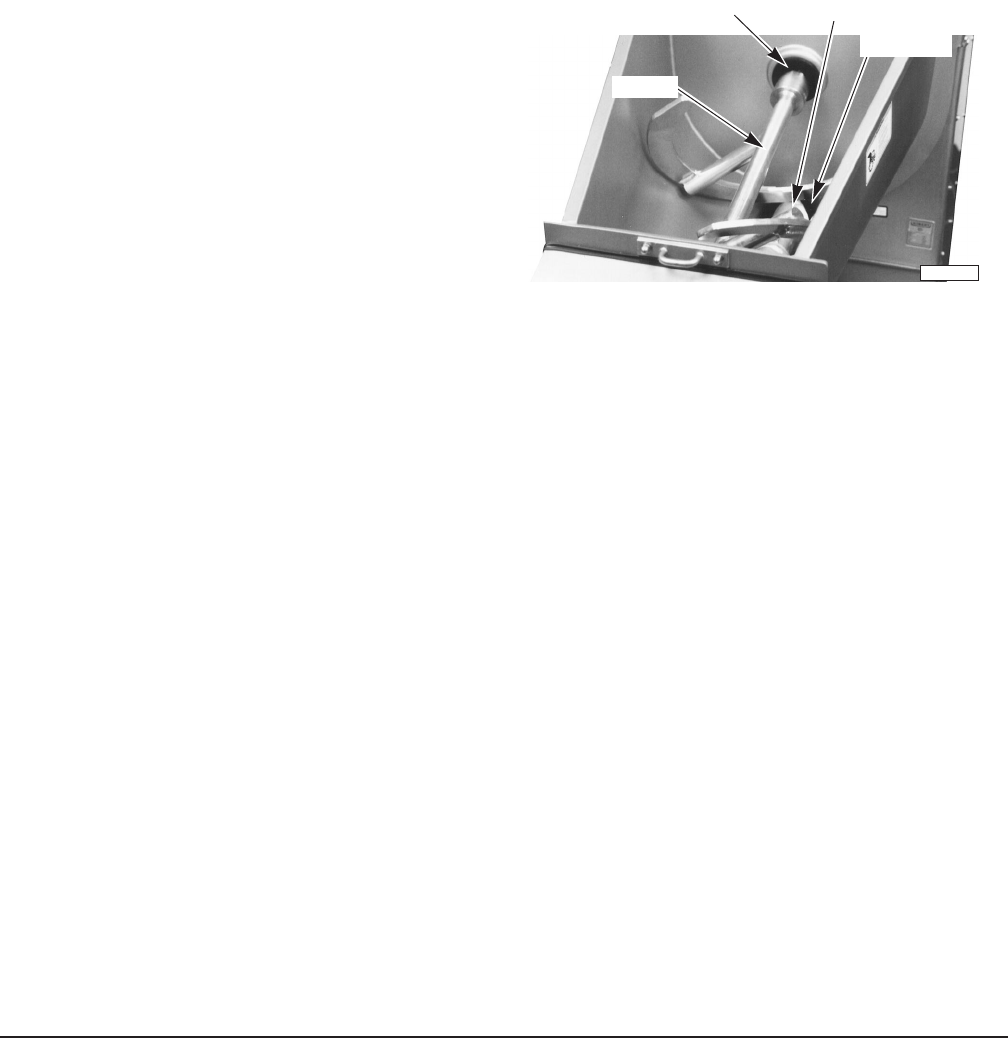
WORM SEAL
MIX ARM SEAL
MIX ARM
WORM
GRINDER ATTACHMENT
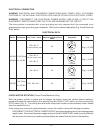
The Wedge cylinder is marked TOP and BOTTOM. Before operating, make sure TOP is visible.
The grinder attachment can easily be removed for cleaning (see Cleaning, page 8). Use the spanner
wrench to loosen the adjusting ring and remove the adjusting ring, plate and knife. Next loosen, but
do not remove the grinder attachment's two flange nuts, using the spanner wrench. Rotate the cylinder
clockwise and remove the cylinder; then, remove the worm. At reassembly, install the worm and then
the cylinder. Make sure TOP is visible on the cylinder and that the cylinder's flange nuts are tight before
assembling the knife, plate, and adjusting ring. Use only the flange nuts provided. Two studs on the
front of the machine allow storage of the spanner wrench and pneumatic foot switch.
The rubber seal at the drive end of the worm can be removed by hand for cleaning. Grasp the outer
flange of the seal or use a dull screwdriver to pry the seal loose. Reinstall seal before installing worm.
Before using the grinder attachment, take it apart
and thoroughly wash it. The knife and plate need
some preliminary lubrication: Rub tallow or food
grade mineral oil over the cutting faces of these
parts. When assembling the knife, be sure to turn
the cutting side towards the perforated plate. The
notch on the circumference of the plate must fit over
the pin in the cylinder. Knives and plates must be
sharp and true for proper cutting action. Keep the
grinder attachment in a clean and sanitary condition.
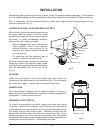
Fig. 6
MIXING ARM
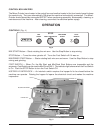
Loosen the bushing retainer's two flange nuts and remove the bushing retainer (Fig. 5). Raise the
hopper lid and pull the mixing arm from the square drive end, lifting the mixing arm from the hopper
(Fig. 6). When reassembling, make sure TOP on the bushing retainer is “up” so the mixing arm runs
straight between the round bushing and the square drive-end. Remove the mixing arm after
disassembly of the grinder cylinder and worm. Reassemble the mixing arm before assembly of the
grinder cylinder and worm.
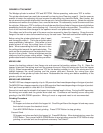
MIXING AND GRINDING
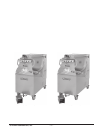
The MG1532 has a hopper capacity of up to 150 pounds of fresh meat depending on the type of product.
The MG2032 has a hopper capacity of up to 200 pounds of fresh meat depending on the type of product.
Don't put frozen product in units with 5
HP Grind Motor.
Second cut meat may be mixed in the hopper for any desired length of time. During the MIX operation,
the mixing arm rotates and the grinder worm does not. Continuous self-feeding occurs along with
grinding in the MIX-GRIND operation. Mixing of uncut or unground meat is not recommended.
Grinding Procedure
First Grind . . .
Fill hopper and close and latch the hopper lid. Overfilling will bend the hopper lid and may cause
the interlock to open the electrical circuit.
Push MIX-GRIND Button to start grinding. Press STOP Button to stop grinding.
Second Grind . . .
Fill hopper and close and latch the hopper lid. Press MIX Button. After desired mixing, press the
STOP Button. Then, press the MIX-GRIND Button to start grinding; press the STOP Button to stop
grinding; or activate and use the optional accessory Foot Switch.