14
II. Installation and Operating Instructions
WARNING
1. This icemaker must be installed in accordance with applicable national, state,
and local codes and regulations.
2. CHOKING HAZARD: Ensure all components, fasteners, and thumbscrews
are securely in place after installation. Make sure that none have fallen into
the storage bin.
A. Checks Before Installation
•Visuallyinspecttheexterioroftheshippingcontainerandimmediatelyreportany
damage to the carrier. Upon opening the container, any concealed damage should also
be immediately reported to the carrier.
•Removetheshippingcarton,tape,andpackingmaterial.Ifanyareleftintheicemaker,
it will not work properly.
•Removethepanelstopreventdamagewheninstallingtheicemaker.See"II.B.Howto
RemovePanels."
•Removethepackagecontainingtheaccessories.
•Removetheprotectiveplasticlmfromthepanels.Iftheicemakerisexposedtothesun
or to heat, remove the lm after the icemaker cools.
•Checkthattherefrigerantlinesdonotrubortouchlinesorothersurfaces,andthatthe
fan blade (if applicable) turns freely.
•Checkthatthecompressorissnugonallmountingpads.
•Seethenameplateontherearpanel,andcheckthatyourvoltagesuppliedcorresponds
with the voltage specied on the nameplate.
•Thisicemakercanbeinstalledonastoragebin48"wideorwider.Therecommended
storage bin is Hoshizaki Ice Storage Bin, Model B-800 series. For further options,
contact your local Hoshizaki distributor.
•Onremoteair-cooledmodel,aremotecondenserunitisneeded.HoshizakiRemote
Condenser Unit, Model URC-21F or URC-22F is recommended.
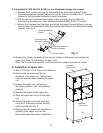
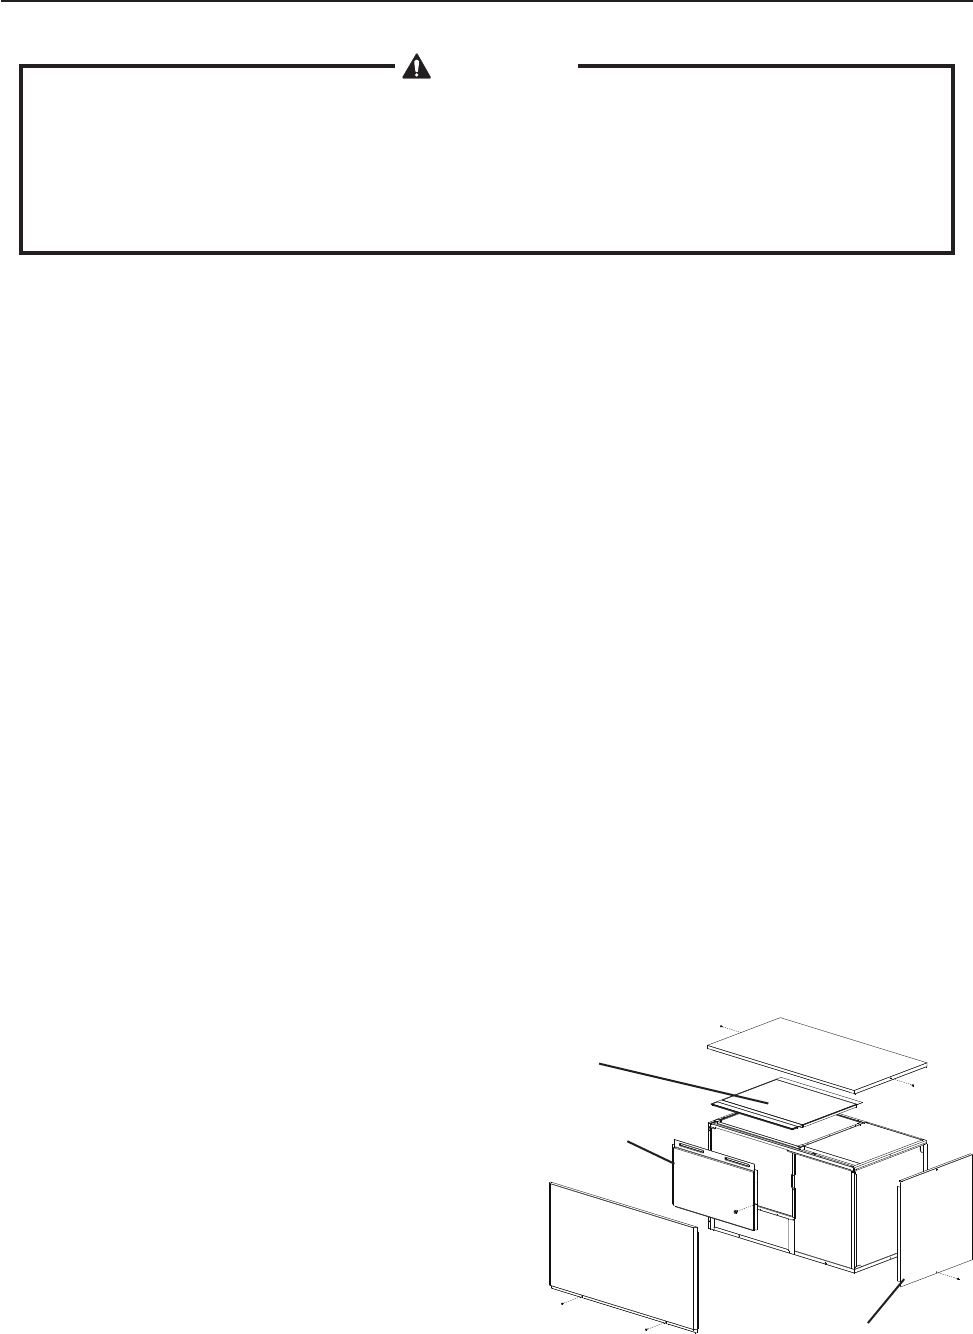
B. How to Remove Panels
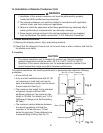
See Fig. 1
•FrontPanel:Removethescrews.Liftupand
pull towards you.
•TopPanel:Removethescrews,thenliftoff.
•SidePanel(R):Removethescrew.Slide
forward slightly and lift off.
•InsulationPanel:Removethethumbscrew.Lift
up slightly and pull towards you.
•TopInsulation:Liftoff.
Fig. 1
Top Panel
Insulation
Panel
Side Panel (R)
Top
Insulation
Front Panel


