


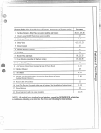

.——
—
.-
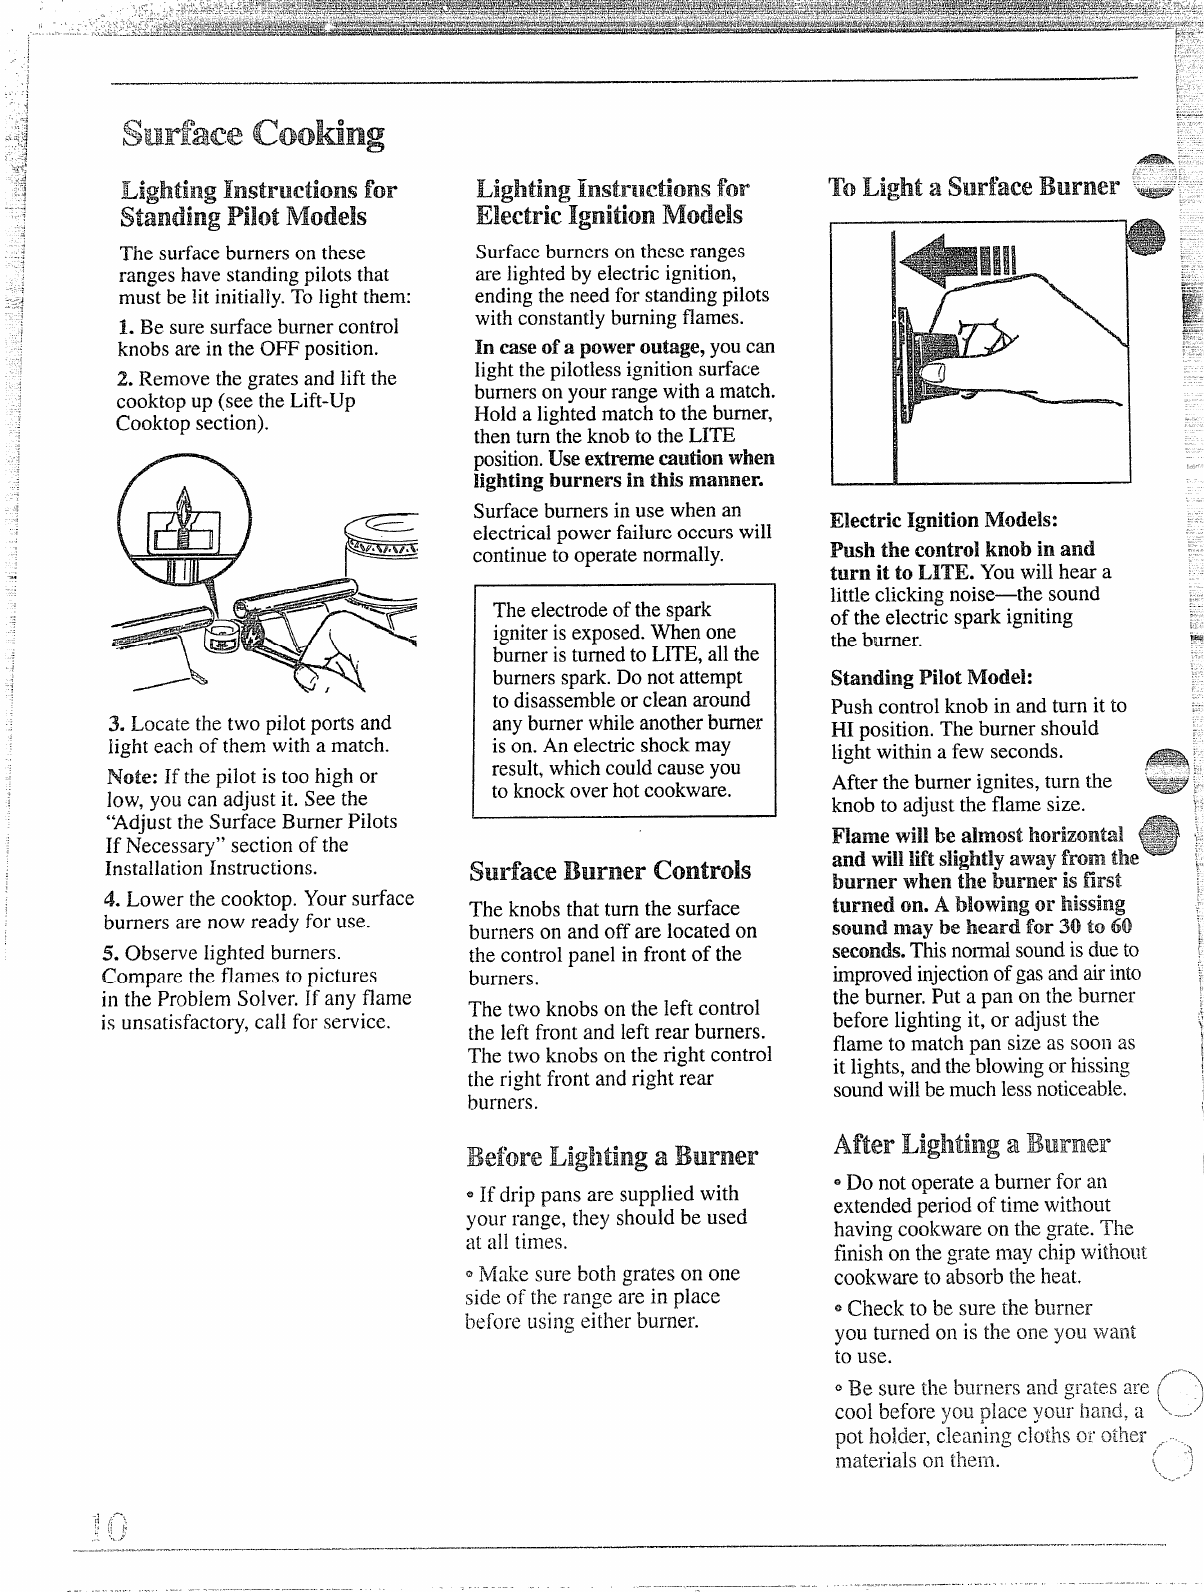
The surfaceburners on these
ranges have s~andingpilotsthat
must be lit initially.To light them:
1. Be sure surface burner control
knobs are in the OFF position.
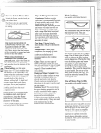
2. Remove the grates and lift the
cooktop up (see the Lift-Up
Cooktop section).
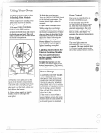
3. Locate the two pilotports and
light each of them with a match.
Note: If the pilot is too high or
low, you can adjust it. See the
“Adjustthe Surface Burner Pilots
If Necessary” section of the
Installation Instructions.
4. Lower the cooktop. Your surface
burners are now ready for use.
5. Observe lightecIburners.
Compare the flames to pictures
in the Problem Solver. If any flame
is unsatisfactory, call for service.
Lighting Instructions for
Electric IgnitionModels
Surfaceburners on these ranges
are lighted by electric ignition,
ending the need for standingpilots
with constantlyburningflames.
In easeof a polveroutige, youcan
lightthe pilotlessignition surface
burnerson yourrangewith a match.
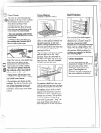
Hold a lighted match to the burner,
then turn the knob to the LITE
position.Usee-me caution when
Iigbtingburners in this manner.
Surface burners in use when an
electrical Dowerfailureoccurs will
continue ;Ooperate normally.
The electrodeofthe spark
igniteris exposed.When one
burneris turnedto LITE, all the
burnersspark.Do not attempt
to disassembleor clean around
any burnerwhileanotherburner
is on. An electricshockmay
result,which couldcause you
to knock over hotcookware.
surfaceBurnercontrols
The knobs that turn the surface
burners on and off are located on
the control panel in front of the
burners.
The two knobs on the left control
the left front and left rear burners.
The two knobs on the right control
the right front and right rear
burners.
Eiectric IgnitionModels:
PUSIIthe control knob in and
turn it to LITE. You will hear a
little clicking noise—thesound
of the electric spark igniting
the burner.
Standing Pilot Modei:
Push control knob in and turn it to
HI position. The burner should
lig~twithin a few seconds.
e:
BeforeLig12tinga Burner
s If drip pans are supplied with
your range, they should be used
at all times.
~Make sure both grates on one
side of the range are in place
before using either burner.
-! ,---
:,
,’,,.
.:
. ....’
—
-——.—-—.—-.----.--...—.......
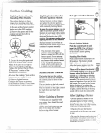
After the burner ignites, turn the
--:..
knob to adiust the flame size.
.
n
FIame willbe almost.horizontal **
‘.
4’
md till liftslightlya%vayfrom the ,
L
burner %Vhenthe burner is first
turned on. A blowing or hissing
sound
maybeheardfor30to60
;
seeon~.This normalsoundis dueto
‘
improvedinjectionof gasandairinto
;
the burner.Puta pan on the burner
,
before lighting it, or adjust the
:
.
.
flame to match pan size as soo~~as
~
it lights, andthe blowingor hissing
I
;
soundwillbe much lessnoticeable.
\
GDo not operate a burner for an
extendedperiodoftimewithout
havingcookwareontl~egrate.The
finishonthegratemaychipwitho~]t
cookwareto absorbtl~eheat.