


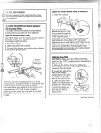

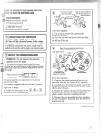
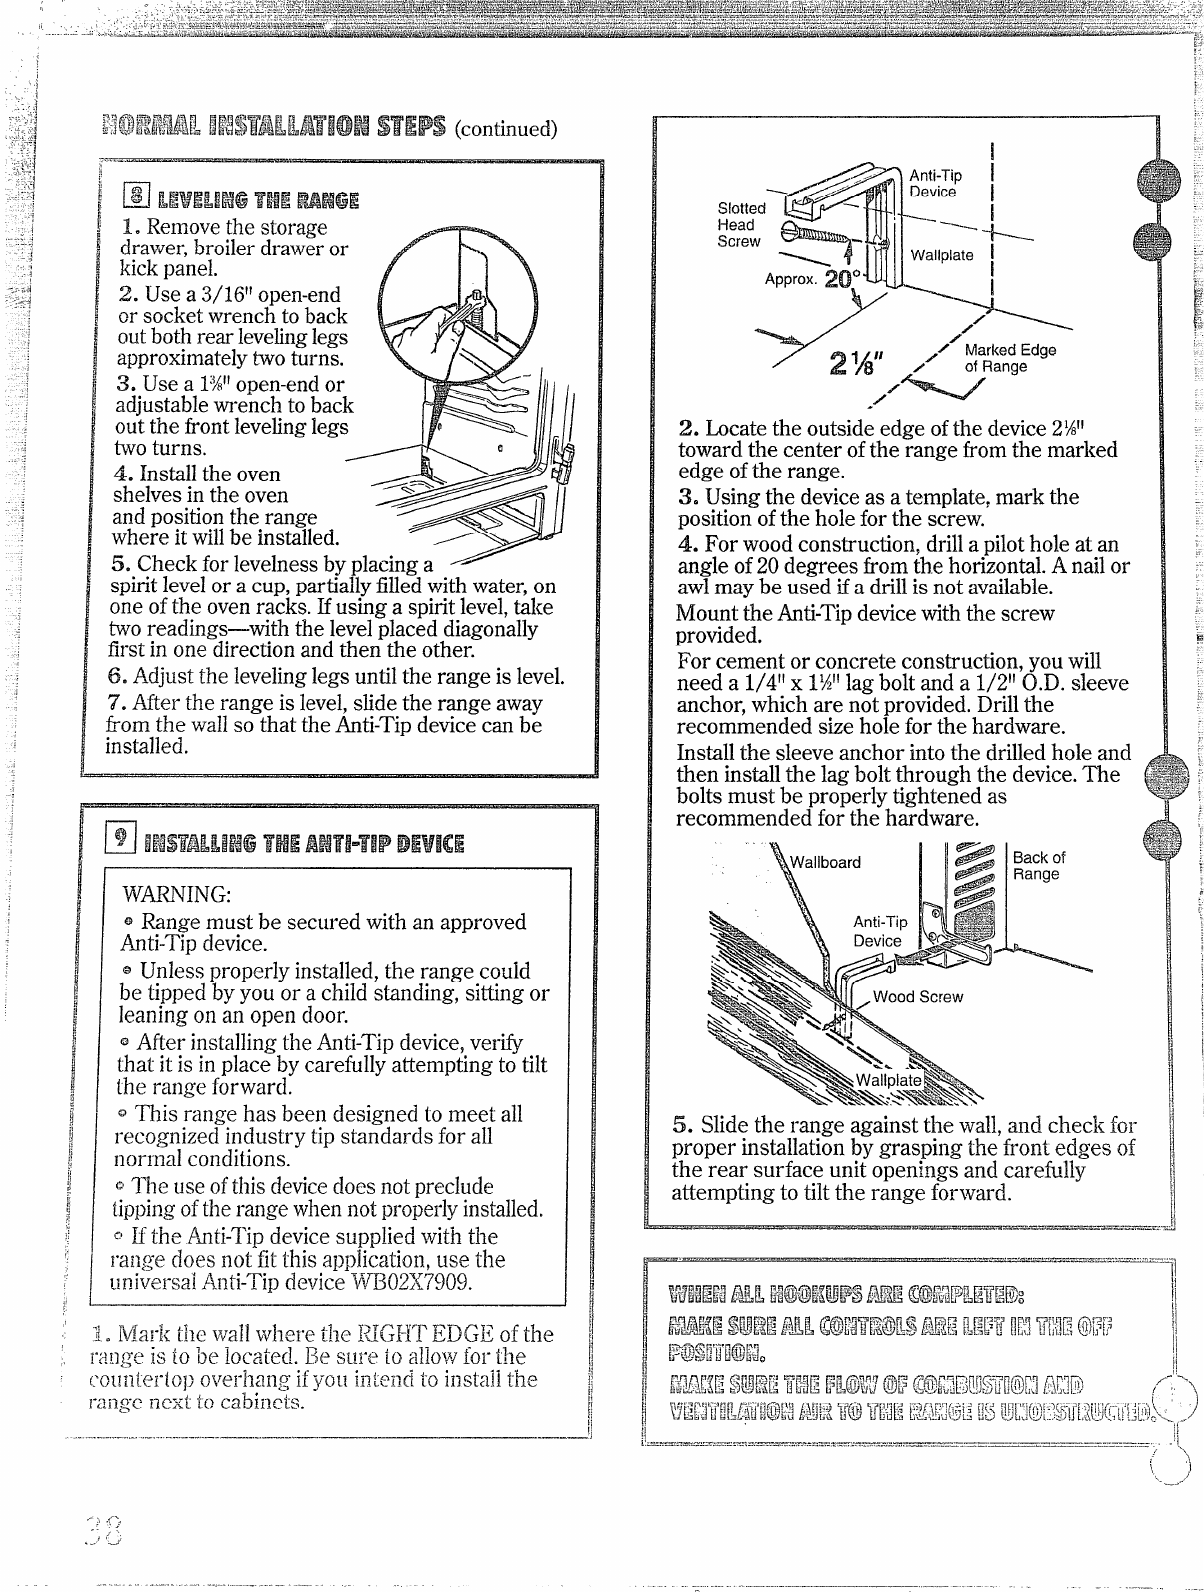
1. Remove the storage
drawer, broiler drawer or
l<ickpanel.
2. Use a 3/1611open-end
or socket wrench to back
out both rear Ievehlg legs
approximately two turns.
~, Use a 1:%l!open-end or
adjustable wrench to back
out the front leveling legs
two turns.
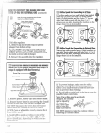
4. Install the oven -
shelves in the oven
and position the range
where it willbe installed.
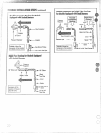
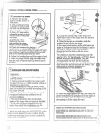
5. Check for levelnessby placinga
//
spiritlevelor a cup,partiallyfilledwith water,on
one ofthe ovenracks. Husing a spiritlevel,take
tworeadings—withthe levelplaced diagonally
first in one direction and then the other.
6. Adjustthe levelinglegs untilthe range is level.
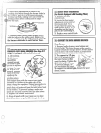
7. After the range is level,slidethe range away
&omthe wallso that the Anti-Tipdevicecan be
installed.
W~ING:
@Range must be secured with an approved
Anti-Tipdevice.
@Unless properly installed,the range could
be tipped by you or a cl]ildstanding, sitting or
leaning on an open door.
@After installingthe Anti-Tipdevice,verify
that it is in place by carefullyattempting to tilt
the range forwarcl.
~This range has been designed to meet all
recognized industry tip standards for all
normal conditions.
~1~l~e~]seofthis devicedoes notpreclude
iippingofthe range whennot properlyinstalled.
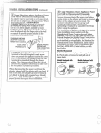
~’If the hti-Tip device supplied with the
~-ailgecloesnot fit this
a~3plicati0n,use the
u~~versaiI!nti-Tipdevice‘~02X7909.
,- f’>
,.
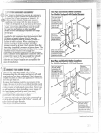
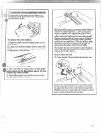
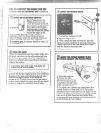
2. hcate the outside edge ofthe device2%!’
toward the center ofthe range from the marked
edge ofthe range.
~. Using the deviceas a template,mark the
positionofthe holefor the screw.
4-.For wood construction, drilla pilothole at an
angle of20 degrees horn the horizontal.A nailor
awlmay be used ifa drillis not available.
Mountthe Anti-Tipdevicewith the screw
provided.
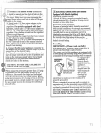
For cement or concrete construction,you will
need a 1/4” x 1%”lag bolt and a 1/21’0.D. sleeve
anchor,which are not provided.Drillthe
recommended size hole for the hardware.
Installthe sleeve anchor into the drilledhole and
then installthe lag bolt through the device.The {
bolts must be properly tightened as
recommended for the hardware.
A
5. Slide the range against the wall,and checl<for
proper installationby grasping the front edges of
the rear surface unit openings and caretilly
attempting to tilt the range forward.
. ... .... .-—...-—_—_ —___.—.—.——..
.....—.