.
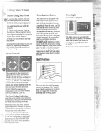
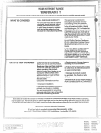
Toincreasetemperature,turntow~~fi
HI or WISE; to decrease turn
towardLo or LOWER. Each notch
changestemperature 10degrees.
Stay-upunitscamot be removed.
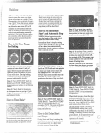
To
replace a plug-in unit:
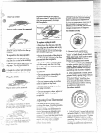
@First place the drip pan, then the
trim ring intothe sutiaceunitcavity
foundon top of the coohop so the
unit receptaclecan be seen through
the openingin the pan.
Youcan lift a stay-upunitupward
about 6“ and it willlock in the up
position.
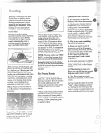
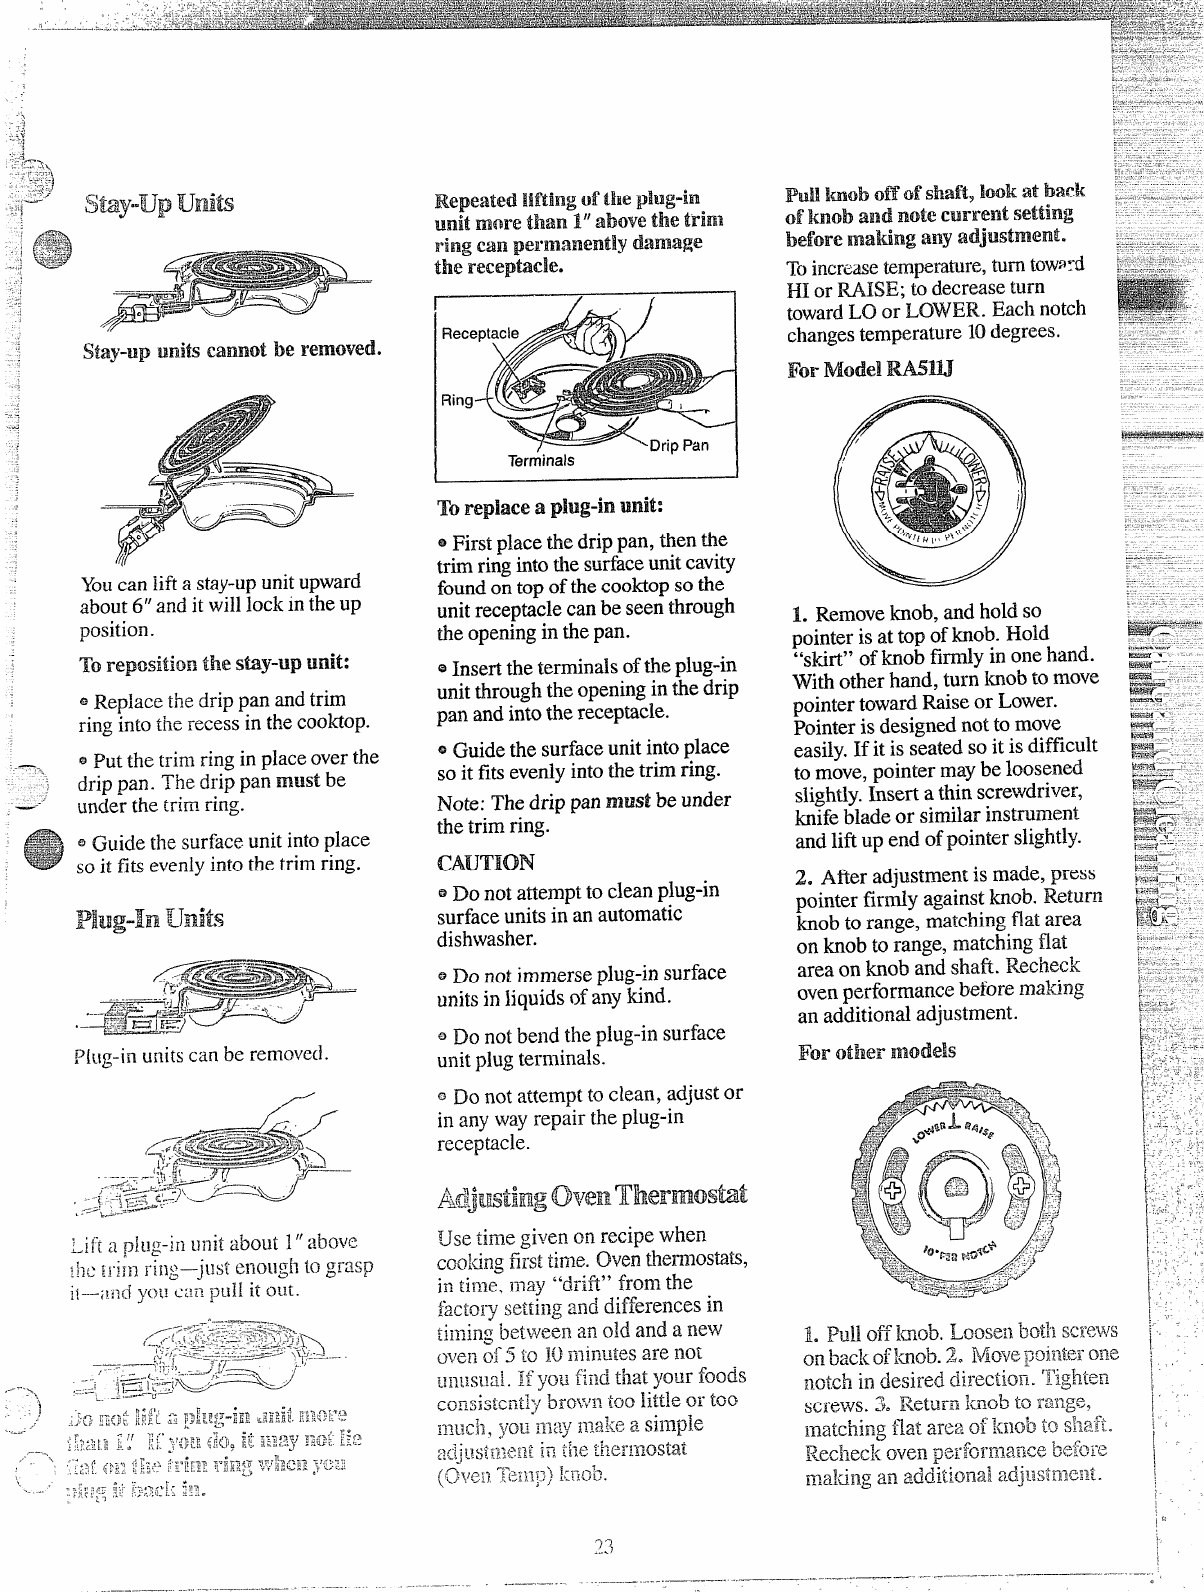
1. Removebob, andholdso
pointerisattopofbob. Hold
“skjr-t”Ofhob firndy in one hand.
With other hand, turn bob to move
pointer towardRaise or Lower.
Pointer is designed not to move
easily.If it is seated so it is difficult
to move, pointer maybe loosened
slightly.bsert a thin screwdriver,
hife blade or similar instrument
and lift up end ofpointer slightly.
2. After adjustment is made, press
pointer firdy against bob. Return
bob to rar]ge,matching flat area
on hob to range, matching flat
area on knob and shaft. Recheck
ovenperformance before mak~ng
artadditiond adjustment.
WorOtIl@rmlodels
@Insert the terminals ofthe plug-in
unit through the openingin tie drip
pan and intothe receptacle.
@
Replace the drip pan and trim
ring into the recess in the cooktop.
QGuide the surface unit into place
so it fitsevenlyintothe trim ring.
Note: The drip pan must be under
the trim ring.
~Put the trim ring in placeoverthe
drip pan. The drip pan must be
under the trim ring.
~Guide the surfaceunit intoplace
so it fi~ evenlyinto the trim ring.
CAUTION
~Donotattemptto clean plug-in
surface units in an automatic
dishwasher.
@Do not immerse plug-in surface
unitsin liquids of anytind.
@Do not bend the plug-in surface
unit plug terminals.
Plug-in unitscan be removed.
~ Do not attempt to clean, adjust or
in any way repair the plug-in
receptacle.
—————.. ... -—
.—...-....—--. - -—-


