


25
SECTION 5: SERVICE PROCEDURES
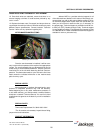
RINSE REGULATING THERMOSTAT REPLACEMENT
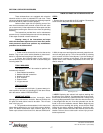
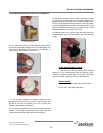
7. Insert the new thermostat/brass fitting combination into the
well and tighten down the brass fitting by hand.
8. Use the 7/16” combination wrench to tighten down the
brass fitting, while also positioning the new thermostat so that
it does not hang over the heater.
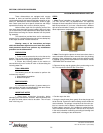
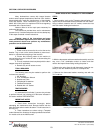
9. Note: regardless of the unit this is being done to, the con-
cept is to ensure that the thermostat cannot come into contact
with the heater leads or interfere with the placement of any
covers.
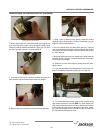
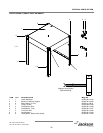
10. Use the phillipshead screwdriver to remove the attach-
ment screws on the thermostat for the NORMALLY CLOSED
and COMMON points.
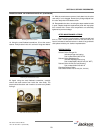
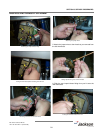
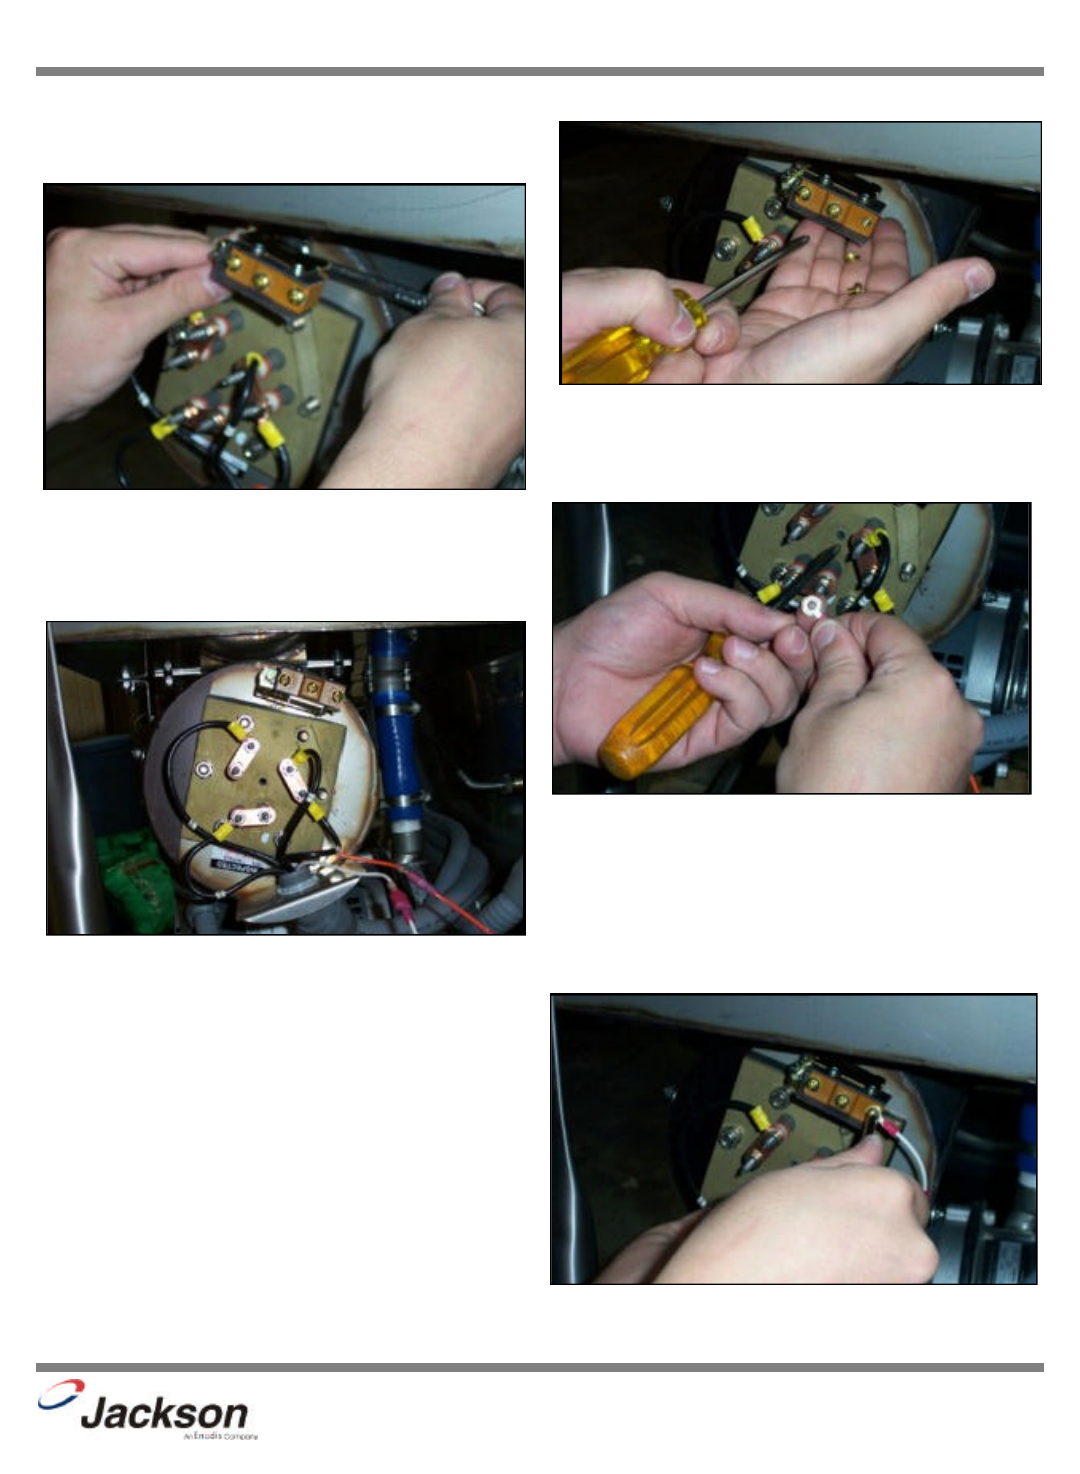
11. Attach the ring ends of the jumpers to the cups/screws
removed from the thermostat and attach them. The white
jumper is to be connected to COMMON. The orange and
white jumper is to be connected to NORMALLY CLOSED.
Refer to your machine schematic if you have any questions
regarding this.
200 Series Technical Manual
7610-100-45-00 Rev. E (02/10/2006)
Tightening the brass fitting.
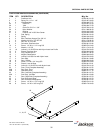
Fitting the jumper into the mounting cup.
Securing jumpers to the thermostat.
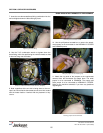
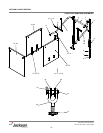
What the installed thermostat should look like (Tempstar).
Removing the thermostat screws.