MAINTENANCE INSTRUCTIONS
REPLACING CONVEYOR MOTOR
3
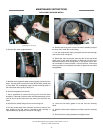
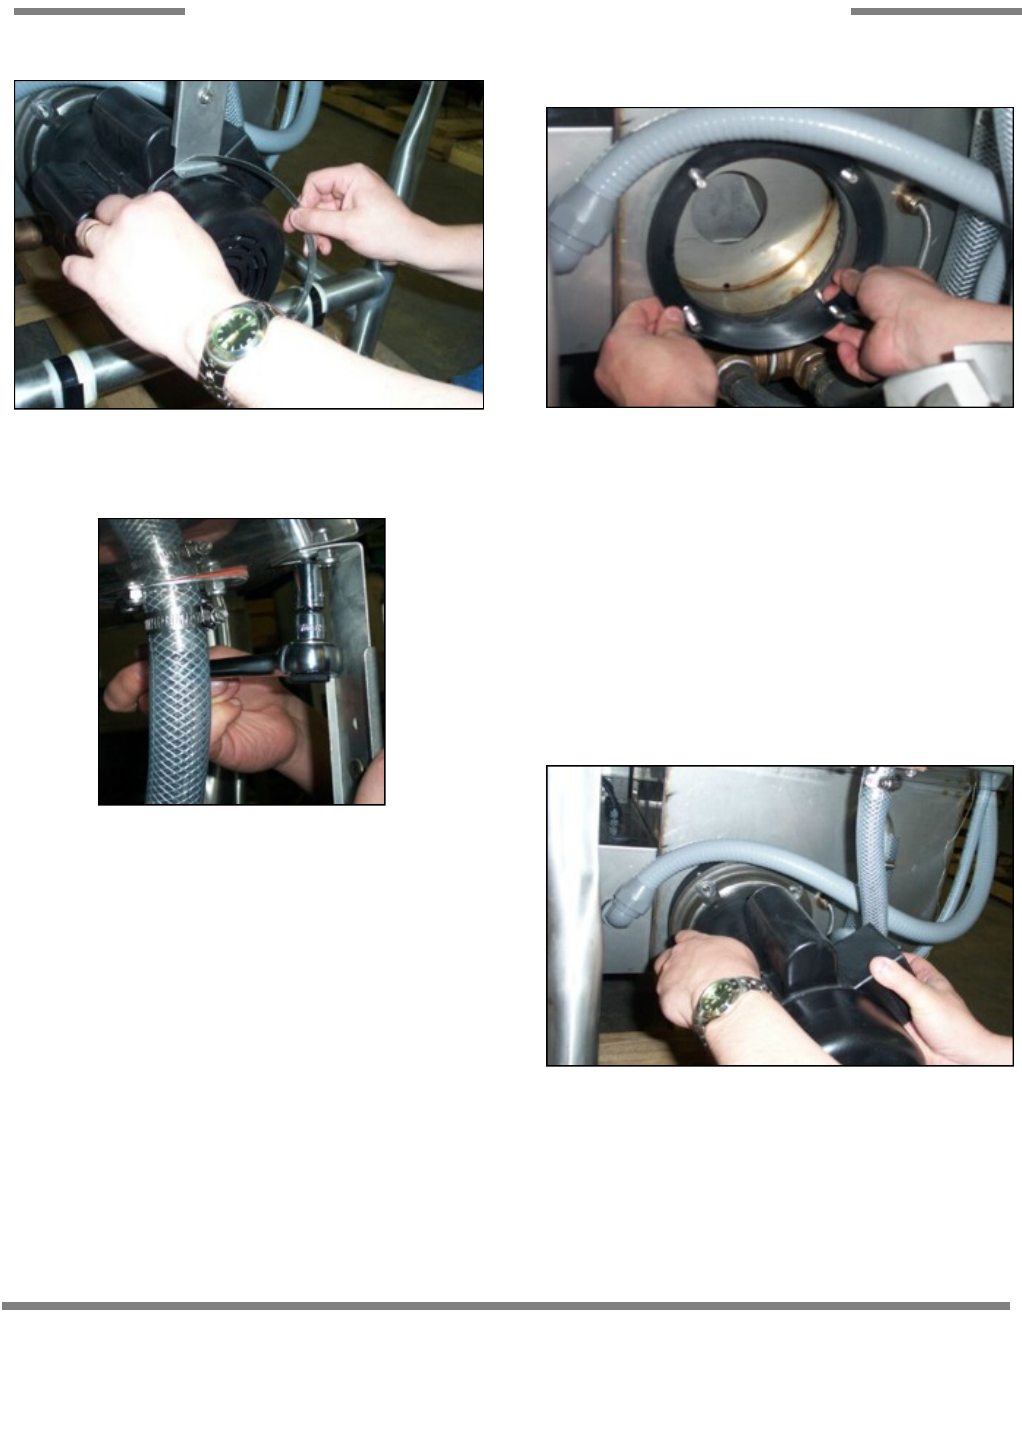
4. Remove the motor support bracket.
5. With the motor support bracket removed, gently pull back on the
motor. You may have to move it from side to side, but it should start
to move back. Pull it completely away from the mounting studs on
the tub and set down gently to work on it.
6. Remove the gasket from the tub.
7. Use a screwdriver to remove the wiring cover from the motor
wiring box. Take note of how the motor is wired up because you will
have to wire it up the exact same way when you install the new
motor.
8. Remove the conduit fitting from the motor wiring box.
9. Pull the conduit away from the motor and set old motor to the
side. Dispose of the old motor in accordance with warranty or
national/state/local guidelines, whichever may apply.
10. Remove the wiring cover on the new motor assembly and pull
the wires free. Install the conduit fitting.
11. Run the conduit to the motor, pulling the machine wires through
and into the motor wiring box.
12. Rewire the motor exactly the same way the old one was wired
and/or refer to the motor schematic to determine how the motor
should be wired for the incoming power. If you require help on this,
do not hesitate to contact Jackson Technical Service. Ensure that
all wiring is done in accordance with national, state and local codes
as applicable.
13. Place the new motor gasket on the tub over the mounting
studs.
14. Carefully lift the motor assembly and slide it onto the mounting
studs.
15. Re-install the mounting hardware and tighten down.
Removing the rear clamp
Removing the motor support bracket
Removing the pump gasket
Remounting the wash motor assembly
Conveyor Motor Replacement Instructions 07610-003-20-17 Rev. A
Issued: 03-14-2006 Revised: N/A


