


10
Day of the week:
7. Use right Quickset pad to scroll to DAY.
8. Select DAY using the left Quickset pad.
9. Select ON or OFF using the right or left Quickset pad to turn
the Day of the Week display On or Off.
10. To exit the Setup mode, press SETUP.
Timers
Setting the Timers (Timer 1 or Timer 2):
1. Press TIMER 1 or TIMER 2.
2. Press one of the displayed times using the Quickset pads, or
press the number pads to enter the desired time.
IMPORTANT: Each press of the displayed time choices adds
additional time. For example, pressing “10 MIN” three times
provides 30 minutes on the timer (0:30).
3. Press ENTER (located on the number pad).
Changing the Amount of Time Entered Once the Timer Starts:
1. Press TIMER 1 or TIMER 2 once.
2. Press the displayed times on the Quickset pads repeatedly
until the desired time is entered.
OR
Press the number pads to enter the new desired time.
3. Press Enter pad.
Canceling the Timer:
1. Press TIMER 1 or TIMER 2 twice.
If Both Timers Are Active:
If the desired Timer is already in the foreground, press once for
edit mode and twice to cancel the Timer. If the desired Timer is
not in the foreground, follow these steps:
1. Press the desired TIMER pad once. The selected Timer will
come to the foreground.
2. Press TIMER a second time to access the edit mode in order
to make changes.
3. Pressing TIMER a third time will cancel the Timer.
Changing the Timer Beeps:
The signal beeps for TIMER 1 and TIMER 2 can be changed. The
options available are 2 beeps every 30 seconds, 2 beeps every
60 seconds or 1 beep only. The default setting is 1 beep.
1. Press SETUP.
2. Use right Quickset pad to scroll to TONES.
3. Select TONES using the left Quickset pad.
4. Use right Quickset pad to scroll to TIMER TONES.
5. Select TIMER TONES using the left Quickset pad.
6. Use right Quickset pad to scroll to the desired timer beep
format (2-30 SEC, 2-60 SEC or 1 BEEP).
7. Select the desired timer beep using the left Quickset pad.
8. Press SETUP to exit Setup mode.
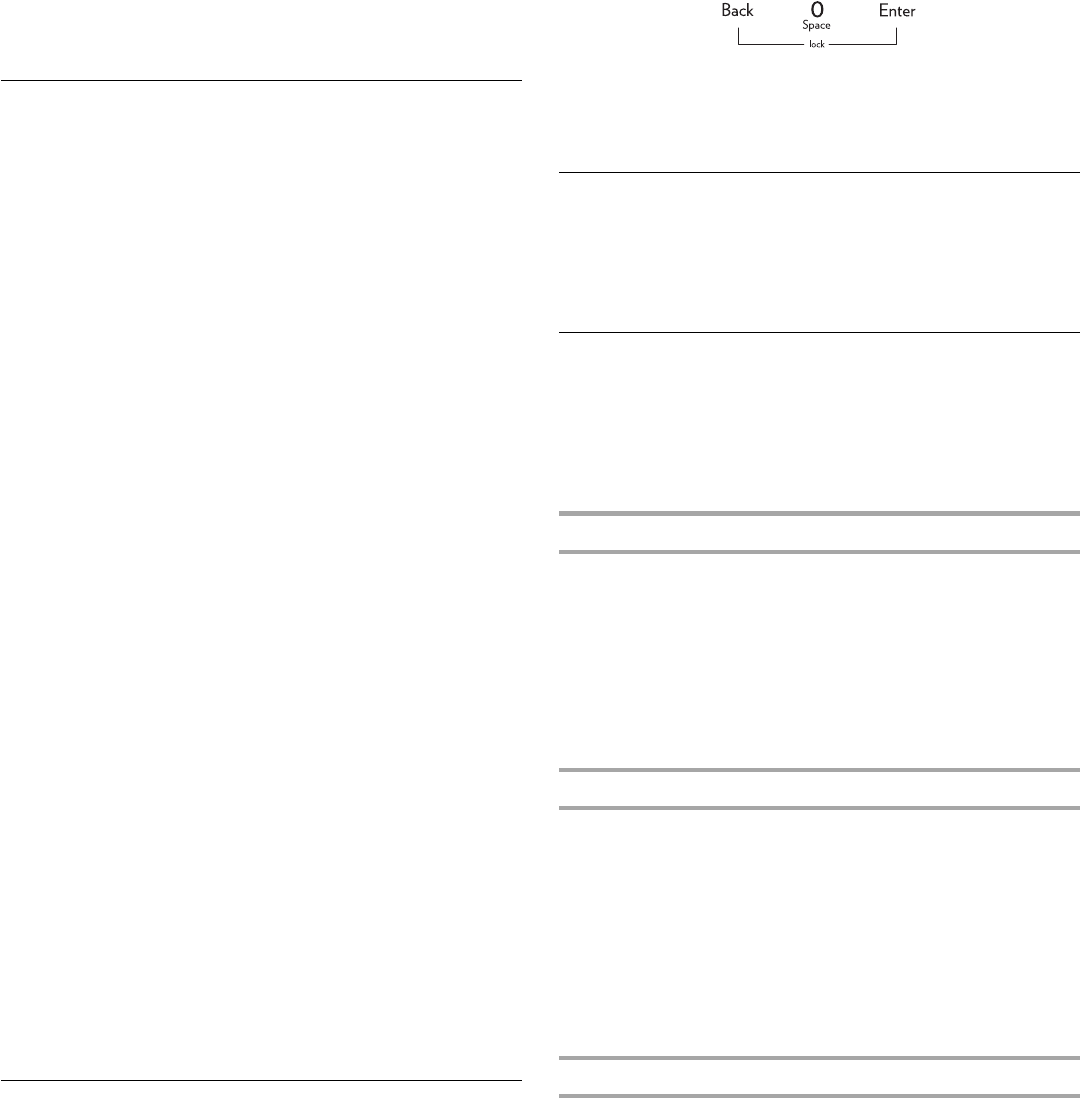
Locking the Oven Control and Oven Door
The lock feature shuts down the control pads (buttons) and locks
the oven door to avoid unintended use of the oven.
The lock feature is preset unlocked, but can be locked.
If the oven is currently in use, the controls and oven door cannot
be locked.
To Lock the Oven Control and Oven Door:
Press and hold BACK and ENTER for 3 seconds or until
“CONTROL LOCKED” appears in the display.
To Unlock the Oven Control and Oven Door:
Press and hold BACK and ENTER for 3 seconds. “UNLOCKING
DOOR” will appear in the display when the control and door are
unlocking.
Oven Light
The oven light automatically comes on when the door is opened.
When the door is closed, press the OVEN LIGHT pad to turn the
oven light on and off. A beep will sound every time the Oven Light
pad is pressed. If the oven light is on when the door is opened,
the light will go off when the door is closed.
Setup
1. Press SETUP to begin.
2. Use right Quickset pad to scroll through Setup options.
3. Select the desired option by pressing the Quickset pads.
NOTE: To back out of a screen without making any changes,
press the Setup pad. The display will return to the time of day.
Clock
See the “Clock” section for more details. Use the Clock option to:
■ Set the time of day.
■ Set day of week.
■ Select AM or PM (12-hour mode only). AM or PM will not
show with the time of day in the display.
■ Choose a 12- or 24-hour clock display.
■ Disable the clock display.
Language
The language of the screens in the display window can be set to
English, French or Spanish.
To change the display language from English:
1. Press SETUP.
2. Use right Quickset pad to scroll to LANGUAGE.
3. Select LANGUAGE using the left Quickset pad.
4. Use right Quickset pad to scroll to the desired language.
5. Select the desired language using the left Quickset pad.
6. Press SETUP to exit the Setup menu.
Auto Convect Conversion (on some models)
The oven comes from the factory set for Auto Convect
conversion. Auto Convect Conversion automatically reduces the
set temperature by 25°F for Convect Bake and Convect Pastry.
For Convect Roast the control will alert you at 75% of the
programmed roasting time to check foods for doneness. Convect
roast temperatures are not reduced.
NOTES:
■ When using Convect Bake and Convect Pastry with the Auto
Convect Conversion option turned off, reduce the set
temperature by 25°F.