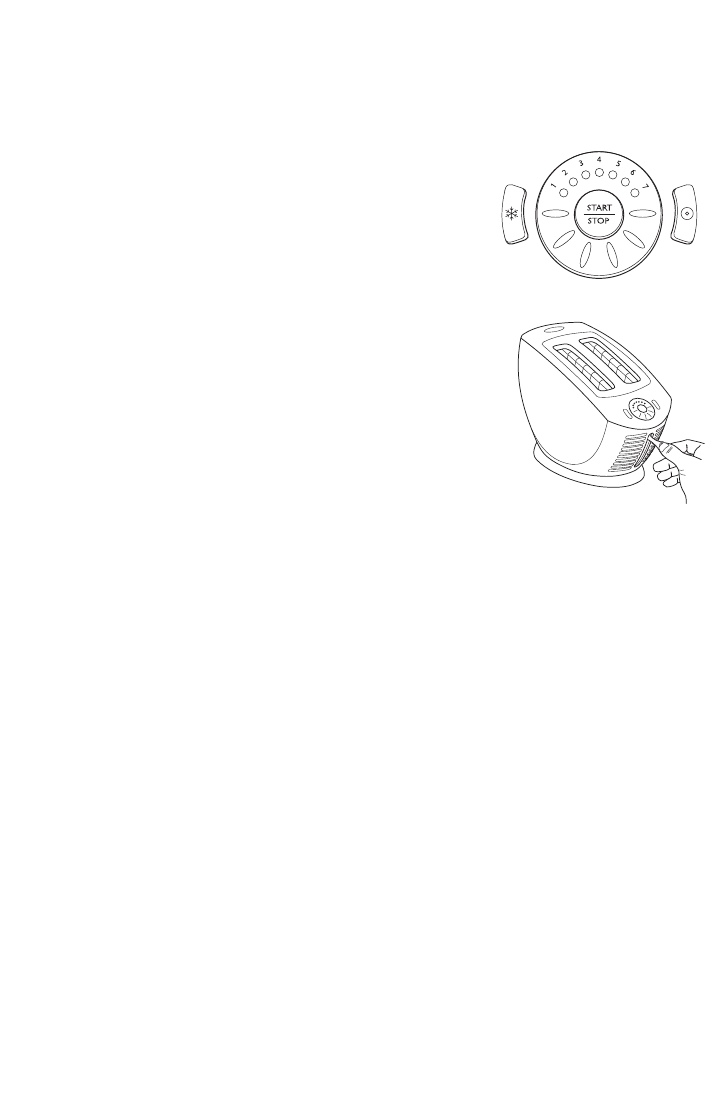
Shade settings
1-2 Light, 3 - 5 Medium, 6- 7 Dark
5. Lower the lift lever until bread is lowered as far as
possible into the toaster cavity, then press the
START/STOP button once to begin the toasting
cycle.The START/STOP button and the touch
wheel will illuminate to indicate that the toasting
cycle is in process.
6.When the toasting cycle is complete, two beeps will
sound and the START/STOP button will turn off to
indicate that the toasting cycle is complete.The
toast will remain warm in the toasting cavity until
the lift lever is raised to retrieve the finished toast.
Never leave toaster unattended during use.
Toasting Tips
Bread Temperature
The temperature of a bread product can affect the toasting time. A bread product at
room temperature will require a lower setting than the same bread product that has
been refrigerated.The toaster’s DEFROST button should be used for frozen bread
products (See page 10 for details).
Bread Types
Different types of bread products may require different shade settings due to their
moisture levels, thickness and texture. In general:
• Drier bread products toast quicker than moist, so choose a lower setting.
• Fresh, moist bread or whole wheat bread should be toasted on a slightly
darker setting.
• Bread products with uneven surfaces or firmer textures, such as English muffins,
may require darker settings.
• Use caution when warming or toasting sugar coated or filled products (such as
toaster pastries or strudels). Be sure that filled pastries are free from cuts or tears
prior to toasting.This will prevent the filling from leaking into the toaster and
causing a fire hazard.These products generally should be toasted using a lower
setting and should be handled with care after toasting.
• For best results, toast only similar types and thicknesses of bread products at the
same time. Insert only one slice at a time in each toaster slot. Do not insert par-
tial or torn slices of bread, muffins, etc.
8


