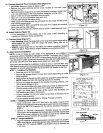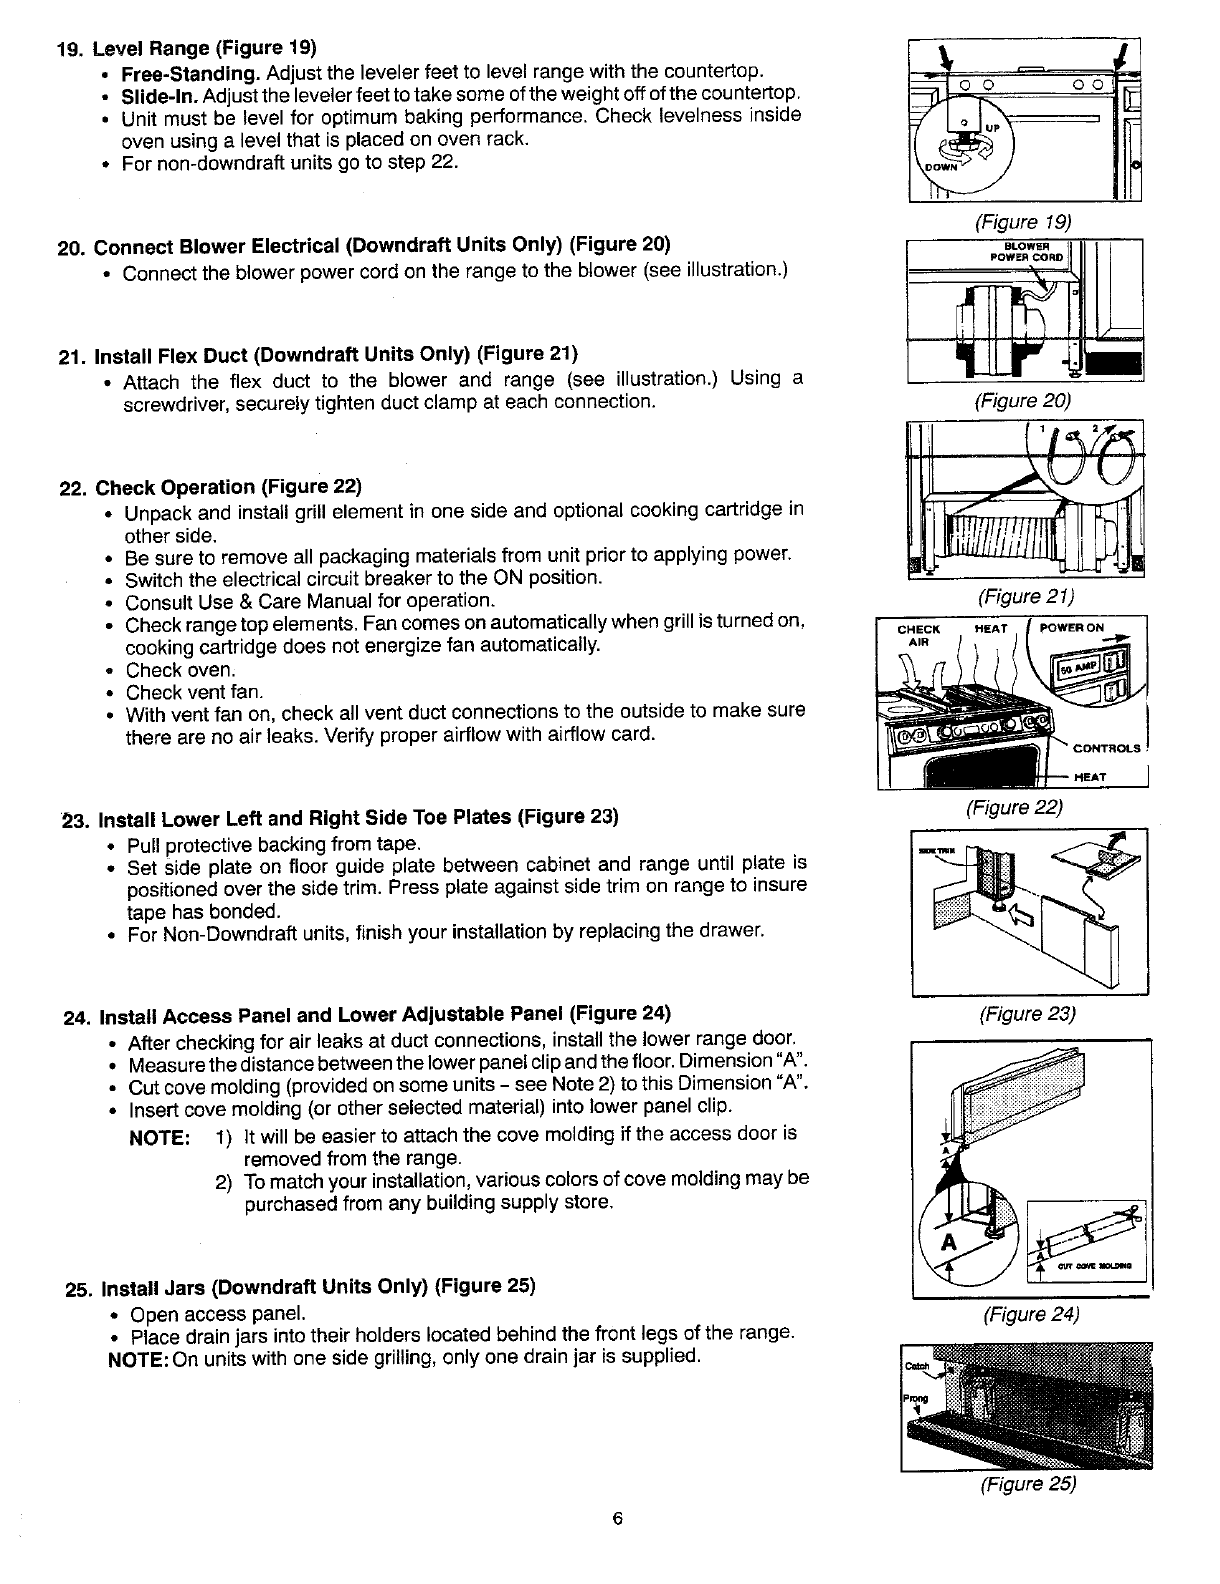
19. Level Range (Figure19) --IL ll
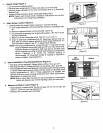
• Free-Standing.Adjustthelevelerfeettolevelrangewiththe countertop.
• Slide.ln.Adjustthelevelerfeettotakesomeoftheweightoffefthecountertop.
• Unit must be level for optimum baking performance.Check levelness inside
oven using a level that is placedon oven rack.
• Fornon-downdraftunitsgo to step 22.
(Figure 19)
BLOWER ]lJ
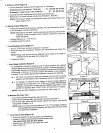
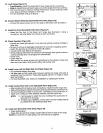
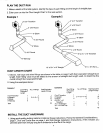
20. Connect Blower Electrical (Downdraft Units Only) (Figure20) ,ow_,co,o
• Connectthe blowerpower cord on the rangeto the blower (seeillustration.) _]__ iolli i I
21. Install Flex Duct (Downdraft Units Only) (Figure21)
• Attach the flex duct to the blower and range (see illustration.) Using a
screwdriver,securelytighten duct clampat each connection. (Figure20)
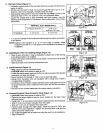
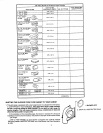
22. CheckOperation (Figure22) _! _,f _k,_
• Unpackand install grill elementin one side and optional cookingcartridge in
otherside.
• Be sure to remove all packagingmaterialsfrom unit priorto applying power.
• Switchthe electricalcircuit breakerto the ON position.
• ConsultUse & Care Manualfor operation. (Figure21)
• Checkrangetop elements.Fancomeson automaticallywhengrill is turnedon, C.ECK .EAT pOWE,O,
•• Checkoven.C°°kingcheckventCartridgefan,doesnot energize fan automatically. __A,,
• With vent fan on, check all vent duct connectionsto the outside to makesure __"
there are no air leaks. Verifyproperairflowwith airflowcard.
ROLS
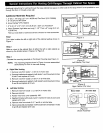
23. Install Lower Left and Right Side Toe Plates (Figure 23) (Figure22)
• Pull protectivebackingfrom tape. ..,,, _ _.._--_ :
• Set Sideplate on floor guide plate between cabinet and range until plate is
positionedoverthe side trim. Pressplate againstside trim on range to insure
tape has bonded.
• For Non-Downdraftunits,finish your installationby replacingthe drawer.
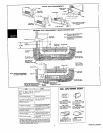
24. InstallAccessPanel and LowerAdjustable Panel(Figure24) (Figure23)
• After checkingfor air leaksat duct connections,installthe lower rangedoor.
• Measurethedistancebetweenthe lowerpanelclipandthefloor.Dimension"A".
• Cutcovemolding (providedon some units- see Note2)to thisDimension"A".
• Insertcove molding (or otherselected material) into lower panelclip.
NOTE: 1) It will be easierto attachthe cove molding if the access door is
removedfrom the range.
2) To matchyour installation,variouscolorsofcove moldingmaybe
purchasedfromany building supplystore, i _,._S::._ '
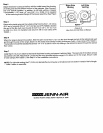
25. Install Jars (Downdraft Units Only) (Figure25)
• Openaccess panel. (Figure24)
• Placedrain jars intotheir holderslocated behindthe front legs of the range.
NOTE:On units with oneside grilling,onlyone drain jar is supplied.
(Figure25)
6


