


10
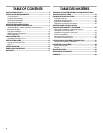
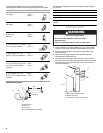
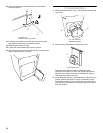
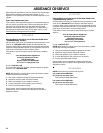
4. Place the bottom tab of the blower box into the bottom
mounting channel.
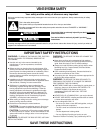
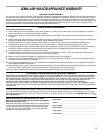
5. Tilt blower box top tab so it is flush with the vent box panel
and position it under the top mounting bracket. Slide bracket
into the “Z” slots and tighten the 2 hex/slotted head screws
to secure.
NOTE: Optional blower motor mounting position (opposite side).
The blower motor box assembly can also be moved to the
opposite side of the vent.
1. Remove blower motor box assembly. Follow steps 1 and 2
above.
2. Disconnect the wire connector from the blower motor (see
Step 3 of rear venting).
3. Remove panel from the opposite side by loosening the
screws in the “Z” slots and sliding the top bracket the same
as for the motor box assembly.
4. Install the blower motor box assembly to the opposite side of
vent box. Place in the position for the venting method for
interior mounted motor, as required.
5. Reconnect wire connector to the blower motor.
6. Install panel cover to the opposite side of the blower motor.
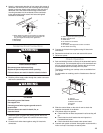
Rear Venting:
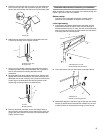
1. Remove the vent box. Loosen the 2 hex/slotted head screws
that attach the top bracket that secures the motor to the vent
box enough to slide the bracket into the “Z” slots. This will
move the bracket away from the top mounting lip of the
blower box and allow it to tilt away from the vent box panel.
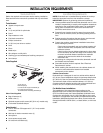
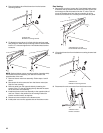
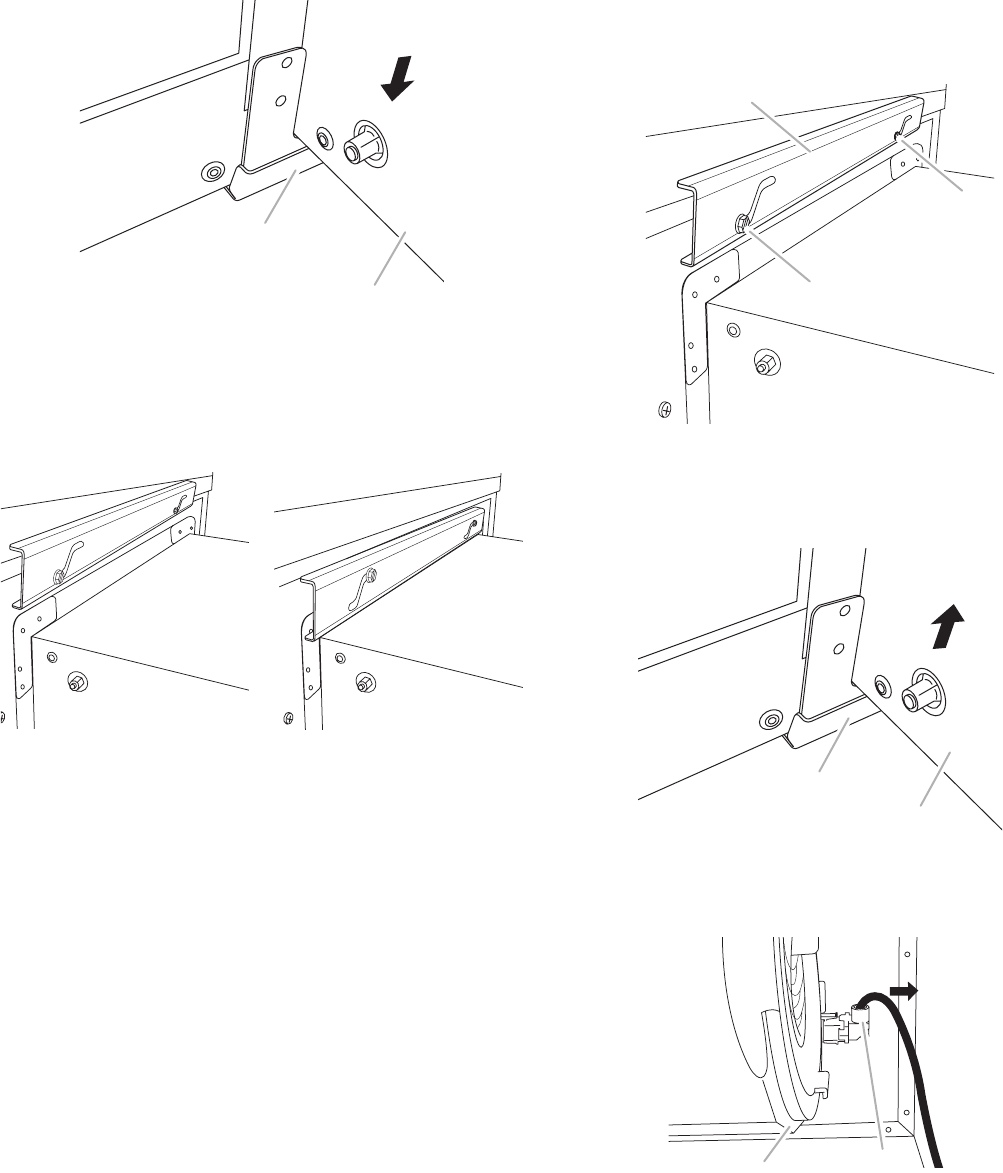
2. Lift up the blower box from the bottom mounting channel and
set aside.
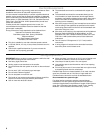
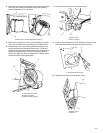
3. Disconnect the wire connector from the blower motor.
A. Blower box
B. Bottom mounting channel
A
B
A. Bracket with “Z” slots
B. Hex/slotted head screws (2)
A. Blower box
B. Bottom mounting channel
A. Blower motor
B. Wire connector
B
A
B
A
B
A
B