


CARING FOR YOUR
REFRIGERATOR
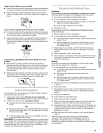
Explosion Hazard
Use nonflammable cleaner.
Failure to do so can result in death, explosion,
or fire.
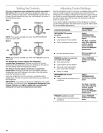
Both the refrigerator and freezer sections defrost automatically.
However, clean both sections about once a month to prevent
odors from building up. Wipe up spills immediately.
To clean your refrigerator:,
1. Unplug refrigerator or disconnect power.
2. Remove all removable parts from inside, such as shelves,
crispers, etc.
3. Hand wash, rinse, and dry removable parts and interior
surfaces thoroughly. Use a clean sponge or soft cloth and a
mild detergent in warm water.
• Do not use abrasive or harsh cleaners such as window
sprays, scouring cleansers, flammable fluids, cleaning
waxes, concentrated detergents, bleaches or cleansers
containing petroleum products on plastic parts, interior
and door liners or gaskets.
• Do not use paper towels, scouring pads, or other harsh
cleaning tools. These can scratch or damage materials.
• To help remove odors, you can wash interior walls with a
mixture of warm water and baking soda (2 tbs to 1 qt. [26
g to .95 L] of water).
4. Wash stainless steel and painted metal exteriors with a clean
sponge or soft cloth and a mild detergent in warm water. Do
not use abrasive or harsh cleaners. Dry thoroughly with a soft
cloth.
For additional protection against damage to painted metal
exteriors, apply appliance wax (or auto paste wax) with a
clean, soft cloth. Do not wax plastic parts.
5. Clean the condenser coils regularly. Coils may need to be
cleaned as often as every other month. This may help save
energy.
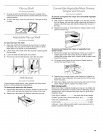
Style I - Condenser coils behind base grille:
• Remove the base grille (see the "Base Grille" section).
• Use a vacuum with an extended attachment to clean the
condenser coils when they are dusty or dirty.
• Replace the base grille when finished.
6.
Style 2 - Condenser coils in back of the refrigerator:
• Pull refrigerator out away from the wall (see the
"Unpacking Your Refrigerator" section).
• Vacuum coils when they are dusty or dirty.
• Roll refrigerator back into place. Make sure to leave 1 in.
(2.5 cm) between the cabinet back and the wall.
• Check to see if the refrigerator is level.
Plug in refrigerator or reconnect power.
NOTE: Not all appliance bulbs will fit your refrigerator. Be sure to
replace the bulb with one of the same size and shape. The
dispenser light requires a heavy duty 10-watt bulb, All other lights
require a 40-watt appliance bulb. Replacement bulbs are
available from your dealer.
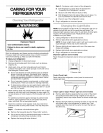
1. Unplug refrigerator or disconnect power.
2. Remove light shield when applicable as shown.
NOTE: To clean a light shield, wash it with warm water and a
liquid detergent. Rinse and dry the shield well.
3. Remove light bulb and replace with one of the same size,
shape and wattage.
4. Replace light shield when applicable as shown.
5. Plug in refrigerator or reconnect power.
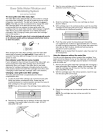
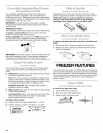
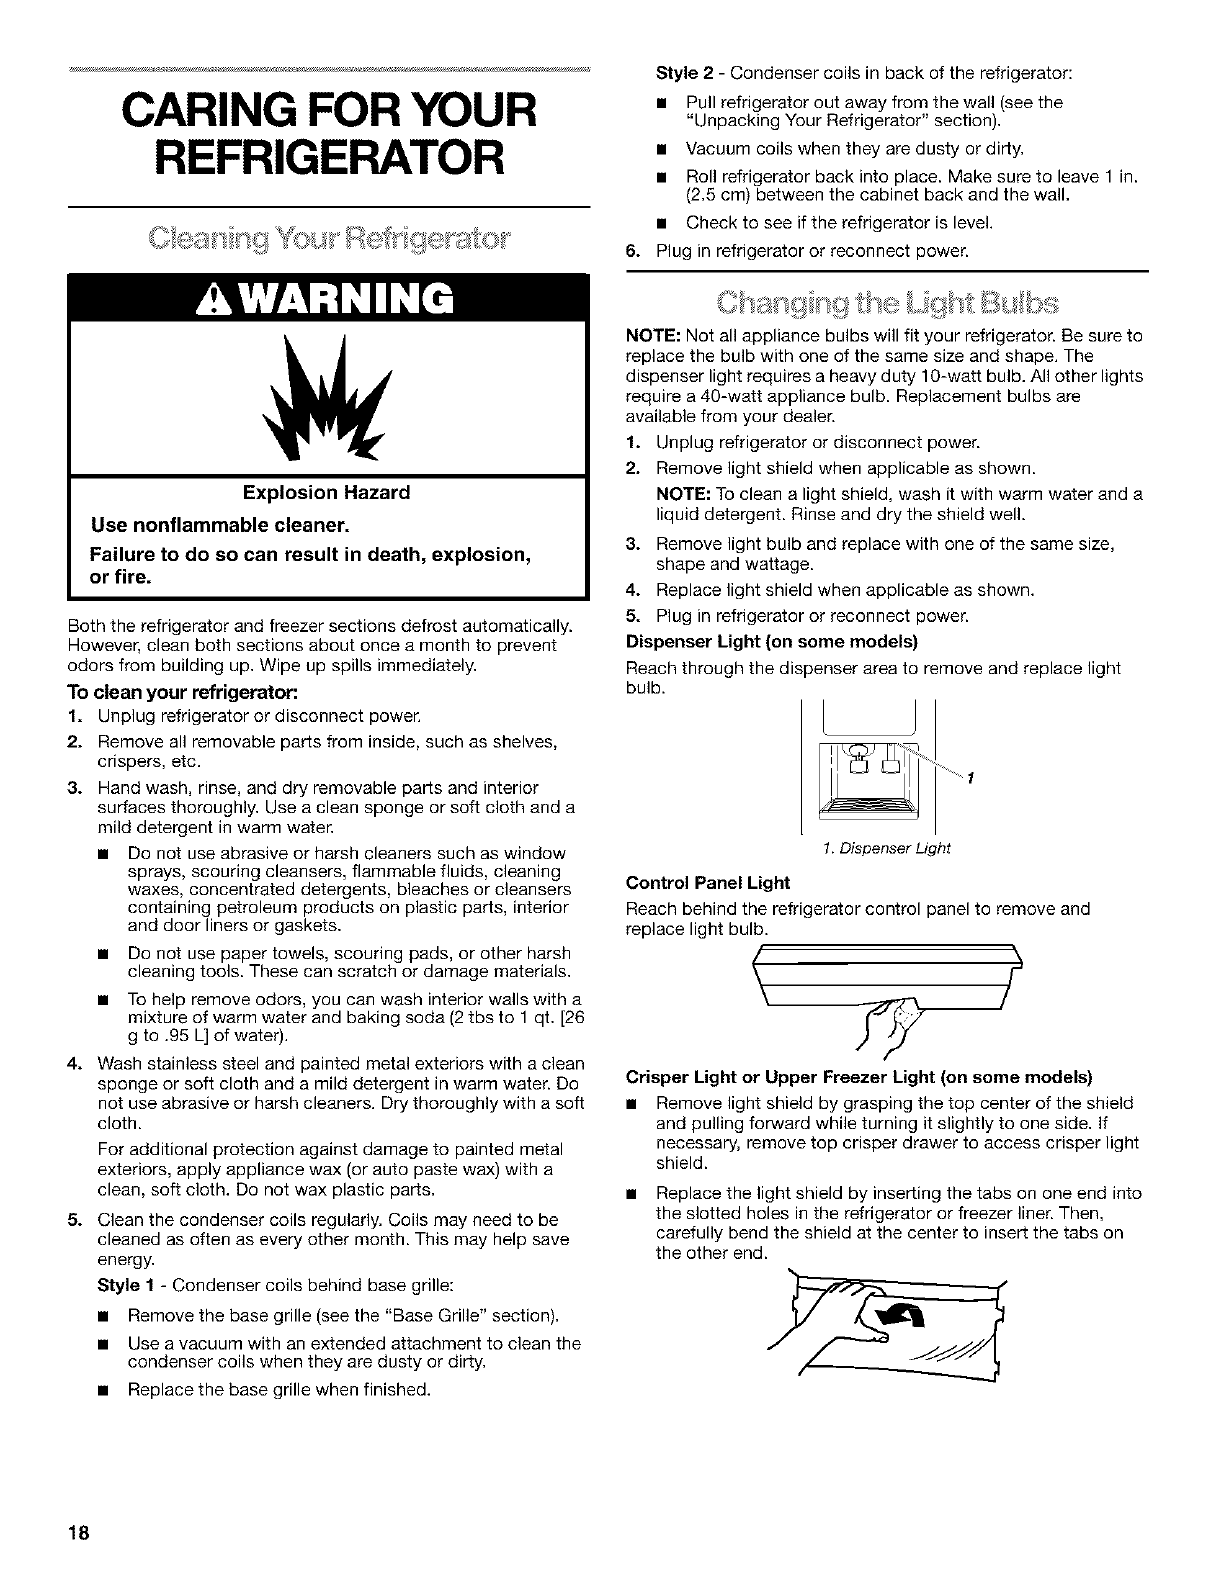
Dispenser Light (on some models}
Reach through the dispenser area to remove and replace light
bulb.
1
1.Dispenser Light
Control Panel Light
Reach behind the refrigerator control panel to remove and
replace light bulb.
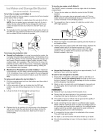
Crisper Light or Upper Freezer Light (on some models)
• Remove light shield by grasping the top center of the shield
and pulling forward while turning it slightly to one side. If
necessary, remove top crisper drawer to access crisper light
shield.
Replace the light shield by inserting the tabs on one end into
the slotted holes in the refrigerator or freezer liner. Then,
carefully bend the shield at the center to insert the tabs on
the other end.
18