


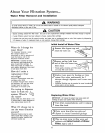
Installing Your Refrigerator
How to Remove the Doors and Hinges
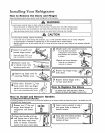
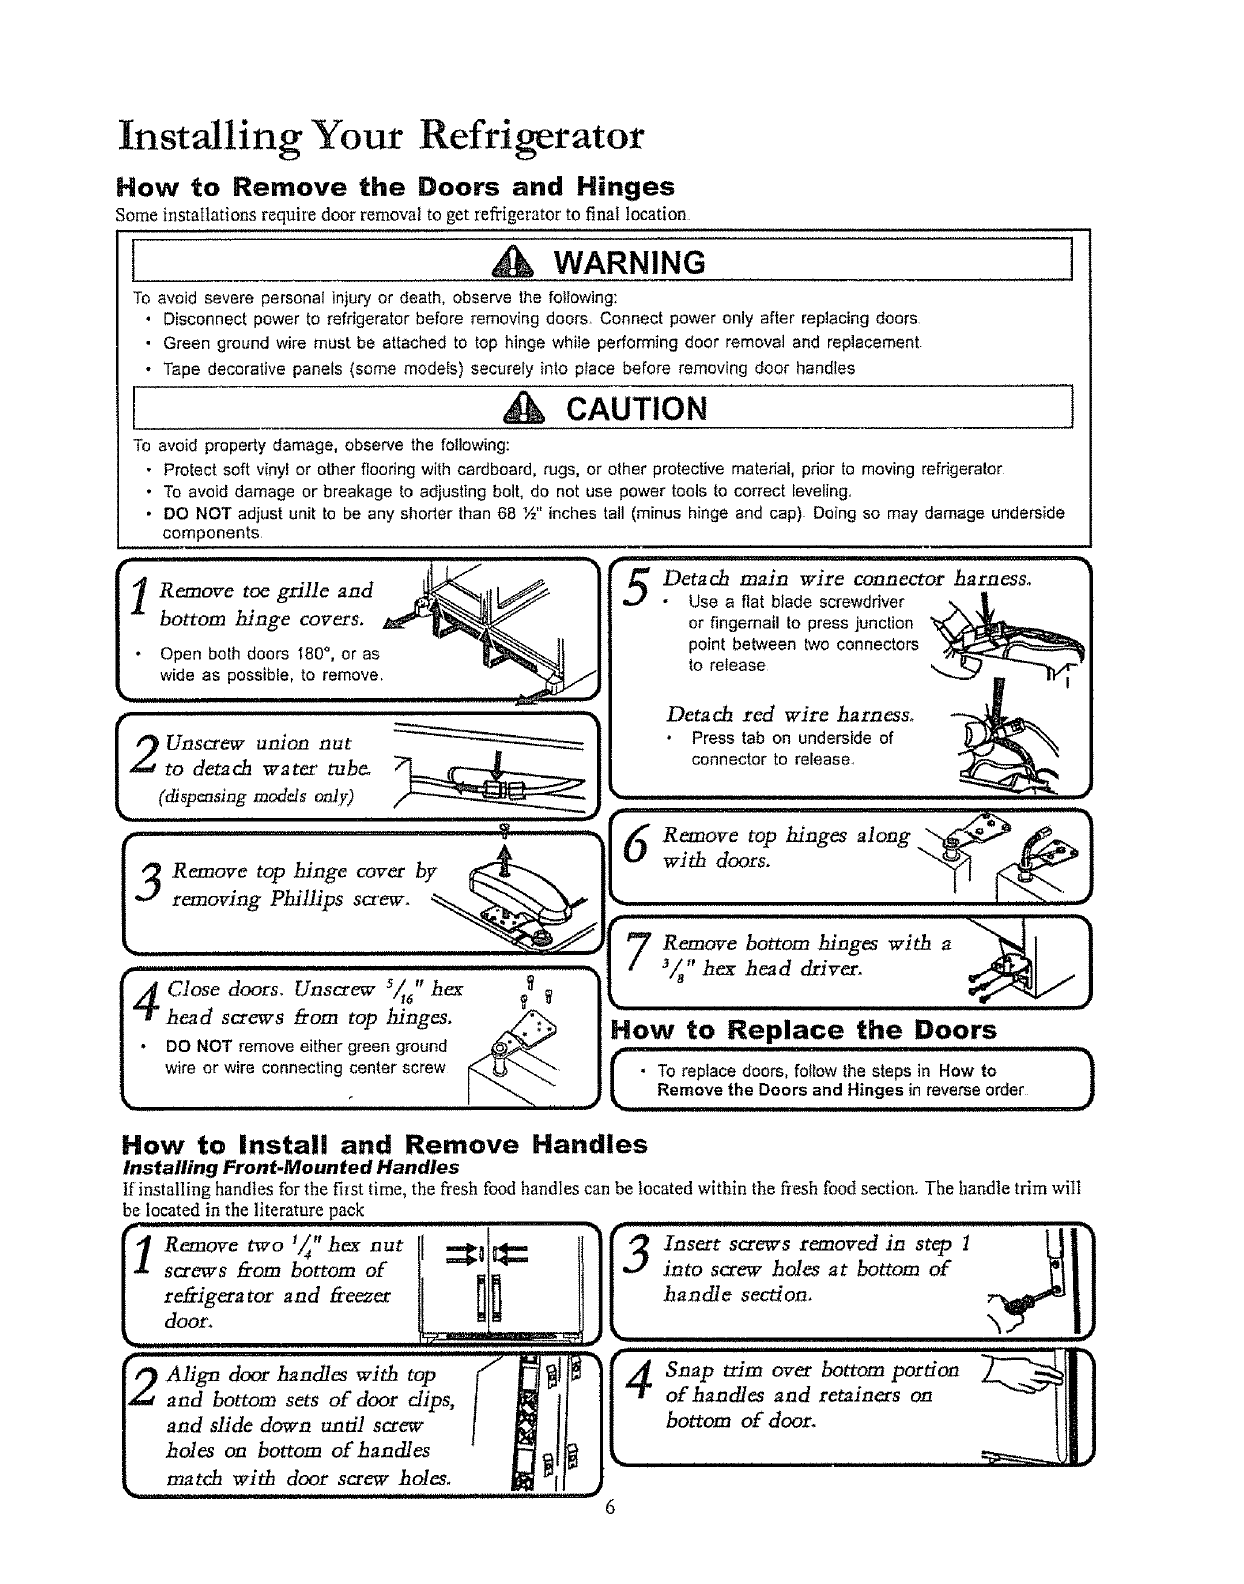
Some installations require door removal to get refligerator to final location
[ _ WARNING
To avoid severe personal injury or death, observe the following:
• Disconnect power to refrigerator before removing doom Connect power only after replacing doors
• Green ground wire must be attached to top hinge while performing door removal and replacement
• Tape decorative panels (some models) securely into place before removing door handles
[ A_ CAUTION
To avoid property damage, observe the following:
• Protect soft vinyl or other flooring with cardboard, rugs, or other protective material, pdor to moving refrigerator
• To avoid damage or breakage to adjusting bolt, do not use power tools to correct leveling.,
• DO NOT adjust unit to be any shorter than 68 ½" inches tall (minus hinge and cap) Doing so may damage underside
components
1
)
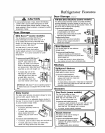
I emove toe grille and
bottom hinge covers.
, Open both doors I80% or as
wide as possible, to remove,
Unscrew union nut
to detach water tube.
(dispensing models onl._)
Remove top hinge cover by
removing Phillips screw.
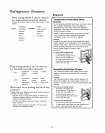
s/,, hex
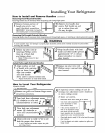
Close doors, Unscrew "_6 ?
head screws from top hinges,
DO NOT remove either green ground
wire or wire connecting center screw
Detach main wire connector harness.
Use a fiat blade screwdriver
or fingernail to press junction
point between two connectors
to release
Detach red wire harness.
Press tab on underside of
connector to release,
Remove top hinges along
with doors.
Remove bottom hinges with a
3Is" hex head driver.
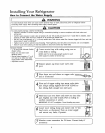
How to Replace the Doors
i i i iiiiiii iiii i iii iiiiiiiiiiiiii
I • To replace doom, follow the steps in How to |
_L
Remove the Doors and Hinges in reverse order
)
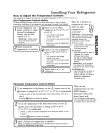
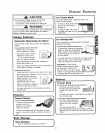
How to Install and Remove Handles
Installing Front-Mounted Handles
If installing handles for the fi_st time, the flesh food handles can be located within the flesh foodsection. The handle trim wilt
be located in the literature pack
screws £rom bottom o£
refrigerator and freezer
door_
i
and bottom sets o£ door dips, I _ t[
and slidedownuntos_ew I _ I/
holes on bottom o£handles --I_[_
match with door screw holes. _r_l[ -
3 screws emo;e in , LII1
in,oscrewhales bottom rill
i