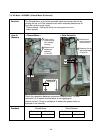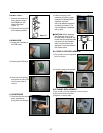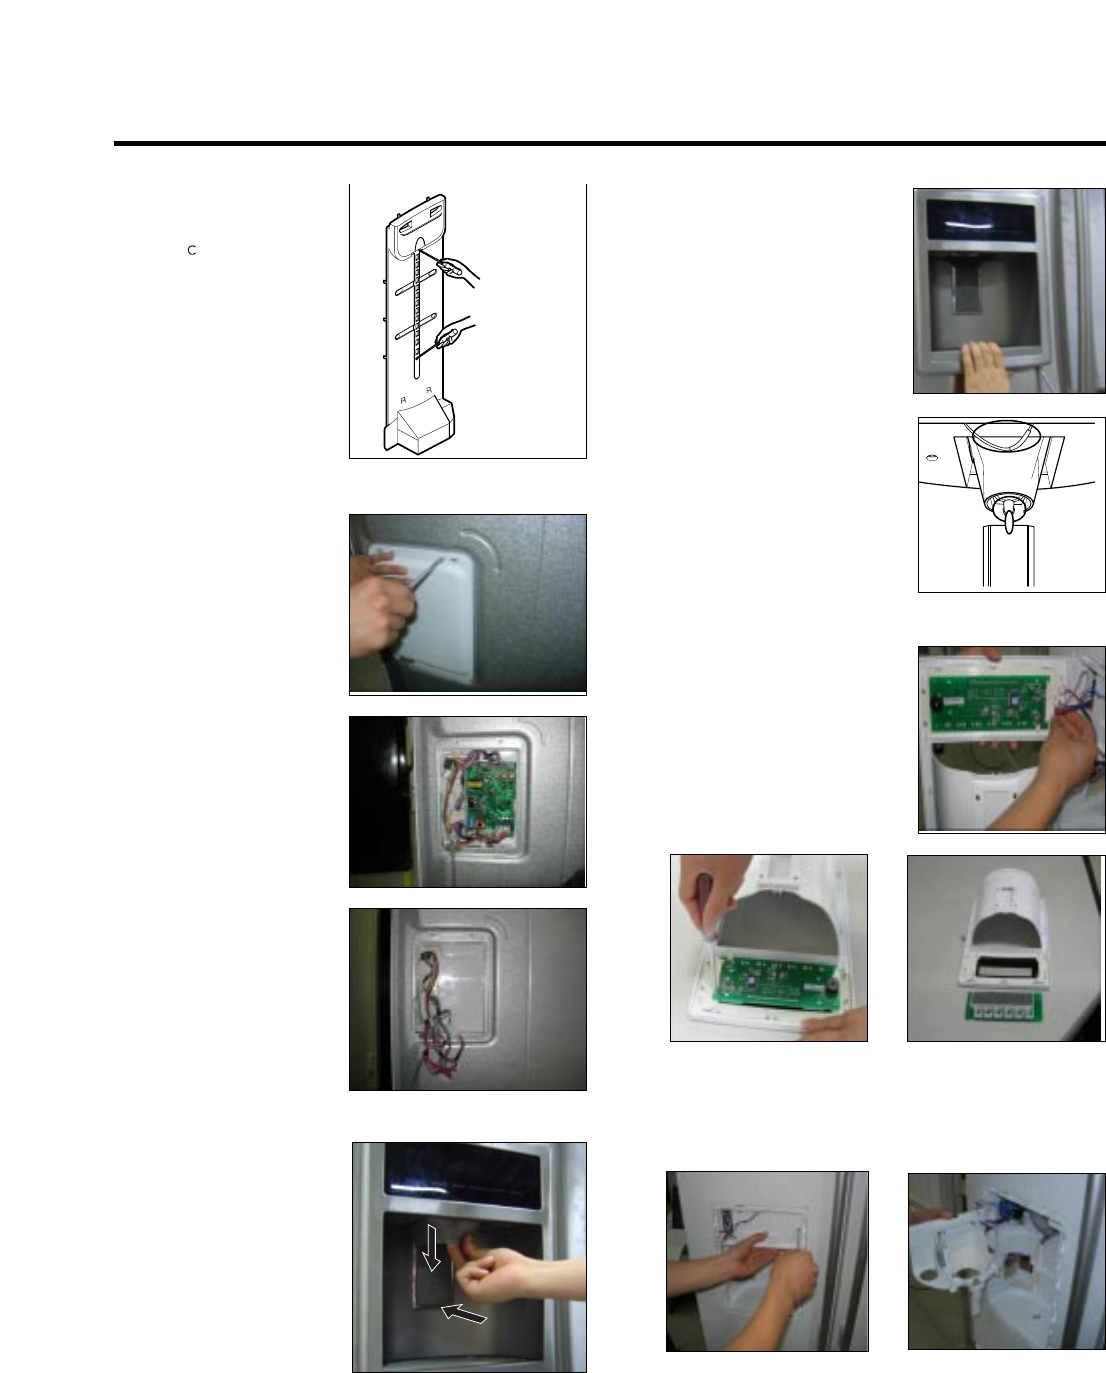
8-8 MULTI DUCT
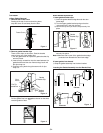
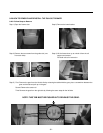
1. Remove the upper and
lower
aps by using a
flat screwdriver, and
remove 2 screws.
(Figure 17)
2. Disconnect the lead wire
on the bottom position.
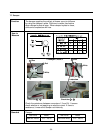
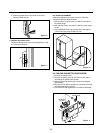
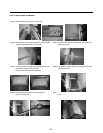
8-9 MAIN PWB
1) Loosen the 3 screws on
the PCB cover.
2) Remove the PCB cover
3) Disconnect wire harness
and replace the main PCB
in the reverse order of
removal.
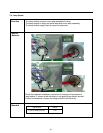
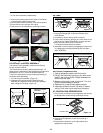
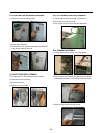
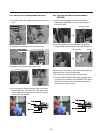
8-10 DISPENSER
1) Disconnect the funnel and
button assembly by
pulling down and forward.
2) Remove display frame
assembly by making a gap
between the display frame
assembly and door
with a flat blade screwdriver
and pulling it forward. The
cover dispenser is attached
with a hook.
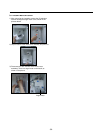
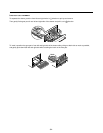
ww
CAUTION: When replacing
the dispenser cover in the
reverse order of removal, be
careful that the lead wire does
not come out and the water
tube is not pinched by the
dispenser cover, as shown in
the picture below.
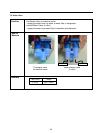
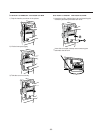
8-11 DISPLAY PCB REPLACEMENT
1) Pull up and out on the dispenser
cover to remove.
2) Follow the steps in the pictures
8-12 FUNNEL REPLACEMENT
1) Pull up and out on the dispenser cover to remove.
2) Disconnect the wire harness.
3) Replace in reverse order.
Figure 17
- 57 -


