6
Timer Override switch
The Timer Override switch allows you to run the unit past 4
hours, until it is turned off manually with the Power switch.
It is recommended that the switch be left in the OFF
position, unless longer warming times are required. When
the Override switch is in the ON position, the light on the
switch will illuminate to notify that the Timer has been
bypassed.
IMPORTANT: Although the Timer can be bypassed by
using the Timer Override switch, never allow food items to
remain in the Warming Drawer longer than one hour.
Bacterial growth may occur.
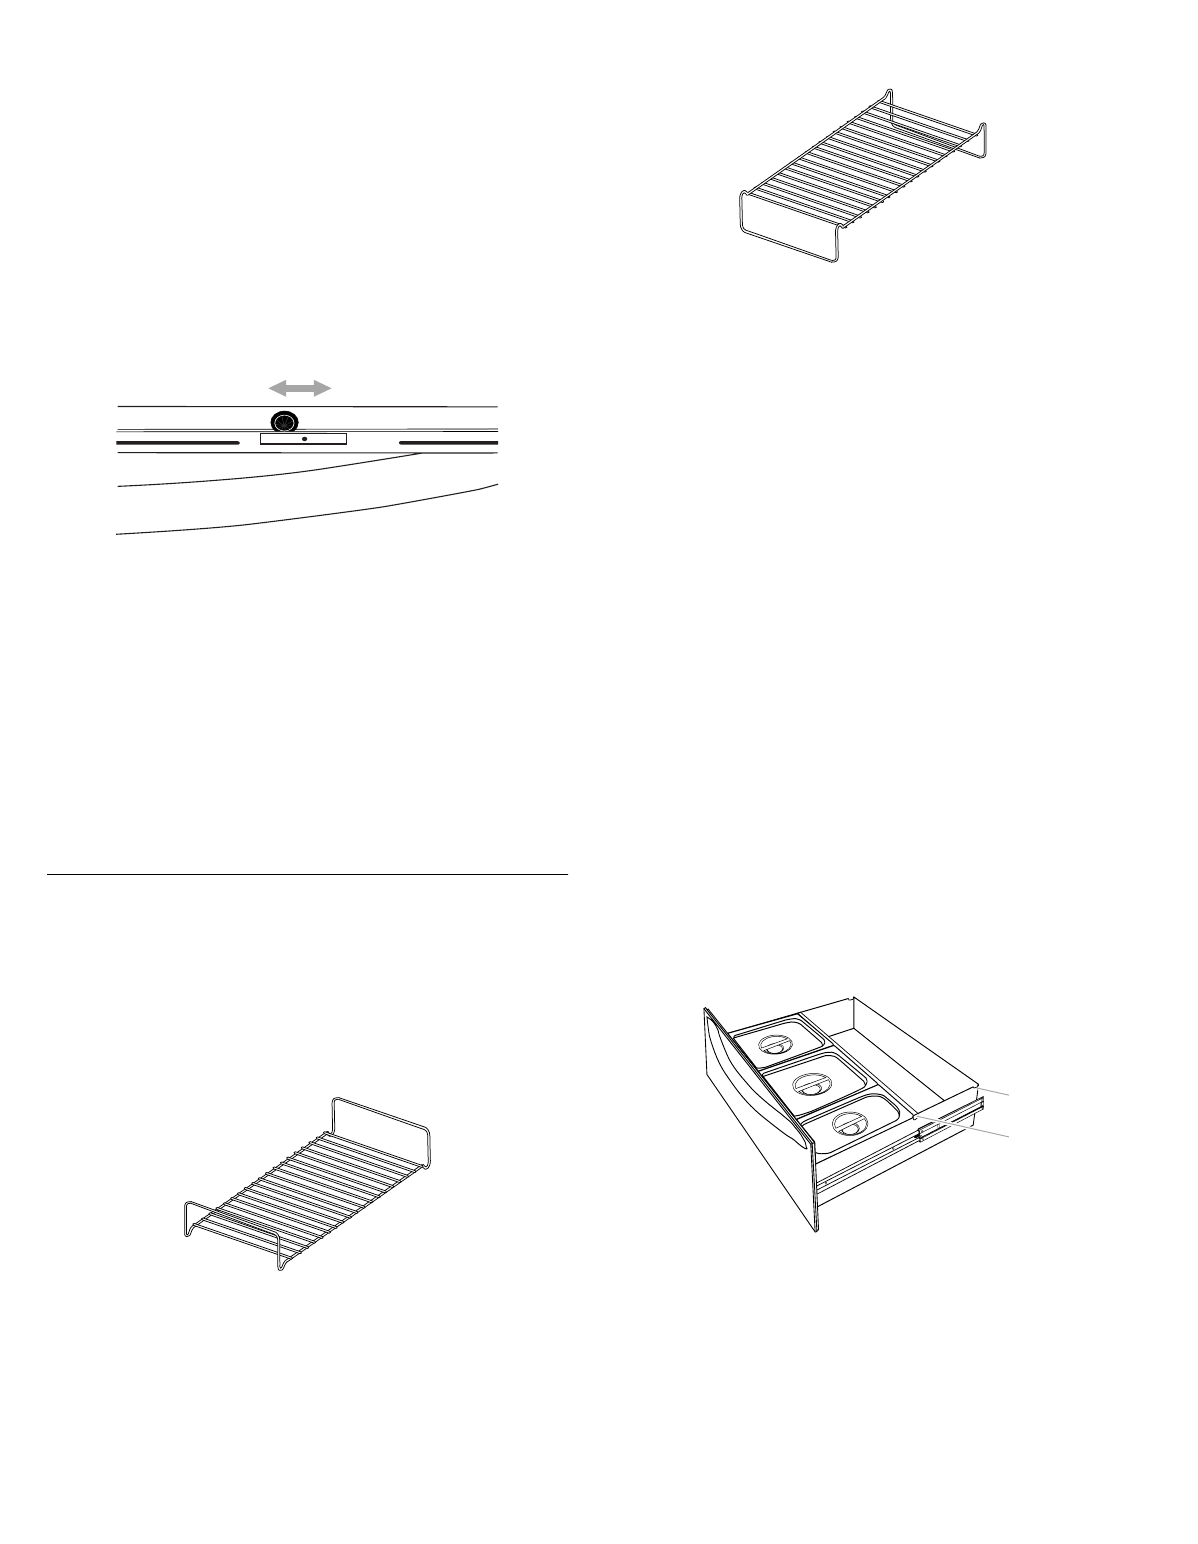
Moist-Dry slide.
The Moist-Dry slide allows you to open or close the vent
slots in the door. The MOIST setting holds the moisture in.
The DRY setting allows steam/moisture to escape from the
drawer.
■ To keep foods moist, put slide on MOIST, closing
vents. Closing the vents seals the drawer, keeping hot
food soft and moist.
NOTE: Condensation may form on inner surfaces.
■ To keep foods crisp, put slide on DRY, opening vents.
With the vents open the moisture is released from the
drawer, keeping hot food crisp.
Positioning Racks and Pans
Dual level rack
The rack accompanying your drawer can be used in two
different positions, high and low.
Low position
raises the utensil ¹⁄₂ inch from bottom of drawer.
High position
lets you stack items in the drawer.
To stack items:
■ Rack will fit from front to back or side to side.
NOTE: When placing front to back, drawer must be
fully open.
■ It may be necessary to cover some foods and use a
higher temperature setting with larger loads.
■ To warm both cooked foods and empty serving dishes
at the same time, place the serving dishes on the
drawer bottom during preheat and the food on the high
rack position after preheat.
■ Foods contained in heat-safe glass or glass ceramic
utensils may require a higher temperature setting than
food contained in metal utensils.
■ Extra time should be allotted for the drawer
temperature to stabilize, when adding items or
checking food.
Pans
■ The pans provided can withstand oven temperatures
and are approved for oven cooking.
■ If not cooking in pan, warm pans during preheat time.
Food temperature will fall below recommended levels if
pan is not warm.
■ Ensure pan support is properly installed in locator
notch before inserting pans.
30" shown (27" not shown)
1. Storage notch
2. Locator pan support
NOTE: 27" model comes with only 2 pans.
■ When not using pans, place locator pan support in
storage notch.
MOIST DRY
2
1
