


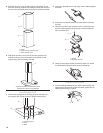
7. Tape the template (supplied in the chimney support carton) to
the ceiling and mark the mounting holes, electrical hole and
vent location (if used) on the ceiling.
8. Drill pilot holes in the chimney support mounting hole
locations for your attachment method.
9. Use a 1¹⁄₄" or 3.0 cm drill bit to drill the hole for the power
supply cable.
10. If venting to the outside, cut the hole for the vent system in
the ceiling and install the vent system. See “Venting
Requirements” section.
11. If venting to the outside, place the round damper into the
exhaust opening of the vent motor housing.
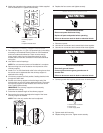
12. Remove the 4 chimney support ceiling attachment bolts from
the parts bag and install in previously drilled pilot holes. Leave
screw heads about ¹⁄₄" (6.4 mm) away from ceiling strips.
13. If the extension kit is not being installed, go to
“
Complete
Chimney Support Installation” section.
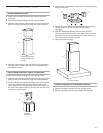
Installing Chimney Extension Kit (Optional)
1. Remove chimney extension cover (if factory assembled).
2. Position the chimney extension over the chimney support so
that the outside edges and the electrical holes line up.
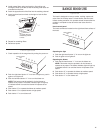
INSTALLATION INSTRUCTIONS
Install Chimney Support
Because of the size and weight of this island hood, the chimney
support must be securely attached to the ceiling.
■ For plaster or drywall ceilings, the chimney support must be
attached to joists. If this is not possible, you must build a
support structure behind the plaster or drywall.
■ Do not cut a joist or stud unless absolutely necessary. If a
joist or stud must be cut, then a supporting frame must be
constructed.
■ Before making cutouts, make sure there is proper clearance
within the ceiling or wall for exhaust vent.
1. Select a flat surface for assembling the hood. Cover that
surface with a protective covering such as a blanket or
cardboard during assembly.
NOTE: Do not remove the plastic covering on the chimney
covers at this time. The covering protects the chimney during
installation.
2. Using two or more people, place all hood parts and hardware
on the protective covering
The chimney section of the hood is shipped assembled. It must
be disassembled for installation.
3. Slide apart the chimney covers.
4. Remove the lower chimney cover from the chimney support
by removing the two Phillips screws on the outside bottom of
the chimney cover.
5. Remove the upper chimney cover from the chimney support
by removing the two Phillips screws on the outside top of the
chimney cover.
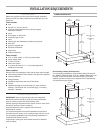
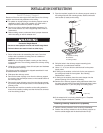
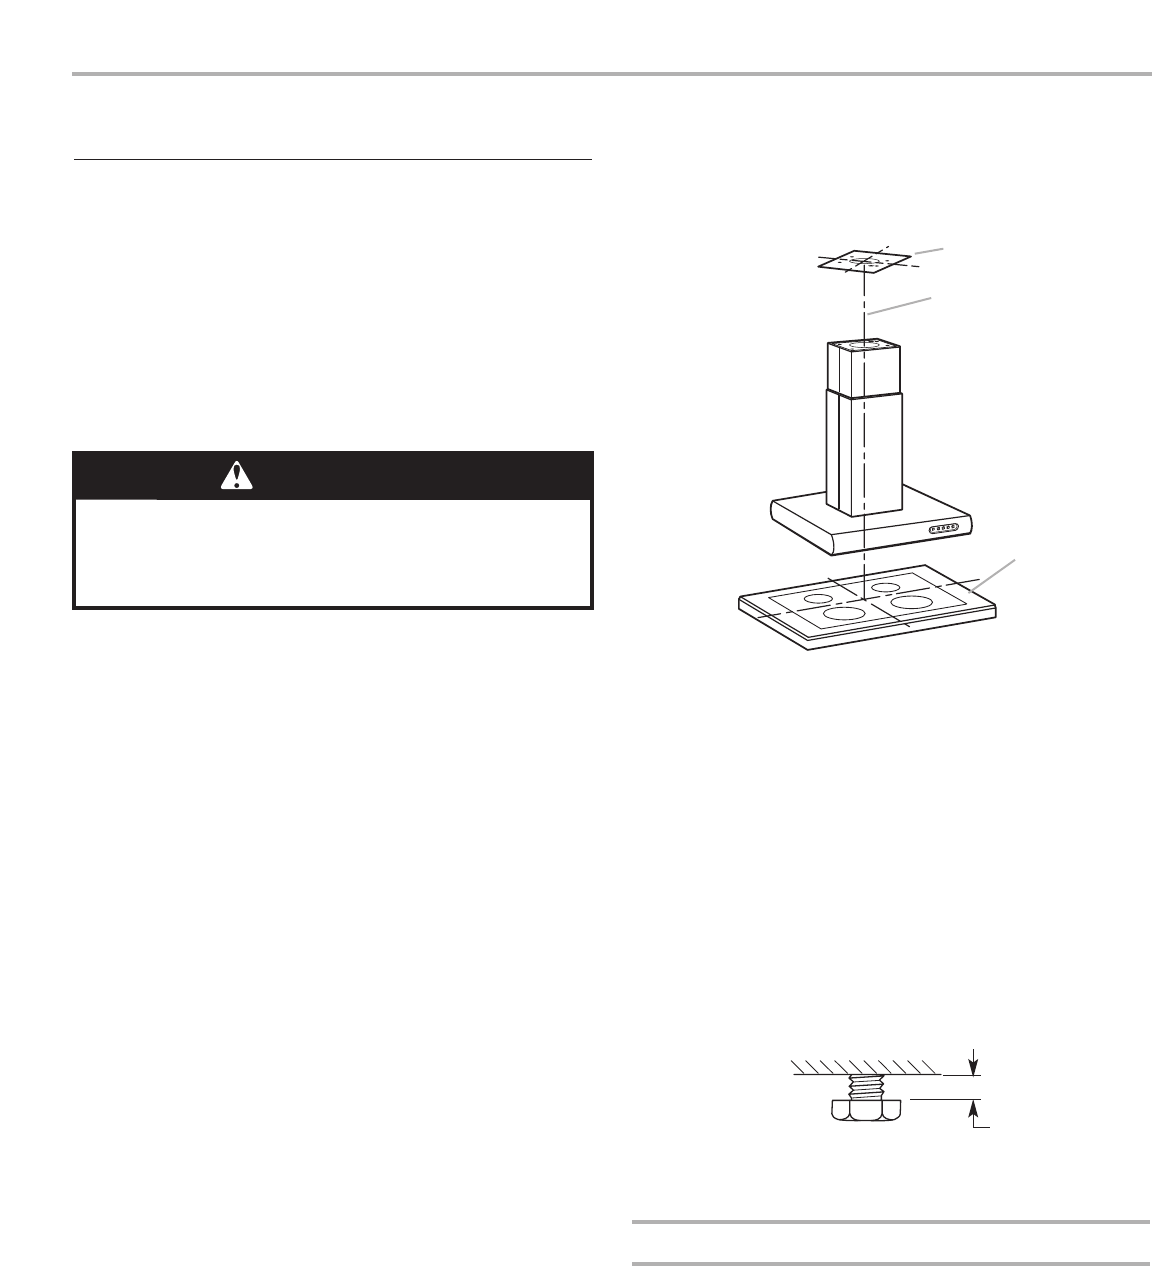
6. Determine and mark the centerline on the ceiling where the
hood will be installed, making sure that the hood is centered
over the cooking surface.
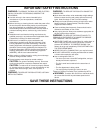
WARNING
Excessive Weight Hazard
Use two or more people to move and install range hood.
Failure to do so can result in back or other injury.
A
B
C
A. Template on ceiling
B. Centerline
C. Cooking surface
¹⁄₄" (6.4 mm)
7