


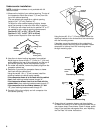
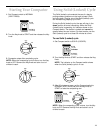
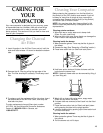
1. Use pliers to lower leveling legs away from cabinet.
Place level inside on the floor of the cabinet. Check that
the compactor is level from front to back and side to
side. Adjust the leveling legs until the compactor is
level.
Freestanding installation:
7
2. Move the compactor close to its final position. Plug
the power supply cord into a 3-prong grounded outlet.
3. Carefully move compactor into its final position.
Check that compactor is still level. Repeat step 1
if necessary.
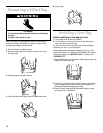
4. Grasp sides of compactor drawer and place bottom
of drawer into tracks. Lift at the handle so drawer will
go over drawer stops. Close drawer. Check if drawer
opens freely. If the toe plate rubs against floor, see
“Adjusting the Toe Plate” for further instructions.
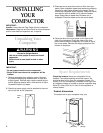
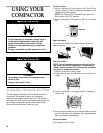
Freestanding and Undercounter Installation
NOTE: Proper installation is your responsibility. Make sure
you have everything necessary for correct installation. It is
the personal responsibility and obligation of the customer
to contact a qualified installer to assure that electrical
installation meets all national and local codes and ordi-
nances.
Tools and materials needed for installation:
Level
Pliers
Scissors
Phillips screwdriver
Flat-Blade screwdriver
Utility knife
Measuring tape
5
⁄16" (8 mm)-Box-end wrench
Gloves
IMPORTANT:
• Do not grasp console to move compactor.
• Slide compactor onto cardboard or hardboard
before moving compactor across floor to prevent
damaging floor covering.
• Do not allow the rear frame of the compactor to
touch the floor covering when lifting or moving com-
pactor.
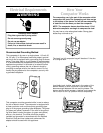
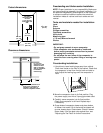
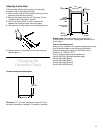
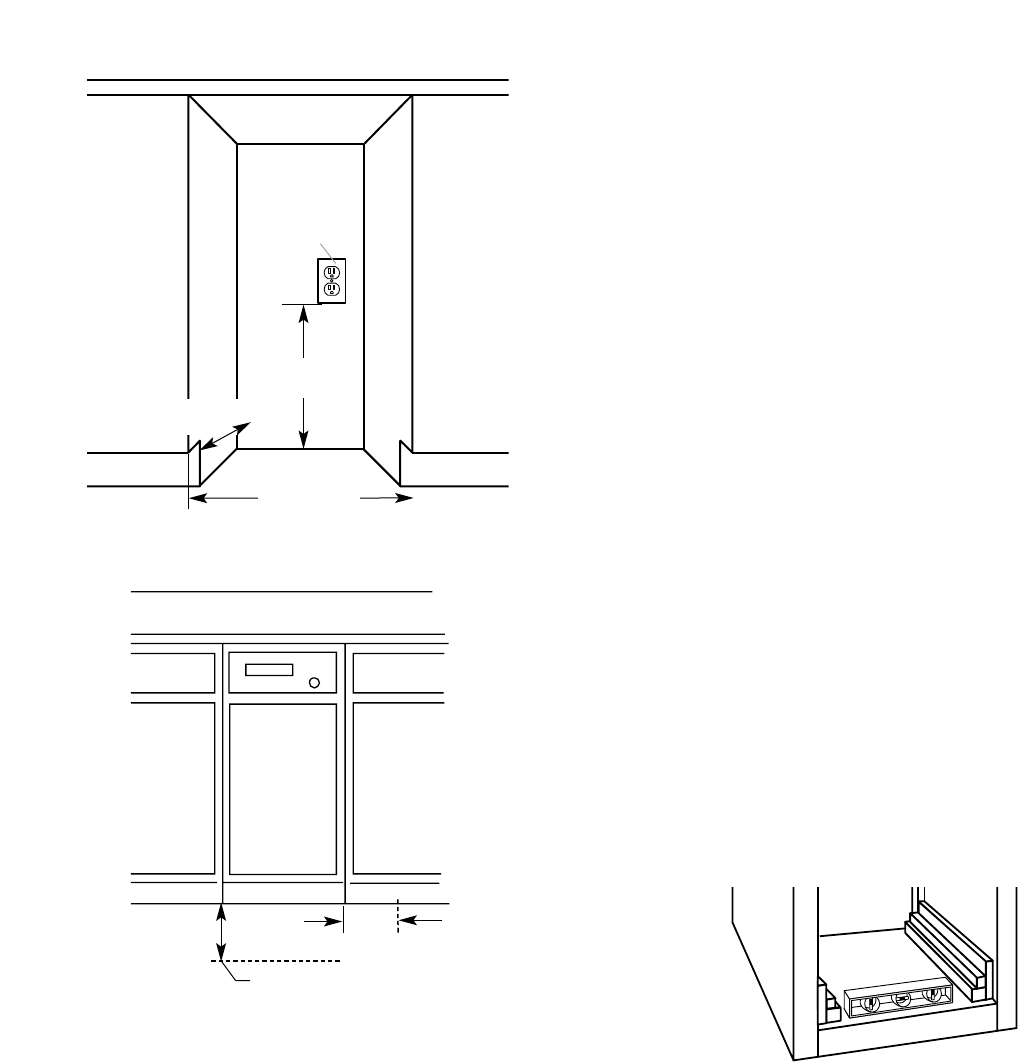
18" min.
(45.7 cm)
24" min.
(61 cm)
Grounded
electrical outlet
must be
3" (7.6 cm) min.
from either side
wall.
6" (15.2 cm)
clearance to the
nearest vertical
wall on the right
side of compactor
is needed to
remove bag.
23" (58.4 cm) clearance in
front of the compactor is
needed to fully open or
remove compactor drawer.
15
1
⁄4" min.
(38.7 cm)
34
1
⁄4" min.
(87 cm)
Cutout dimensions
Clearance dimensions