21
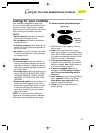
Surface burners
The gas sealed burners have an auto-
reignition system. The sealed burners
spread heat evenly across the bottom of the
cooking utensil and provide infinite heat
control. The auto-reignition system senses
when a burner flame has gone out and will
automatically reignite that burner.
Your cooktop is factory-set for use
with Natural Gas. If you wish to use L.P.
gas, L.P. Gas Conversion Kits are avail-
able from your authorized KitchenAid
dealer or parts outlet. Use Kit No.
4175444 for Model KGCT025Y. Use Kit
No. 4173627 for Model KGCT025A. In all
cases, the conversion must be done by a
qualified service technician.
When to use the rear burner:
Use this burner for cooking large quantities
of food, deep-fat frying, or cooking with a
large cooking utensil.
When to use the front burner:
Use this burner for simmering or for cooking
smaller quantities of food requiring a small
cooking utensil.
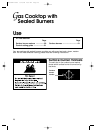
How to use the surface burners:
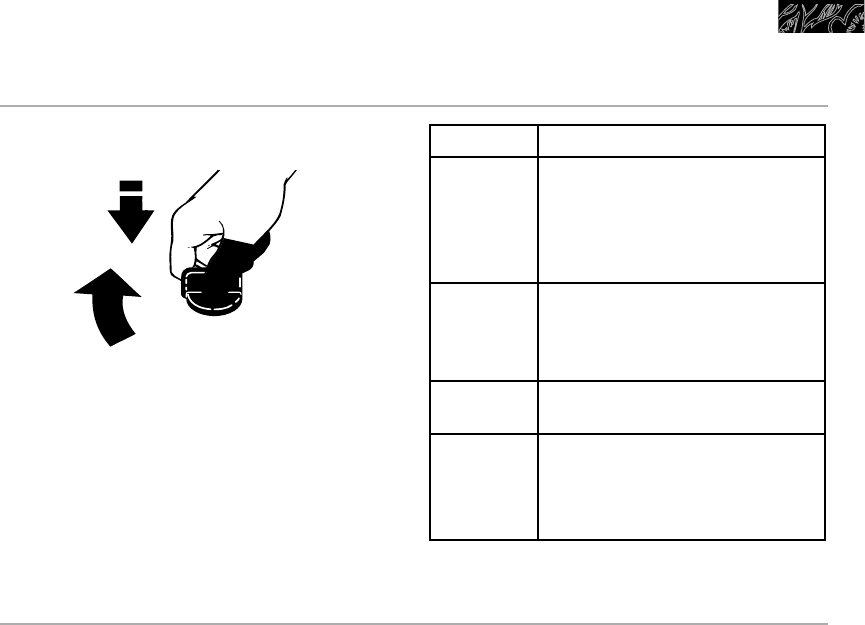
1. Grasp the control knob.
2. Push down and turn to the left to HI. The
electric spark ignitor will ignite the gas
flowing into the burner. When you hear a
clicking sound, you know that the ignitors
are working. Gas is flowing as long as the
control knob is not set at OFF.
3. When the burner is lit, turn the control
knob to the left to the desired flame
setting. (See guide above.) The ignitor
will turn off and the clicking will stop
when the burner ignites.
NOTES:
• The ignitors may click a number of times
before the burner lights. This is normal.
• Both burner ignitors will spark
regardless of which burner you are using.
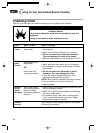
• Visually check that burner has lit. If the
burner does not ignite, listen for the
clicking sound. If you do not hear the
ignitor click, TURN THE BURNER OFF.
Check that the service cord is firmly in
Using Your Gas Sealed Burner Cooktop
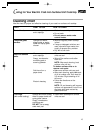
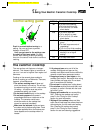
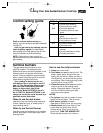
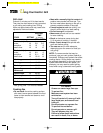
SETTING RECOMMENDED USE
HI • To start food cooking.
• To bring liquid to a boil.
6-5 • To hold a rapid boil.
• To quickly brown or sear
meat.
4 • To make pudding, sauce, or
gravy.
• To maintain a slow boil.
• To fry poultry or meat.
3-2 • To stew or stem food.
• To simmer food.
LO • To maintain liquid just below
simmer.
• To melt chocolate or butter.
• To keep food warm.
Control setting guide
Push in controls before turning to a
setting. You can set them anywhere between
HI and OFF.
Until you get used to the settings, use the
chart at right as a guide. For best results,
start cooking at the high setting; then turn the
control knob down to continue cooking.
NOTE: Cooking times may need to be
adjusted when using a vent system with your
gas cooktop.
OFF
HI
5
4
3
6
4454944v11c46 8/25/98 2:58 PM Page 21


