


16
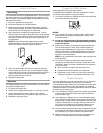
Chilled Meat Drawer
(on some models)
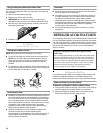
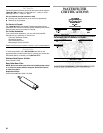
Slide the meat drawer temperature control forward to make the
meat drawer less cold or backward to make the drawer more
cold.
Meat Storage Guide
Store most meat in original wrapping as long as it is airtight and
moisture-proof. Rewrap if necessary. See the following chart for
storage times. When storing meat longer than the times given,
freeze the meat.
Fresh fish or shellfish ................. use same day as purchased
Chicken, ground beef, variety meats (liver)...............1-2 days
Cold cuts, steaks/roasts...........................................3-5 days
Cured meats ........................................................... 7-10 days
Leftovers - Cover leftovers with plastic wrap, aluminum foil, or
plastic containers with tight lids.
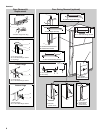
Wine or Can/Bottle Rack
(on some models - Accessory)
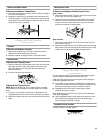
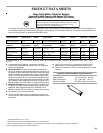
To Remove and Replace the Wine Rack (left) or Can/Bottle
Rack (right):
1. Remove the rack by pulling it straight out from the shelf.
2. Replace the rack by sliding it in between the shelf and the
wall of the refrigerator.
Utility or Egg Bin
(on some models - Accessory)
Depending on your model, you may have a one-, two- or
three-piece bin. Eggs may be stored in the egg tray or loose in
the bin.
NOTE: Store eggs in a covered container for long-term storage. If
your model does not have an egg storage bin, store eggs in their
original carton on an interior shelf.
FREEZER FEATURES
Your model may have some or all of these features. Features that
can be purchased separately as product accessories are labeled
with the word “Accessory.” Not all accessories will fit all models.
If you are interested in purchasing one of the accessories, please
call the toll-free number on the cover or in the “Assistance or
Service” section.
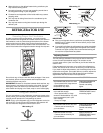
Freezer Shelf
(on some models)
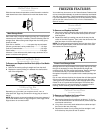
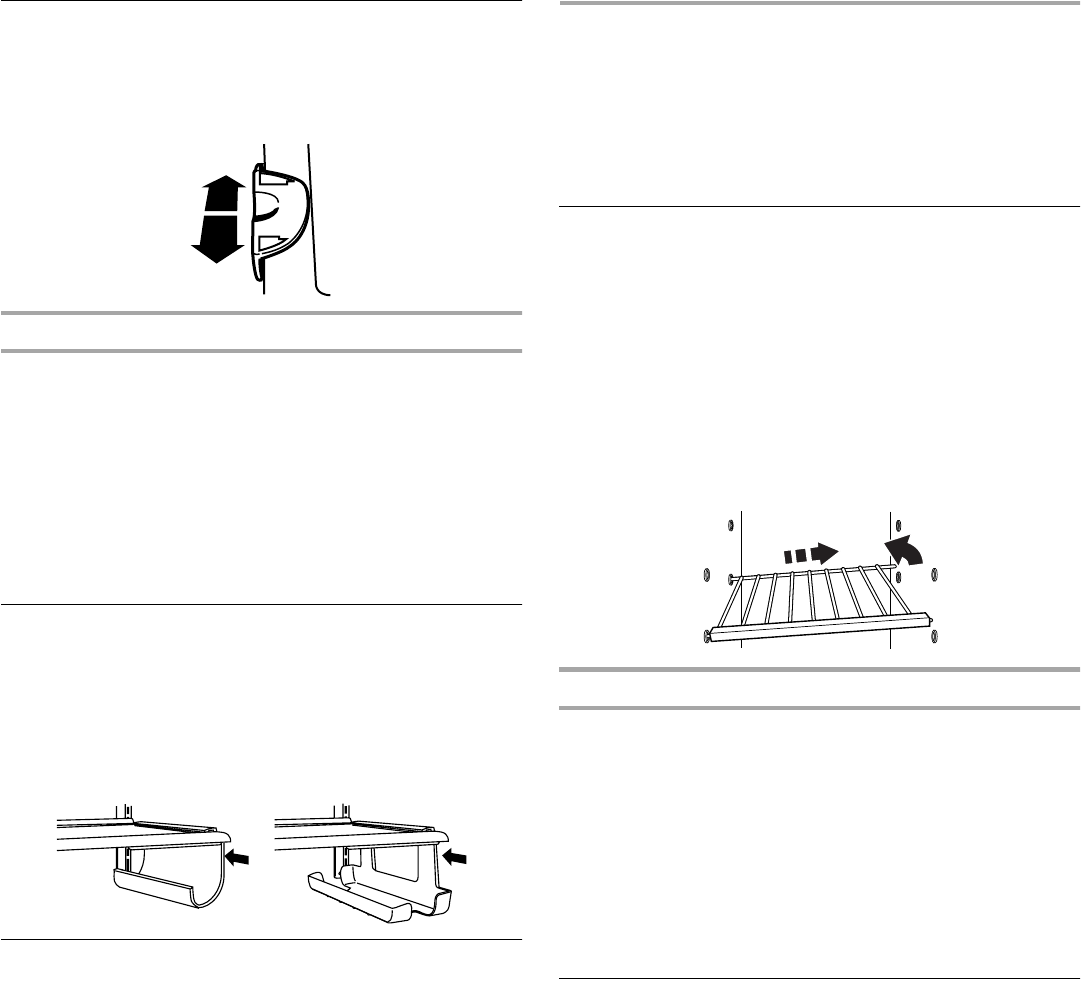
To Remove and Replace the Shelf:
1. Remove the shelf by lifting the entire shelf slightly and move it
all the way to one side. Tilt the other side up and out of the
shelf supports.
2. Replace the shelf by inserting one end all the way into the
center of the shelf supports. Then, lower the other end of the
shelf and insert it into the shelf supports.
NOTE: The shelf should lower slightly and lock into place. If the
shelf does not appear stable, make sure both ends of the shelf
are inserted into the shelf supports.
Frozen Food Storage Guide
Storage times will vary according to the quality and type of food,
the type of packaging or wrap used (should be airtight and
moisture-proof), and the storage temperature. Seal the package
or container securely to prevent taste and odor transfer
throughout the product. Ice crystals inside a sealed package are
normal.
Put no more unfrozen food into the freezer than will freeze within
24 hours (no more than 2 to 3 lbs. of food per cubic foot [907-
1,350 g per 28 L] of freezer space). Leave enough space in the
freezer for air to circulate around packages. The freezer door
must close tightly. For more information on preparing food for
freezing, check a freezer guide or reliable cookbook.
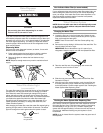
Pull-out Freezer Floor
(on some models)
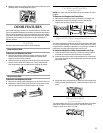
To Remove and Replace the Freezer Floor:
1. Lift both back “fences” up and out.
2. Remove the freezer floor by pulling it out about 1" (2.5 cm)
with one hand around the air tower section (center back) and
one hand at center front.
3. Lift up floor at rear until hooks release from cabinet and pull
the floor out the rest of the way.
4. Replace the freezer floor by sliding the floor straight in until
the hooks drop into place at rear of cabinet.
COLDER
COLD