


For Model KUDU03ST
During the first minute of a cycle
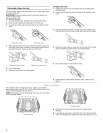
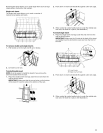
1. Open the door.
2. Press a new cycle and/or options.
3. Check the detergent dispensers. They must be filled properly
for the new cycle. (See "Detergent Dispenser" in the User
Instructions for more details.)
4. Press START/RESUME.
5. Close the door firmly within 3 seconds of pressing Start/
Resume. The dishwasher resumes the new cycle and/or
option after a 5-second pause.
After the first minute of a cycle
1. Press CANCEL.
The display shows
II
Your dishwasher starts a 2-minute drain (if needed). Let
the dishwasher drain completely. The light turns off after
2 minutes.
NOTE: If your dishwasher does not need draining, the light
turns off.
2. Open the door.
3. Select a new cycle and/or options.
4. Check the detergent dispensers. They must be filled properly
for the new cycle. (See "Detergent Dispenser" in the User
Instructions for more details.)
5. Press START/RESUME.
6. Close the door firmly. The dishwasher resumes the new cycle
and/or option after a 5-second pause.
For Models KUDU03Fr, KUDU03FTPA
During the first minute of a cycle
1. Open the door.
2. Press a new cycle and/or options.
3. Check the detergent dispensers. They must be filled properly
for the new cycle. (See "Detergent Dispenser" in the User
Instructions for more details.)
4. Press START/RESUME.
5. Close the door firmly within 3 seconds of pressing Start/
Resume. The dishwasher resumes the new cycle and/or
option after a 5-second pause.
After the first minute of a cycle
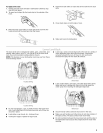
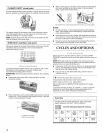
1. Open the door slightly to stop the cycle. Wait for the spraying
action to stop before opening the door to gain access to the
control panel.
2. Press CANCEL. The Cancel light glows.
3. Close the door. Your dishwasher starts a 2-minute drain (if
needed). Let the dishwasher drain completely.
4. Open the door. Select a new cycle and/or options.
5. Check the detergent dispensers. They must be filled properly
for the new cycle. (See "Detergent Dispenser" in the User
Instructions for more details.)
6. Press START/RESUME.
7. Close the door firmly within 3 seconds of pressing Start/
Resume. The dishwasher resumes the new cycle and/or
option after a 5-second pause.
/%" _ * }
,,,_,:;, 0<!u',,;_.........._} !#i"_oo,......_o;_
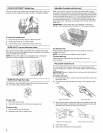
You can add an item anytime before the main wash starts. Open
the door and check the detergent dispenser. If the cover is still
closed, you can add items.
To add items
1. Open the door slightly to stop the cycle. Wait for the spraying
action to stop before opening the door.
2. Open the door. If the detergent dispenser cover is still closed,
add the item.
3. Press START/RESUME.
4. Close the door firmly within 3 seconds of pressing Start/
Resume. The dishwasher resumes the cycle after about a
5-second pause.
You can customize your cycles by pressing the options desired. If
you change your mind, press the option again to turn off the
option. Select a different option if desired.
You can change an option anytime before the selected option
begins. For example, you can press HEAT DRY anytime before
drying begins.
Press START/RESUME to repeat the same cycle and options as in
the previous wash cycle.
NOTE: If the last cycle you completed was a rinse cycle, when
you press Start/Resume, the dishwasher runs the last full wash
cycle and options.
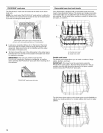
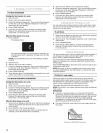
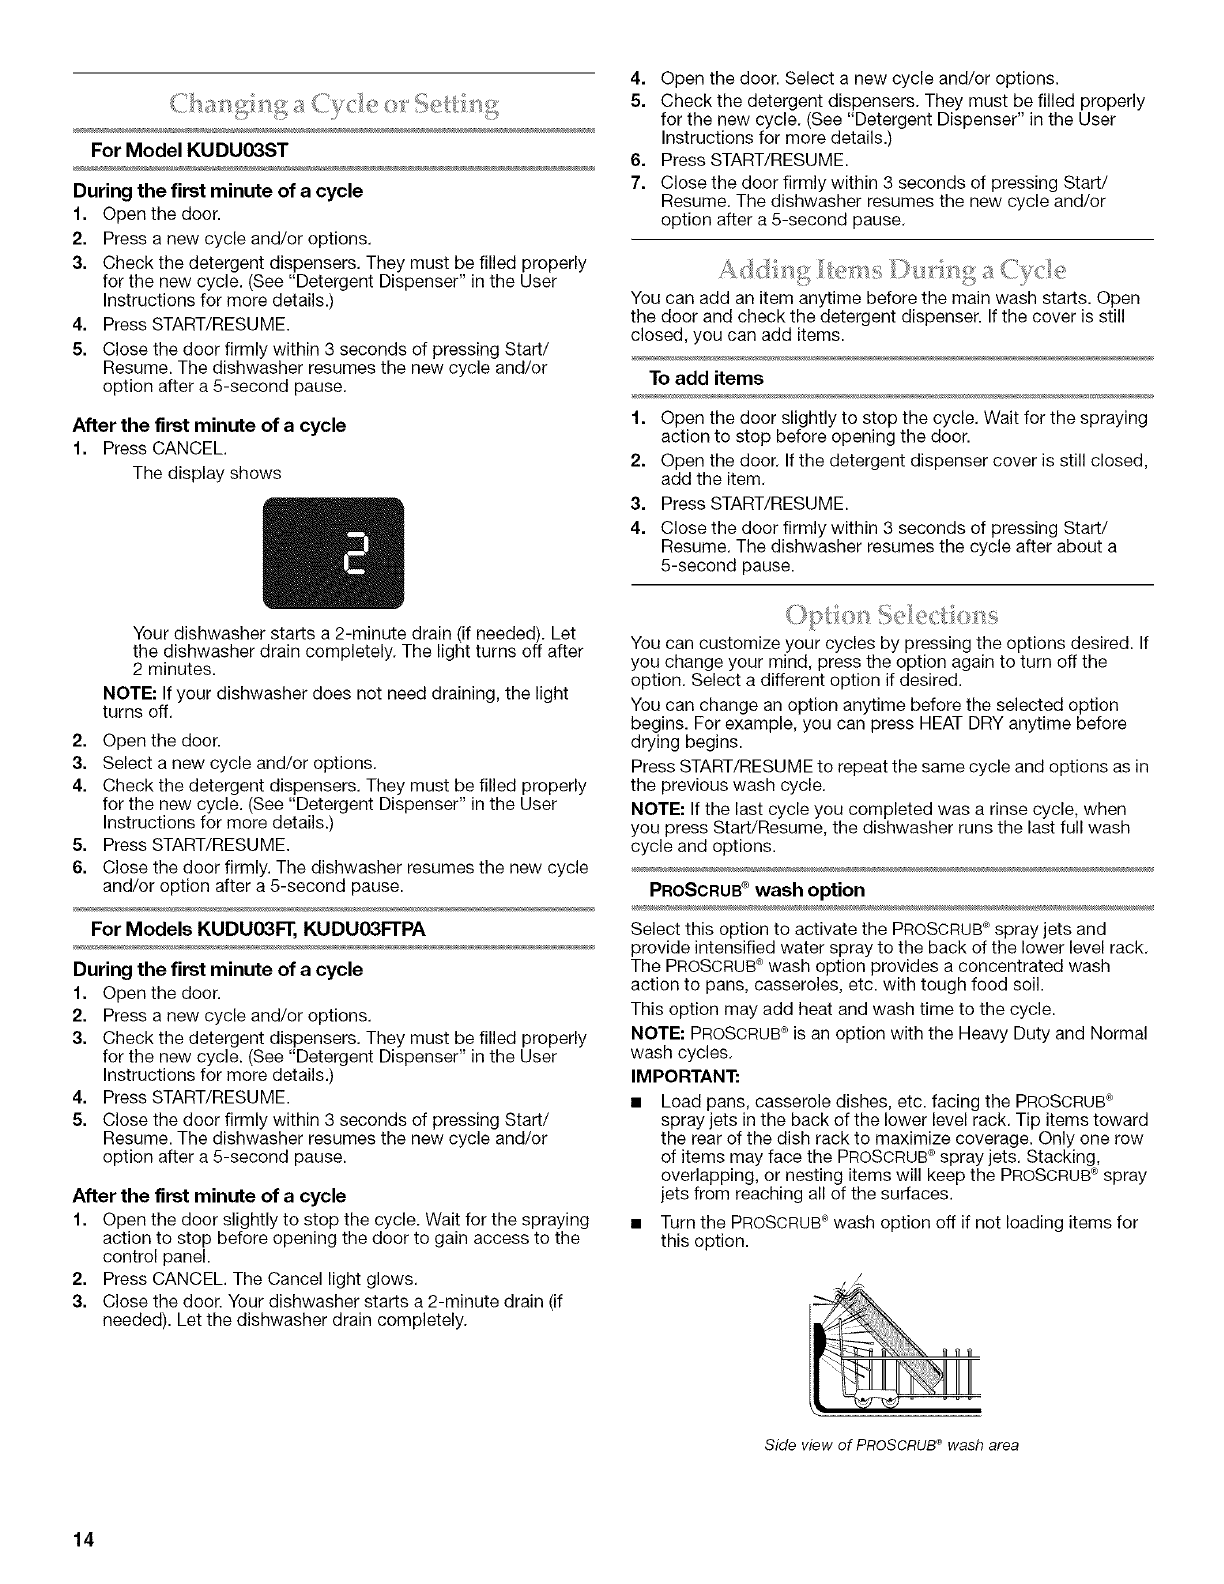
PROSCRUB®wash option
Select this option to activate the PROSCRUB®spray jets and
provide intensified water spray to the back of the lower level rack.
The PROSCRUB®wash option provides a concentrated wash
action to pans, casseroles, etc. with tough food soil.
This option may add heat and wash time to the cycle.
NOTE: PROSCRUB®is an option with the Heavy Duty and Normal
wash cycles.
IMPORTANT:
• Load pans, casserole dishes, etc. facing the PROSCRUB®
spray jets in the back of the lower level rack. Tip items toward
the rear of the dish rack to maximize coverage. Only one row
of items may face the PROSCRUB®spray jets. Stacking,
overlapping, or nesting items will keep the PROSCRUB_ spray
jets from reaching all of the surfaces.
• Turn the PROSCRUB®wash option off if not loading items for
this option.
/
,
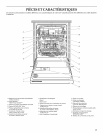
Side view of PROSCRUB®wash area
14