8
Use and Care Information
WARNING — To reduce the risk of
fire or electrical shock, do not use
this fan with any solid-state speed
control device.
WARNING — TO REDUCE THE
RISK OF FIRE, ELECTRIC SHOCK,
OR INJURY TO PERSONS,
OBSERVE THE FOLLOWING:
Use this unit only in the manner
intended by the manufacturer. If
you have questions, contact the
manufacturer. Before servicing or
cleaning unit, switch power off at
service panel and lock the service
disconnecting means to prevent
power from being switched on
accidentally. When the service
disconnecting means cannot be
locked, securely fasten a
prominent warning device such as
a tag to the service panel
CAUTION: For general ventilating
use only. Do not use to exhaust
hazardous or explosive materials
and vapors.
WARNING — TO REDUCE THE
RISK OF A RANGE TOP GREASE
FIRE:
Never leave surface units
unattended at high settings.
Boilovers cause smoking and
greasy spillovers that may ignite.
Heat oils slowly on low or
medium settings.
Always turn hood ON when
cooking at high heat or when
cooking flaming foods.
Clean ventilating fans frequently.
Grease should not be allowed to
accumulate on fan or filter.
Use proper pan size. Always use
cookware appropriate for the size
of the surface element.
WARNING — TO REDUCE THE
RISK OF INJURY TO PERSONS IN
THE EVENT OF A RANGE TOP
GREASE FIRE, OBSERVE THE
FOLLOWING:
SMOTHER FLAMES with a close-
fitting lid, cookie sheet, or metal
tray, then turn off the burner. BE
CAREFUL TO PREVENT BURNS. If
the flames do not go out
immediately, EVACUATE AND
CALL THE FIRE DEPARTMENT.
NEVER PICK UP A FLAMING PAN
— You may be burned.
DO NOT USE WATER, including
wet dishcloths or towels — a
violent steam explosion will
result. Use an extinguisher ONLY
if:
You know you have a Class ABC
extinguisher, and you already
know how to operate it.
The fire is small and contained in
the area where it is started.
The fire department is being
called.
You can fight the fire with your
back to an exit.
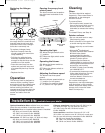
19. Check the operation of
the range hood:
ࠜ Move light switch to
“1” position. The light should
turn on.
ࠜ Move blower switch to
“1” position. The blower
should operate.
ࠜ Move the blower speed switch
to: “1” position for low speed,
“2” position for medium
speed, or “3” position for high
speed.
ࠜ Move blower and light
switches to “0” position to
turn blower and light off.
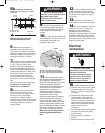
16. Install the filters.
• Remove the filters from the box
and remove the white protective
coating from the filters.
• Grasp one of the filters so that
the knob faces down and toward
the back of the hood.
• Insert the filter end without the
knob into the retaining channel
in the front of the hood.
• Pull and turn the knob to the left
(counterclockwise) so that the
locking lever does not protrude
from the filter.
• Insert the knob end of the filter
into the retaining channel in the
back of the hood.
• Turn the knob to the right
(clockwise) to lock the filter in
place.
• Repeat for remaining filters.
Check operation
17. Turn power on.
To g et the most efficient
use from your new range
hood, read the “Use and
Care Information” section.
Keep your KitchenAid
Installation Instructions and
Use and Care Guide close
to range hood for easy
reference.
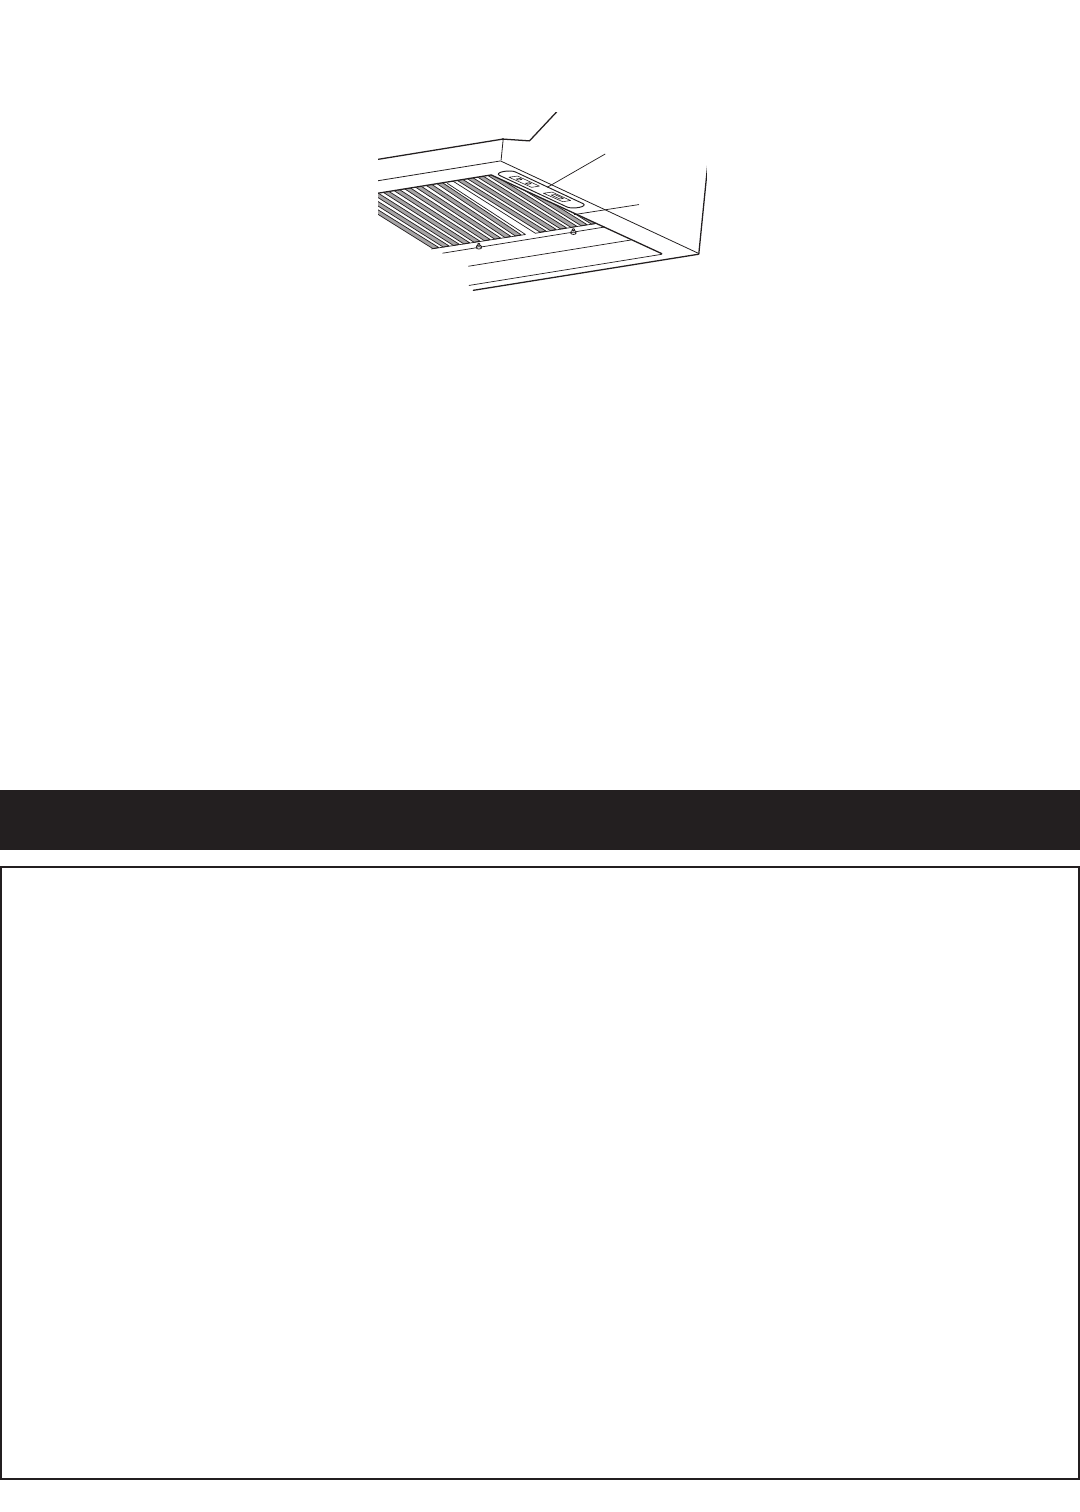
controls
filters
18. The canopy hood
controls are located on the right-
hand underside of the canopy.
If range hood does not operate:
ࠜ Check that the circuit breaker
is not tripped or the house
fuse blown.
ࠜ Disconnect power supply.
Check that wiring is correct.
YL10564/8284829B 8/7/01 3:32 PM Page 8


