11
Make sure the main switch is set to the position “0”
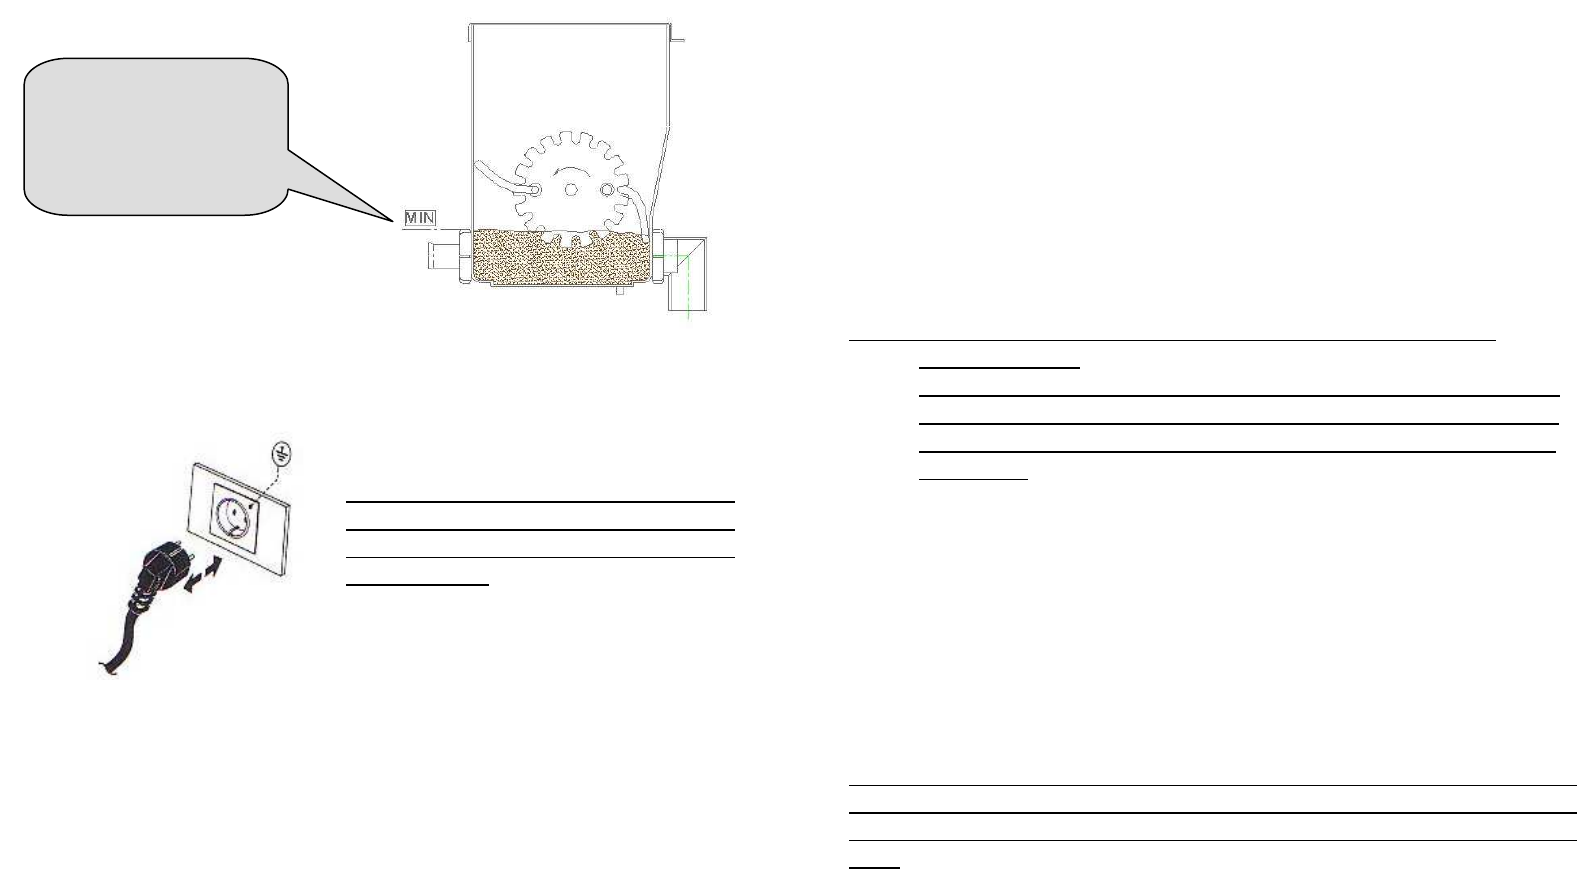
Insert the plug in the power outlet.
It is important for the power outlet to
be compatible with the plug of the
machine and provided with the earth
connection pin.
For correct dispensing, it
is important that the
product inside the
canister never falls below
this level.
12
STARTING THE MACHINE
N.B.: the machine requires little time for heating, if not
used in the immediate future, it is advisable to switch it off.
After completing the preliminary operations, place a large enough container in
the drink dispensing point.
NOTE: the different configurations of the machine allow one or more
dispensing points.
It is possible to understand if your model dispenses drinks in a single
point by the pattern on the grille, which has a sector with concentric
circles. On the contrary, the product will be dispensed under its own
mixer body.
Start the machine by pressing the main switch. After approximately 10
seconds, press the rinse button “L” to fill the machine internal circuit (if the
dispensing points are not grouped, make sure to press the rinse button
corresponding to the mixer body where the contained was placed).
Water coming out of the mixer spout means that the circuit is full.
Dispense at least two cups of water (it may be necessary to press the button
several times).
Never operate the machine without first filling the water circuit, not to
damage the heating element. If the water level in the tank is too low and
the water level sensor is not immersed, this will disable the electronic
card
.


