23
Leica SP9000 – Automatic knife sharpener
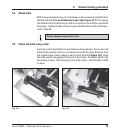
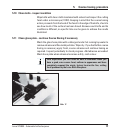
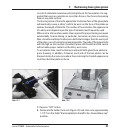
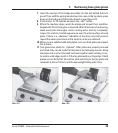
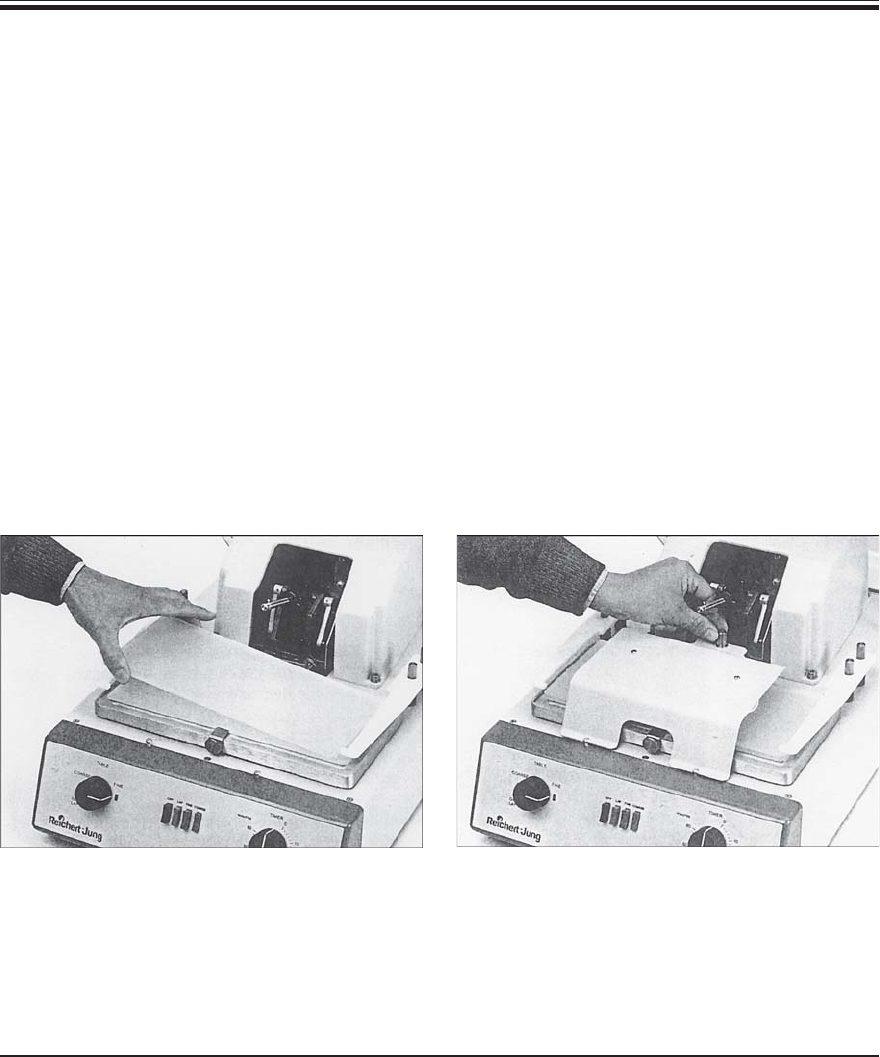
7. Insert the two lips of the bridge assembly into the slot behind the front
panel. Then, with the spring mounted suction cups on the top plate, press
down on the bridge and tighten the thumb screw (Figure 19).
8. Set the timer for 10 minutes and push the „LAP“ button.
9. When the machine stops, wash the plates and inspect their condition.
Repeat with fresh hone glass compound. After 20 minutes of redressing,
wash each plate thoroughly under running water and dry completely.
Inspect for uniform, frosted appearance over the entire surface of each
plate. If there is a ,,shadowy” indication of the shiny area still present,
repeat the above procedure until a uniform surface is obtained.
10. When you are satisfied with both plates, turn over both plates and repeat
the process.
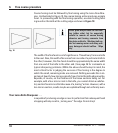
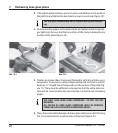
11. Test glass hone plates for „flatness”. After plates are properly dressed
and dried, they can be tested for flatness in the following manner: Bring
the plates into contact (dressed surfaces together) with a sliding, circu-
lar motion until edges match. Lift the top plate with your fingertips. If both
plates are perfectly flat, the bottom plate will cling to the top plate and
raise with it, about 1/2 inch, until its own weight finally pulls it free.
Abb. 23.1 Abb. 23.2
7. Redressing hone glass plates


