


u
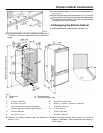
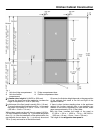
The total opening of the cabinet (i.e. 70-3/8 in.
(1788 mm)) plus the thickness of the top as well as the
floor board (usually 3/4 in. (19 mm)) minus the height of
the freezer door panel (xxx in. (xxx mm)) as calculated
above and subtract the width of the gap (approximately
1/8 in. (3 mm)): 70-3/8 in. + 3/4 in. + 3/4 in. - xxx in. -
1/8 in. = 71-25/32 in. - xxx in. ( 1788 mm + 19 mm +
19 mm - xxx mm - 3 mm = 1823 mm – xxx mm )
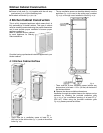
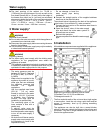
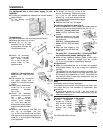
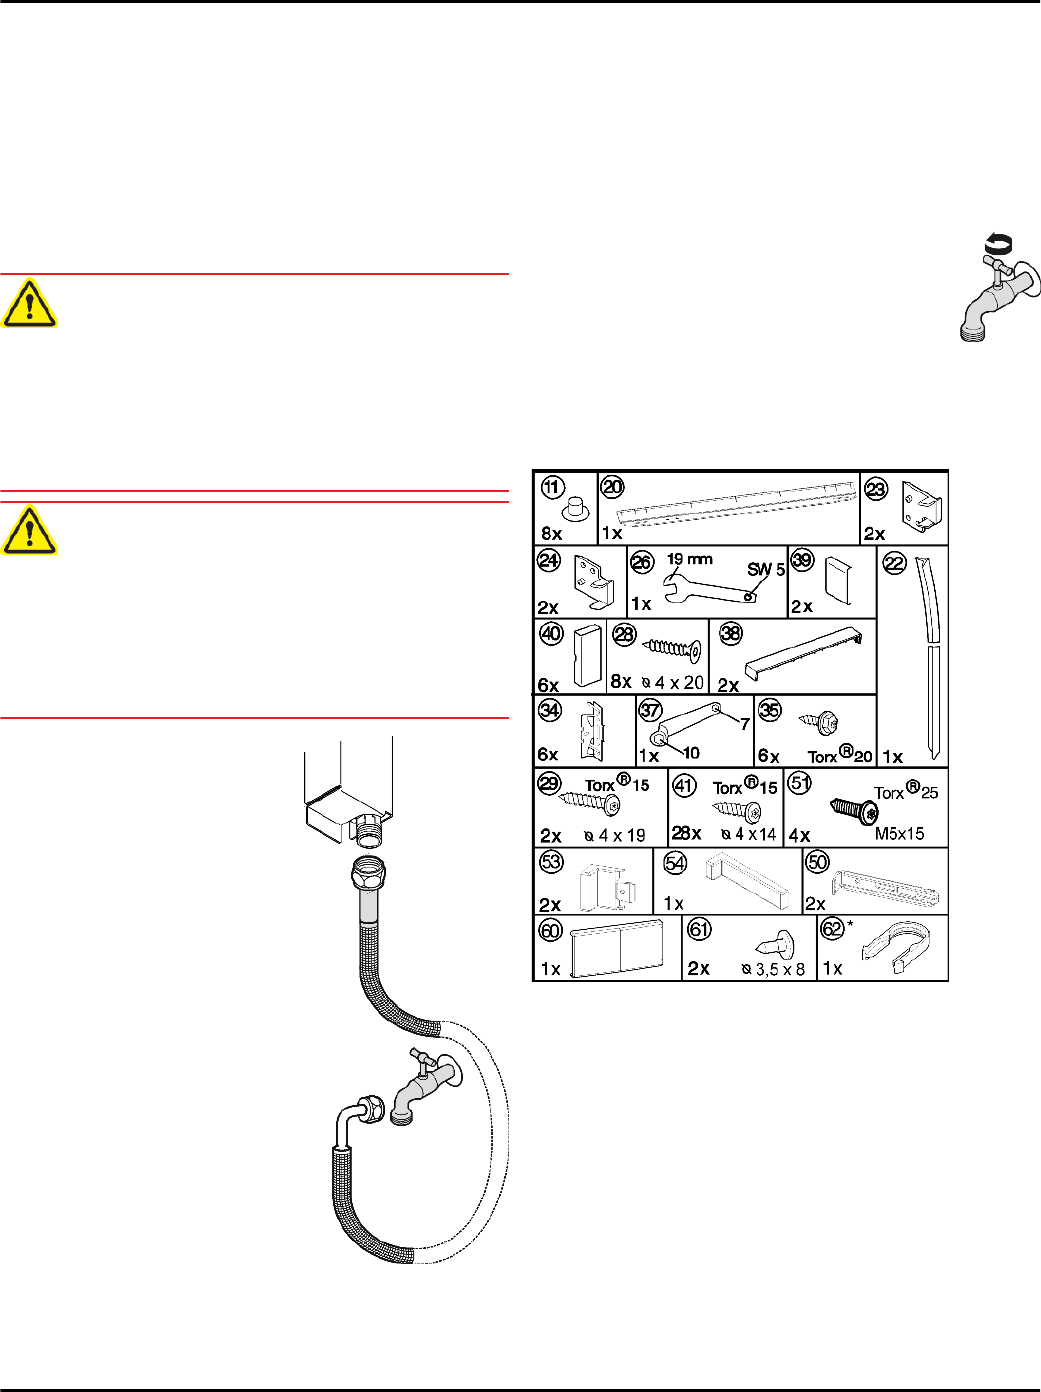
5 Water supply*
WARNING
Electrical Shock Hazard!
u
Do not make the water connection while the appliance is
connected to an electrical outlet.
u
Disconnect the water supply before connecting the water
lines for the IceMaker.
u
The connection to the water supply may only be made by
a trained and licensed plumber.
WARNING
Poisoning Hazard!
u
The water quality must comply with the drinking water
regulations for the geographical area where the
appliance is located.
u
The IceMaker is designed exclusively to make ice cubes
in quantities needed by a household and must only be
operated with water appropriate for this purpose.
- The water pressure must be
between 21.76 psi (1.5 bar) and
87.02 psi (6 bar). (0,15 MPa -
0,6 MPa)
- Water must be supplied to the
appliance by means of a cold-
water pipe that can withstand
the operating pressure and
conforms to hygiene
regulations.
Use the supplied steel hose
(59-1/16 '' (1.5 m), metric
thread) to connect to the water
supply. A 118-1/8 '' (3 m) hose
is available from Customer
Service. This hose must be
installed by a qualified fitter.
The connecting piece of the
hose contains a filter with a
gasket seal.
- A shut-off valve must be
provided between the hose line
and the domestic water supply
to turn off the water supply, if
necessary.
- All devices and fixtures used to
supply water must comply with
the regulations in force in the
respective country.
- Do not damage or bend the
water supply pipe during
installation.
u
Connect the straight portion of the supplied stainless
steel hose to the solenoid valve.
The solenoid valve is located on the back of the appliance
at the bottom. It has a Metric R¾ male connection.
u
Connect the bent portion of the stainless steel hose to
the shut-off valve.
u
Open the shut-off valve of the water supply
pipe and check the entire water system to
ensure there are no leaks.
Before initial operation:
u
Have a competent fitter bleed the water supply
pipe.
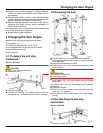
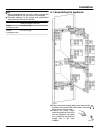
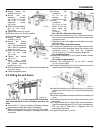
6 Installation
All installation components are supplied with the appliance.
Fig. 8
Make sure you have the following tools on hand:
q
Cordless Torx 15. 20. 25 screwdrivers
q
Hexagonal wrench 13
The floor and side walls of the unit must be at right angles
to one another. Level the unit using a spirit level and set
square. If necessary, level up by placing something
underneath.
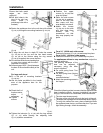
The appliance can also be built into a normal kitchen
cabinet. In this case, detach the fittings on the unit door and
the recess. They are no longer needed, as the unit door is
fitted to the appliance door.
Water supply
8