Impinger I -–1000 Series Service Manual - Domestic48
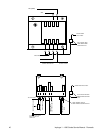
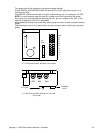
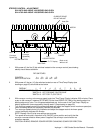
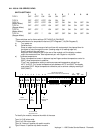
STEPPER CONTROL - ADJUSTMENT
S/N 14975 AND ABOVE 1000 SERIES GAS OVEN
S/N 14792 AND ABOVE 1200 SERIES GAS OVEN
Blue
Gray
Red
Brown Red
POWER
J 5J 4J 3 J 1
J 6
LOCKED ROTOR
To T/T display
POTENTIOMETER
Max.
Conveyor
Speed Adj.
Min.
Conveyor
Speed Adj.
TIME/TEMP
Black to #4
White to #7
ON
12345
CURRENT SENSE
DO NOT ADJUST
Heat Sink
MOTOR
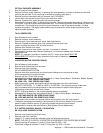
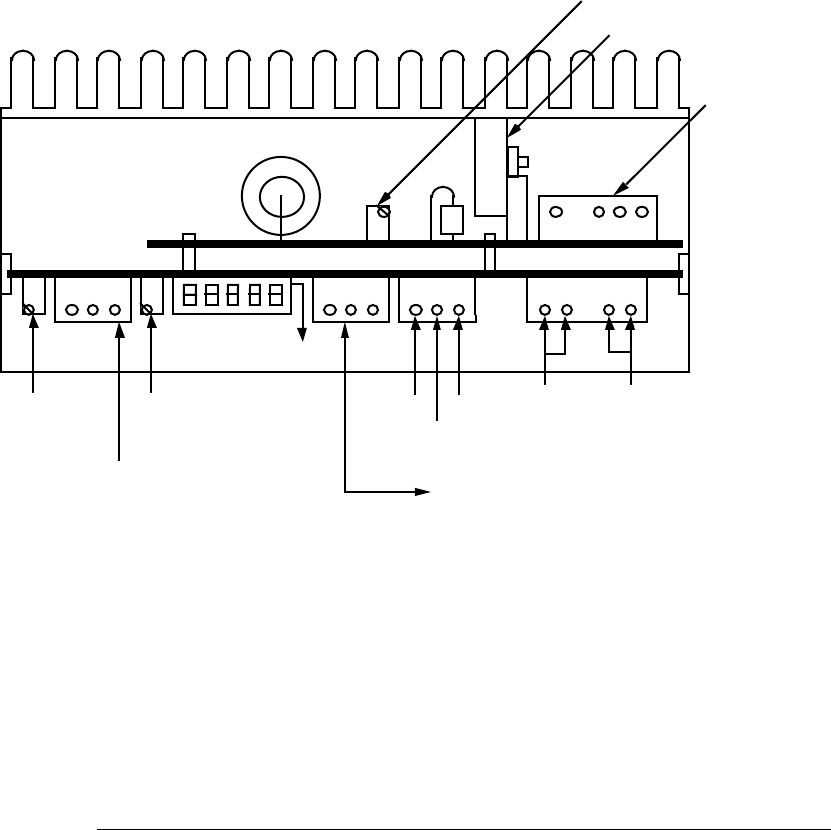
1. With power off, the five (5) dip switches located on the conveyor control (see drawing
above) should be set as below.
DIP SWITCHES
CONTROL 1 2 3 4 5
SWITCH POSITION OFF OFF ON OFF OFF
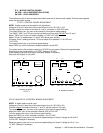
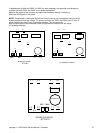
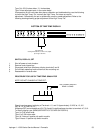
2. With power off, the ten (10) dip switches located on rear of Time/Temp Display (see
drawing on page 52) should be set as below.
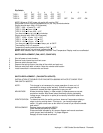
DISPLAY 1 2 3 4 5 6 7 8 9 10
SWITCH POSITION OFF * * ON OFF OFF ON ON OFF ON
*SWITCH 2 - OFF FOR 60HZ, ON FOR 50HZ
*SWITCH 3 - OFF FOR °F, ON FOR °C
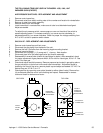
3. With conveyor running, set conveyor speed control so Time/Temp. Display indicates 5:00 minutes. Place
a pan on the conveyor, measure (STOPWATCH) the time (SPEED OF PAN) of the leading edge in to
leading edge out of oven. Turn the speed adjustment pot. on the rear of the Time/Temp. Display so
display agrees with time measured by the stop watch. (See drawing on page 52).
4. Turn conveyor speed control fully counterclockwise and adjust the stepper control maximum speed pot
(refer to drawing above) so the display indicates 50 seconds.
5. Turn conveyor speed control fully clockwise and adjust the stepper control minimum speed
pot so the display indicates 30 minutes.
NOTE: Repeat 4 and 5 to be sure settings are accurate.
6. Turn power off and set #1 dip switch to its (ON/OFF) other position and verify that the
conveyor reverses direction when power is applied. Set conveyor travel direction as
customer requests.
CAUTION: ALWAYS REMOVE POWER BEFORE CHANGING CONVEYOR DIRECTION.


