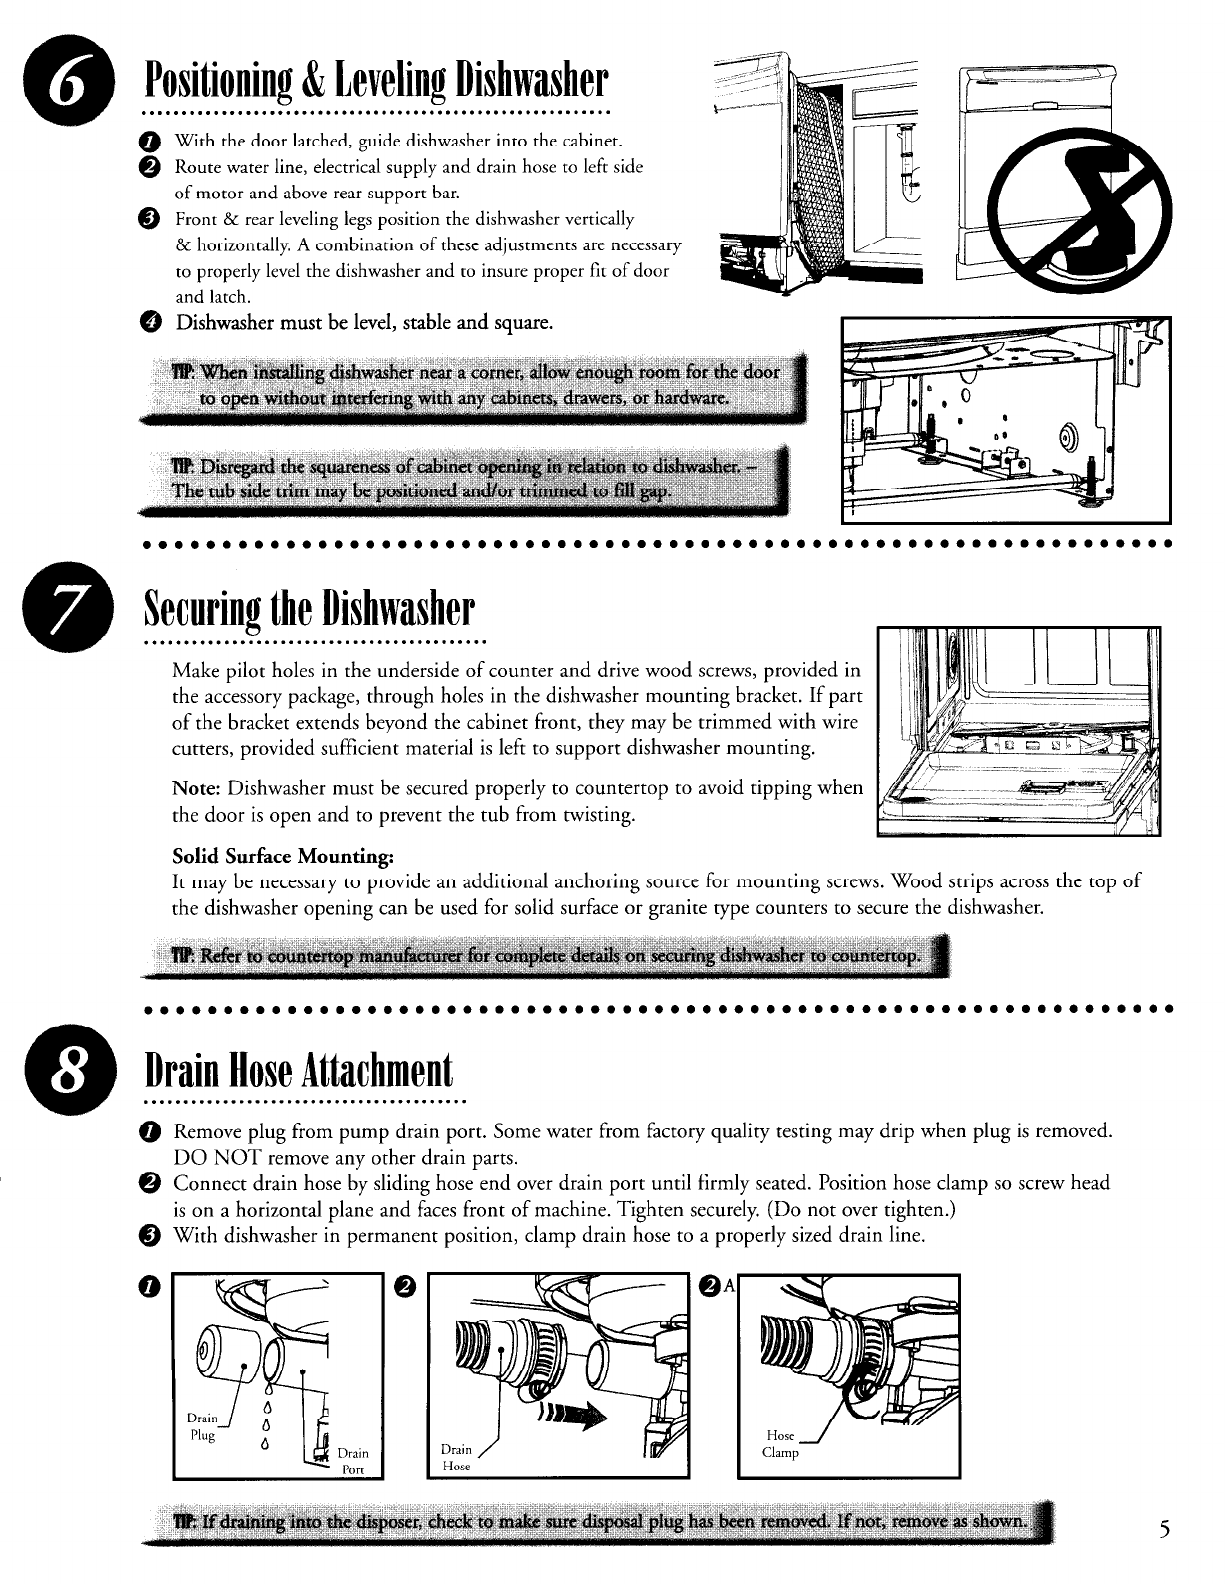
Positioning & Leveling Dishwasher
”
v
. . . . . . . . . . . . . . . . . . . . . . . . . . . . . . . . . . . . . . . . . . . . . . . . . . . . . . . . . . .
0 With the door latched, g uide dishwasher into the cabinet.
@ Route water line, electrical supply and drain hose to left side
of motor and above rear support bar.
@ Front & rear leveling legs position the dishwasher vertically
& horizontally. A combination of these adjustments are necessary
to properly level the dishwasher and to insure proper fit of door
and latch.
@ Dishwasher must be level, stable and square.
Securing the Dishwasher
-
Make pilot holes in the underside of counter and drive wood screws, provided in
the accessory package, through holes in the dishwasher mounting bracket. If part
of the bracket extends beyond the cabinet front, they may be trimmed with wire
cutters, provided sufficient material is left to support dishwasher mounting.
Note: Dishwasher must be secured properly to countertop to avoid tipping when
the door is open and to prevent the tub from twisting.
Solid Surface Mounting:
It may be necessary to provide an additional anchoring source for mounting screws. Wood strips across the top of
the dishwasher opening can be used for solid surface or granite type counters to secure the dishwasher.
Drain Hose Attachment
. . . . . . . . . . . . . . . . . . . . . . . . . . . . . . . . . . . . . . . . .
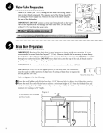
@ Remove plug from pump drain port. Some water from factory quality testing may drip when plug is removed.
DO NOT remove any other drain parts.
@ Connect drain hose by sliding hose end over drain port until firmly seated. Position hose clamp so screw head
is on a horizontal plane and faces front of machine. Tighten securely. (Do not over tighten.)
Q With dishwasher in permanent position, clamp drain hose to a properly sized drain line.


