permanent nylon filter with a
measuring spoon (Fig. 6). Use
one spoon (15g) of ground coffee
powder per cup. You can adjust
according to your taste.
4. Close the tank cover. Place the large
jug on the warming plate directly
under the drip filter coffee section.
(Fig. 7)
5. Plug the power cord into the wall
socket and press the switch to
the “I” position, the switch will
illuminate. The coffee maker will
begin operating. You may stop the
brewing by pressing the switch to the
“O” position at any time. The coffee
maker will continue brewing once
pressing the switch to the “I” position
again.
Note: at any time, you can take out
the large jug to serve, but the time
should not exceed 20 seconds.
Otherwise, the water will overflow
out of the filter.
6. The coffee will keep warm on the
warming plate if you do not switch off
the coffee maker. The coffee maker
will automatically switch off after two
hours, as a safety feature, so that it
does not overheat.
STOP AND SERVE FUNCTION
This automatically stops the flow of
brewed coffee through the filter if the
glass jug is removed from the warming
plate during the brewing cycle. You
have about 20 seconds between the
removal of the glass jug and it being
reinserted back onto the warming plate.
The stop and serve closes off the filter
so effectively that there is virtually no
coffee dripping onto the warming plate.
Once the glass jug is replaced, the
brewing process and the flow of coffee
into the glass jug can resume.
MAKE ESPRESSO COFFEE
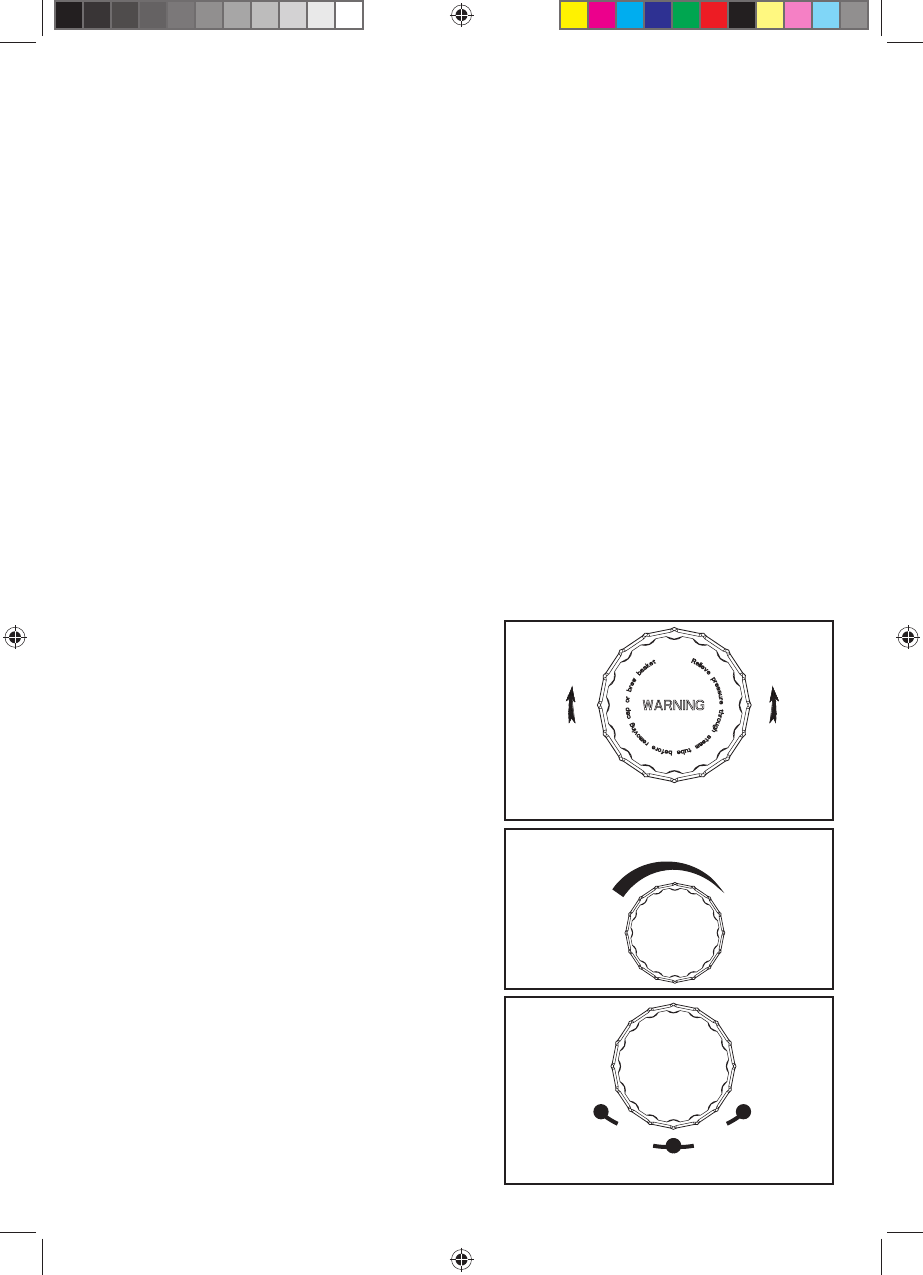
1. Turn the boiler unit cover in an anti-
clockwise direction to open the boiler
unit (see Figure A), then fill it with an
adequate amount of drinking water.
Purified drinking water provides a
better taste and flavour of coffee.
(Fig. 8 & 9)
Note: Always switch off the power and
remove the plug from the wall
socket before filling it with water.
Ensure that the water does not
overflow out of the boiler unit.
2. Turn the boiler unit cover in a
clockwise direction to tightly close
it (see Figure A & 10), then turn the
steam control knob in a clockwise
direction to ensure that the steam
control knob is tightly closed (see
Figure B). If it is not closed, the boiler
unit will not build up pressure and
the water will flow out of the steam
nozzle.
Figure A
Figure B
Figure C
STEAM
LIGHT
STRONG
STEAM
C
C
LOSE
LOSE
OPEN
OPEN
MW_EX29002_Palermo_IM.indd 6MW_EX29002_Palermo_IM.indd 6 10/29/2008 12:05:32 PM10/29/2008 12:05:32 PM


