42
SECTION 4
MAINTENANCE
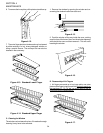
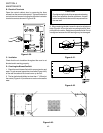
B. Electrical Terminals
Open the control cabinet door by removing the three
screws from the control cabinet door. Tighten all electrical
control terminal screws including the electrical contactor
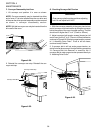
terminal screws as shown in Figure 4-39.
Figure 4-39.
C. Ventilation
Check that the air circulation throughout the oven is not
blocked and is working properly.
D. Checking the Blower/Fan Belt
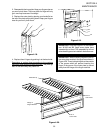
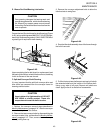
1. Check the main blower/fan belt for proper tension and
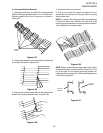
wear. To gain access,loosen the six screws (Figure 4-40)
of the rear shroud and lift shroud cover up and off.
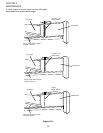
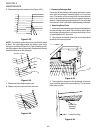
2. The fan belt should deflect no less than 1″ (25mm) at
the center (Figure 4-41) and have no cracks or excessive
wear.
CAUTION
Overtightening the belt will cause premature bearing
failure and possible vibration problems. A spare
belt is located inside the control compartment on
the rear wall.
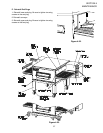
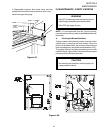
3. When replacing the belt, loosen the tension adjustment
bolts (Figure 4-42) on the motor mounting bracket. Next,
pull back on the motor. Retighten adjustment bolts. Do not
overtighten because the fan bearings may be damaged.
Figure 4-40.
Figure 4-42.
Figure 4-41.


