PAGE 20 — MQ-MIKASA MVH-702DRSC COMPACTOR — PARTS & OPERATION MANUAL — REV. #1 (12/17/03)
MVH-702DRSC — BEFORE START-UP
BEFORE START-UP
1. Read this manual carefully and understand all functions of
the machine before start-up.
2. The engine is located on front side of the machine and the
aluminum oil tank is on the rear.
3. The operator should always keep a distance of 2 meters
away from the machine.
4. The operator should always make sure that the machine
will move in the opposite direction (away from him) when
the machine is started.
5. In infra-red remote control operation, the farther the machine
moves, the narrower the control area.
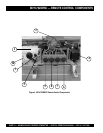
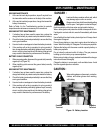
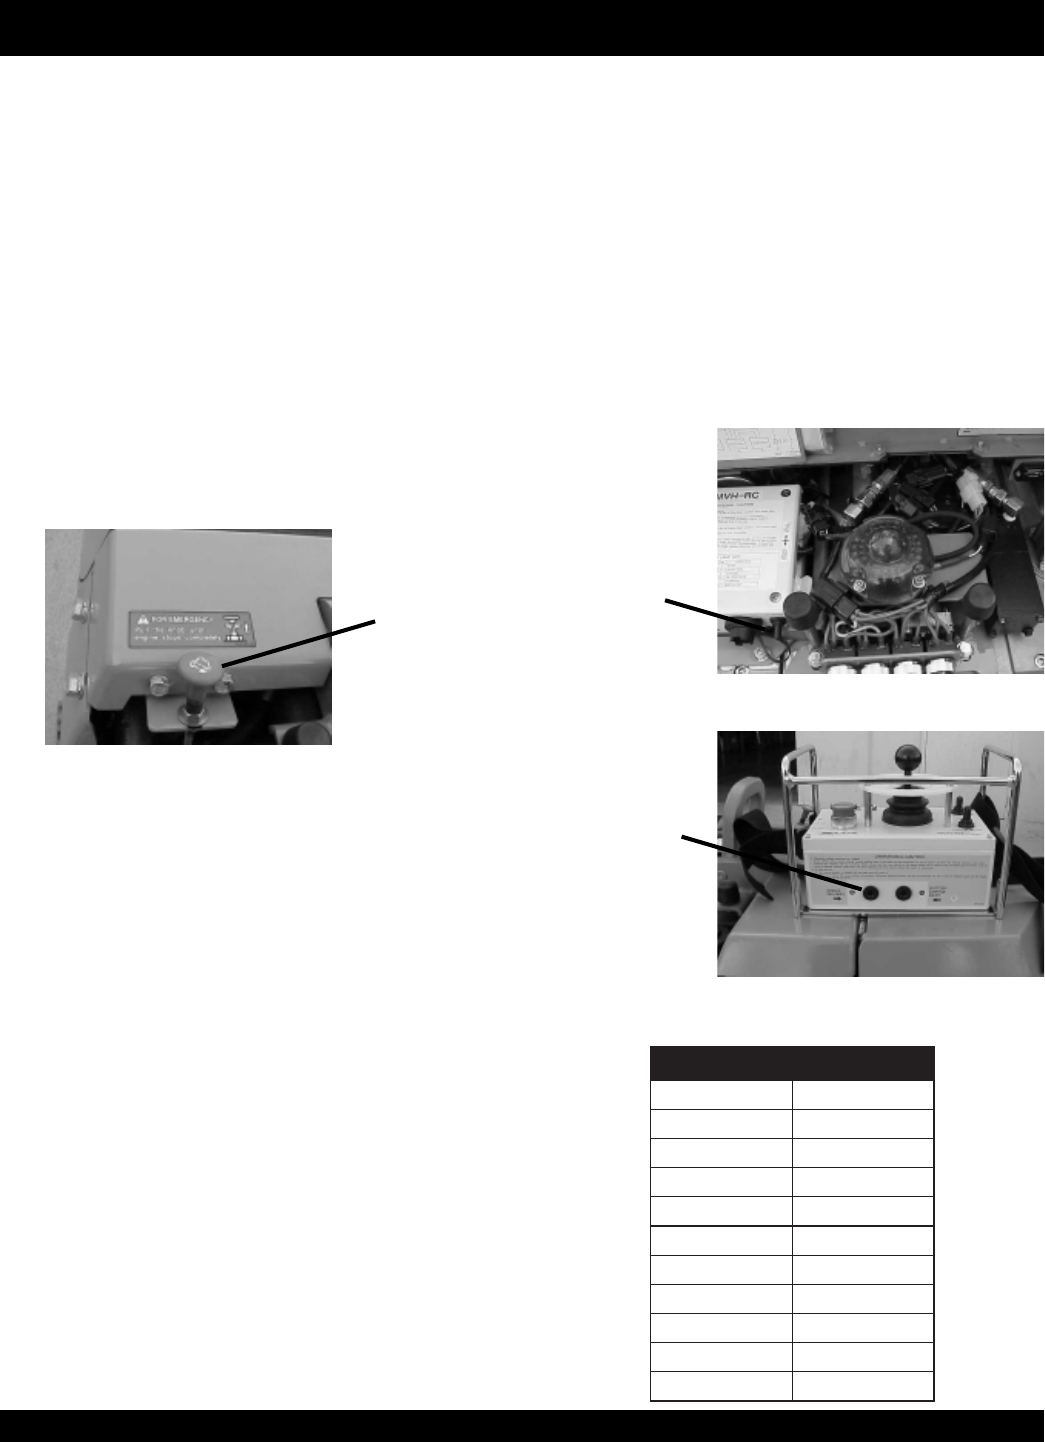
6. If the transmitter fails and during emergencies, pull the
emergency stop lever (Figure 8) continuously until the
machine completely stops.
Remote Control operation is not available in the following cases.
Vibration stops automatically.
Operator stands within approximately 3 feet (1 m) of the
machine.
Operator stands approximately 60 feet (18 m) or farther
from the machine (approximately 40 feet (12 m) when far
from the direct rays of the sun). Note that these distances
may vary .
Operator stops sending control signals for more than one
second.
The engine is overloaded. In the engine temperature
increases, the vibration will automatically stop.
The engine stops automatically in the following cases.
Engine oil level is low.
Control unit fails to receive the operational signal for more
than 30 seconds.
During engine or hydraulic oil warm-up, direct the transmitter to
the body receiver to receive the operational signal. Operation
starts only after the main switch of the transmitter is switched on.
SETTING THE OPERATIONAL CHANNEL
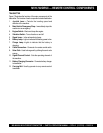
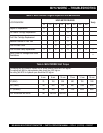
In cases where several machines operate in the same area,
each machine should be transmitting in a different infra-red
channel. Ten different channels can be set (0 to 9). See Table 2.
To set the operational channel of a machine, do the following.
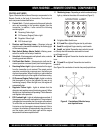
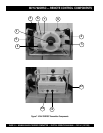
1. On the body of the machine, remove the receiver channel
plug. See Figure 9. Using a screwdriver, set the channel
number desired.
2. On the transmitter, remove the channel plug. See Figure
9. Using a screwdriver, set the channel number to the
same one as the receiver (set in step 1).
Figure 9. Setting Channels
Figure 8. Location of Emergency Stop Lever
Emergency
Stop Lever
Remove plug
and adjust
Remove plug
and adjust
MACHINE
TRANSMITTER
sgnitteSrebmuNlennahC.2elbaT
RETTIMSNARTREVIECER
00
11
22
33
44
55
66
77
88
99


