


14 |
PROLINE
RANGE HOODS
USER MANUAL | 15
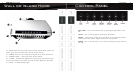
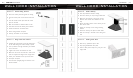
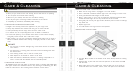
hood insert installation hood insert installation
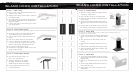
step 1
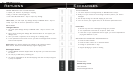
Mark the leveling point of the hood.
Position two mounting screws on
the wall leaving 1/8” space between
the wall and your hood. If you are
installing under a cabinet, the hood
should be flush with the front of the
cabinet. Make sure you mount the
hood on wall studs or lumbars for
secure placement.
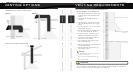
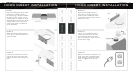
step 2
step 3
step 4
step 5
step 6
Attach the hood-mounting bracket
to the back of the hood with the six
screws provided.
Puncture the knockout wire access
hole at the back of the hood and
pull the electrical wires through the
back.
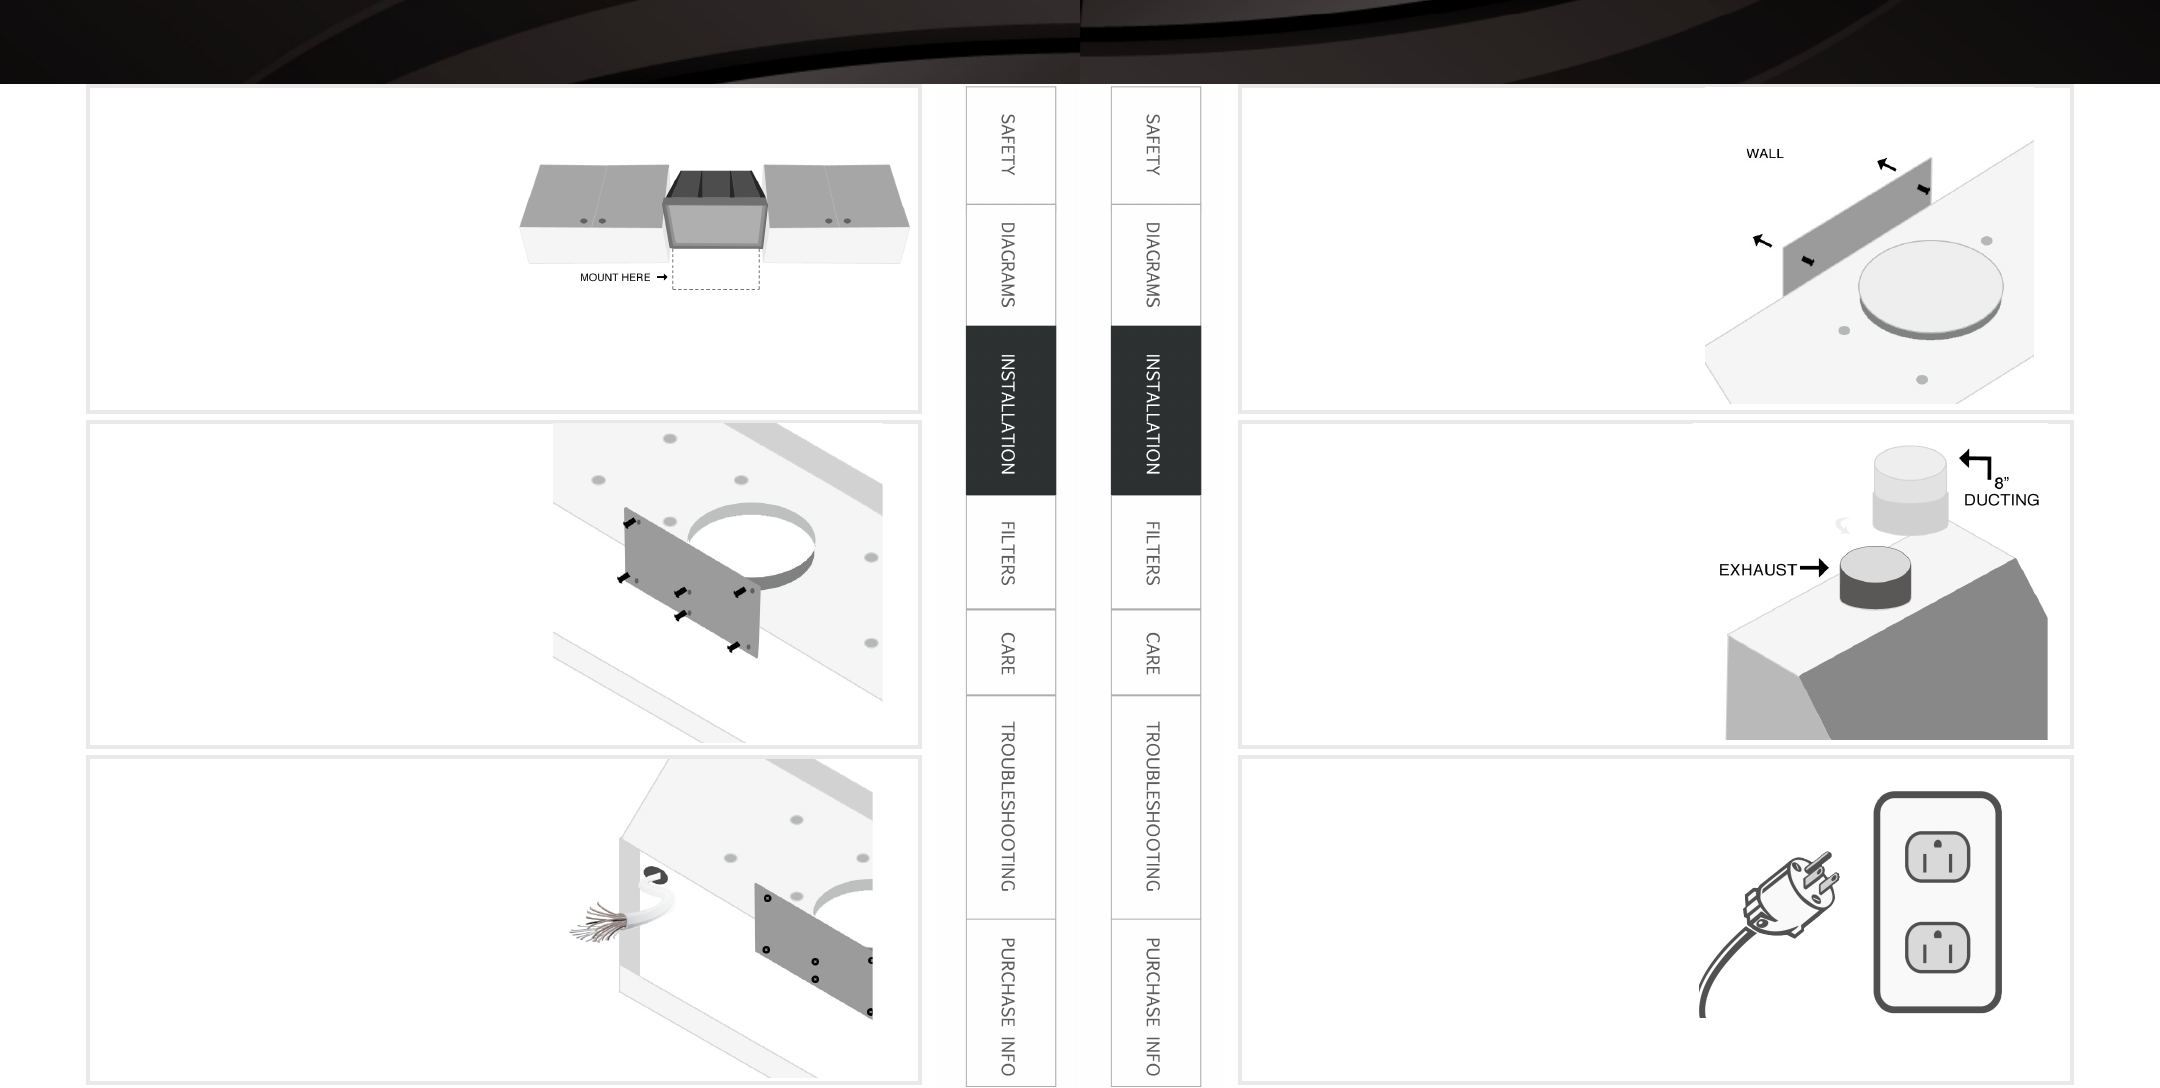
Align hood-mounting bracket to
the screws on the wall and hook
hood into place. Additional mount-
ing fasteners may be used to further
secure your hood.
Use 6” or 8” round steel pipe to
connect the exhaust on the hood
to the ductwork above. Use silver
tape or duct tape to make all joints
secure and air tight.
Make your electrical connections. The
hood comes with a grounded three
prong plug that can either be direct
wired or plugged into a 20 amp
circuit.