


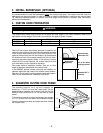
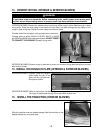

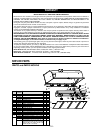
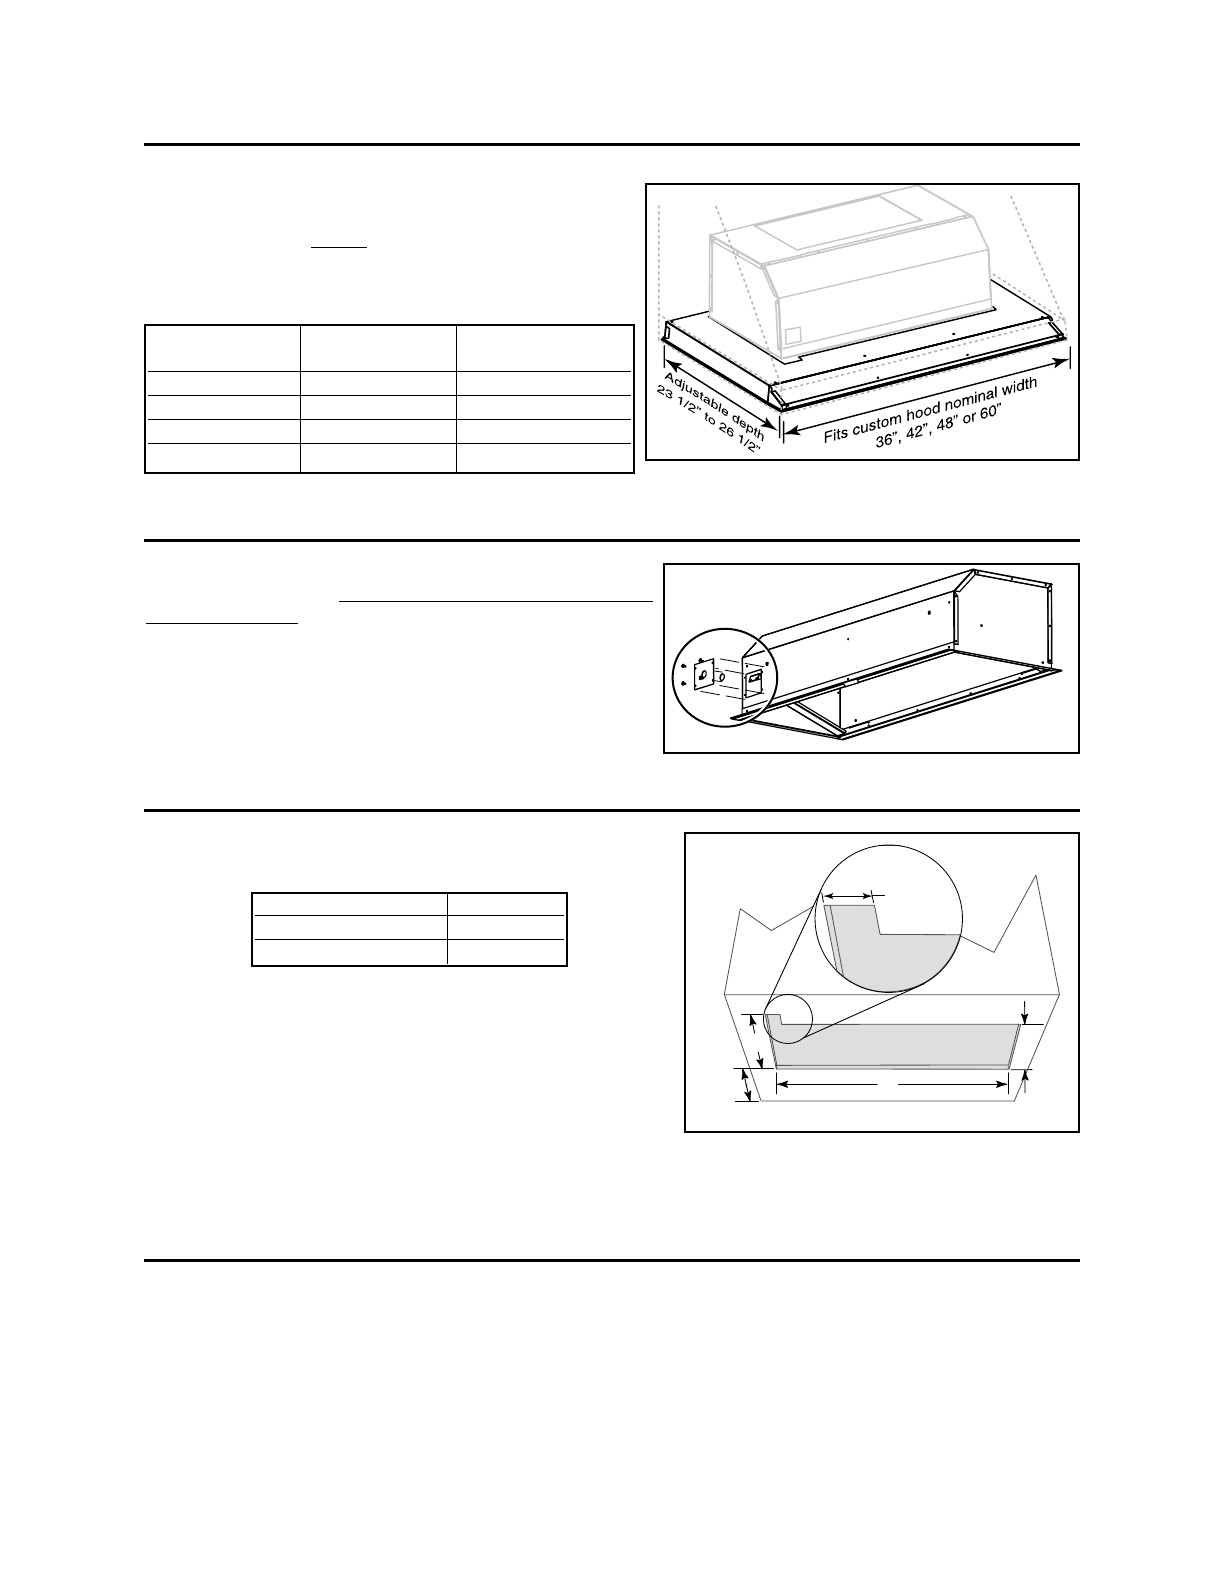
8. CUT THE HOLE IN CUSTOM HOOD BASE
If it is not done yet, cut a hole in the bottom of the cabinet,
using the dimensions shown beside.
NOTES: 1. The notch shown in the inset must be cut only if
the RMIPWC optional remote control will be
installed.
2.The recommended distance from the back to
the rearmost cutout edge is 2 1/4’’ minimum.
A
17 1/16''
HD0084
3 1/2''
16 3/8''
2 1/4''
min.
INSERT MODEL NUMBER A
RMIP33 32 1/2’’
RMIP45 44 1/2’’
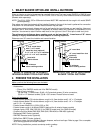
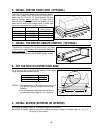
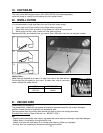
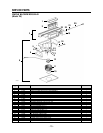
6. INSTALL CUSTOM HOOD LINER (OPTIONAL)
The liners are specially designed to protect the exterior
base of the custom hood. All models are adjustable for
depth from 23 1/2’’ to 26 1/2’’ (front to back). The liner
must be installed before the insert. To order, refer to
table below to find the right liner part number for your
insert and for width of the custom hood. To install, see
instructions packed with the custom hood liner.
LINER MODEL INSERT MODEL CUSTOM HOOD
NOMINAL WIDTH
RML3336 RMIP33 36’’
RML3342 RMIP33 42’’
RML4548 RMIP45 48’’
RML4560 RMIP45 60’’
HA0022A
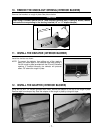
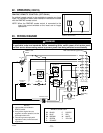
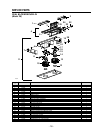
The electrical connection for the remote control is located
in front of the insert. Perform this connection before the
insert installation. For installation details, see installation
instructions included with the RMIPWC remote control.
7. INSTALL THE RMIPWC REMOTE CONTROL (OPTIONAL)
HL0044
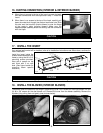
9. INSTALL BLOWER (EXTERIOR OR INTERIOR)
INTERIOR BLOWER: Follow all subsequent steps of this manual.
EXTERIOR BLOWER: Refer to instructions packed with exterior blower and follow steps 13, 14, 16, 17,
19 and up of this manual.
- 6 -