


- 9 -
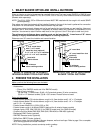
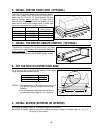
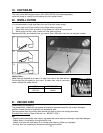
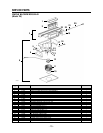
16. DUCTING CONNECTION (INTERIOR & EXTERIOR BLOWER)
A. When there is access to the top of the hood, connect ductwork
and seal connections with duct tape after Step 17
Install the
insert.
B. When there is no access to the top of the hood, carefully pull
down the metal duct through the custom hood base hole. Slide
this duct over the transition (interior blower) or over the flange
of the rough-in plate (exterior blower). Make sure the
adapter/damper assembly enters the ducting. Seal the connection
with duct tape.
HD0092
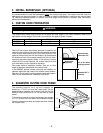
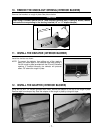
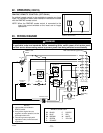
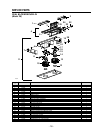
17. INSTALL THE INSERT
If an optional wall control will be installed, refer to its installation instructions now. When done, continue the
insert installation.
Install the insert inside the
custom hood and secure to the
frame by using the #8 x 3/4”
mounting screws provided.
Start with 4 screws on top
and finish with 2 on rear
side. (See figure beside for
mounting screw specific
locations.)
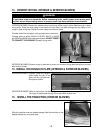
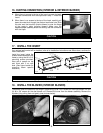
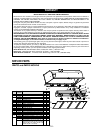
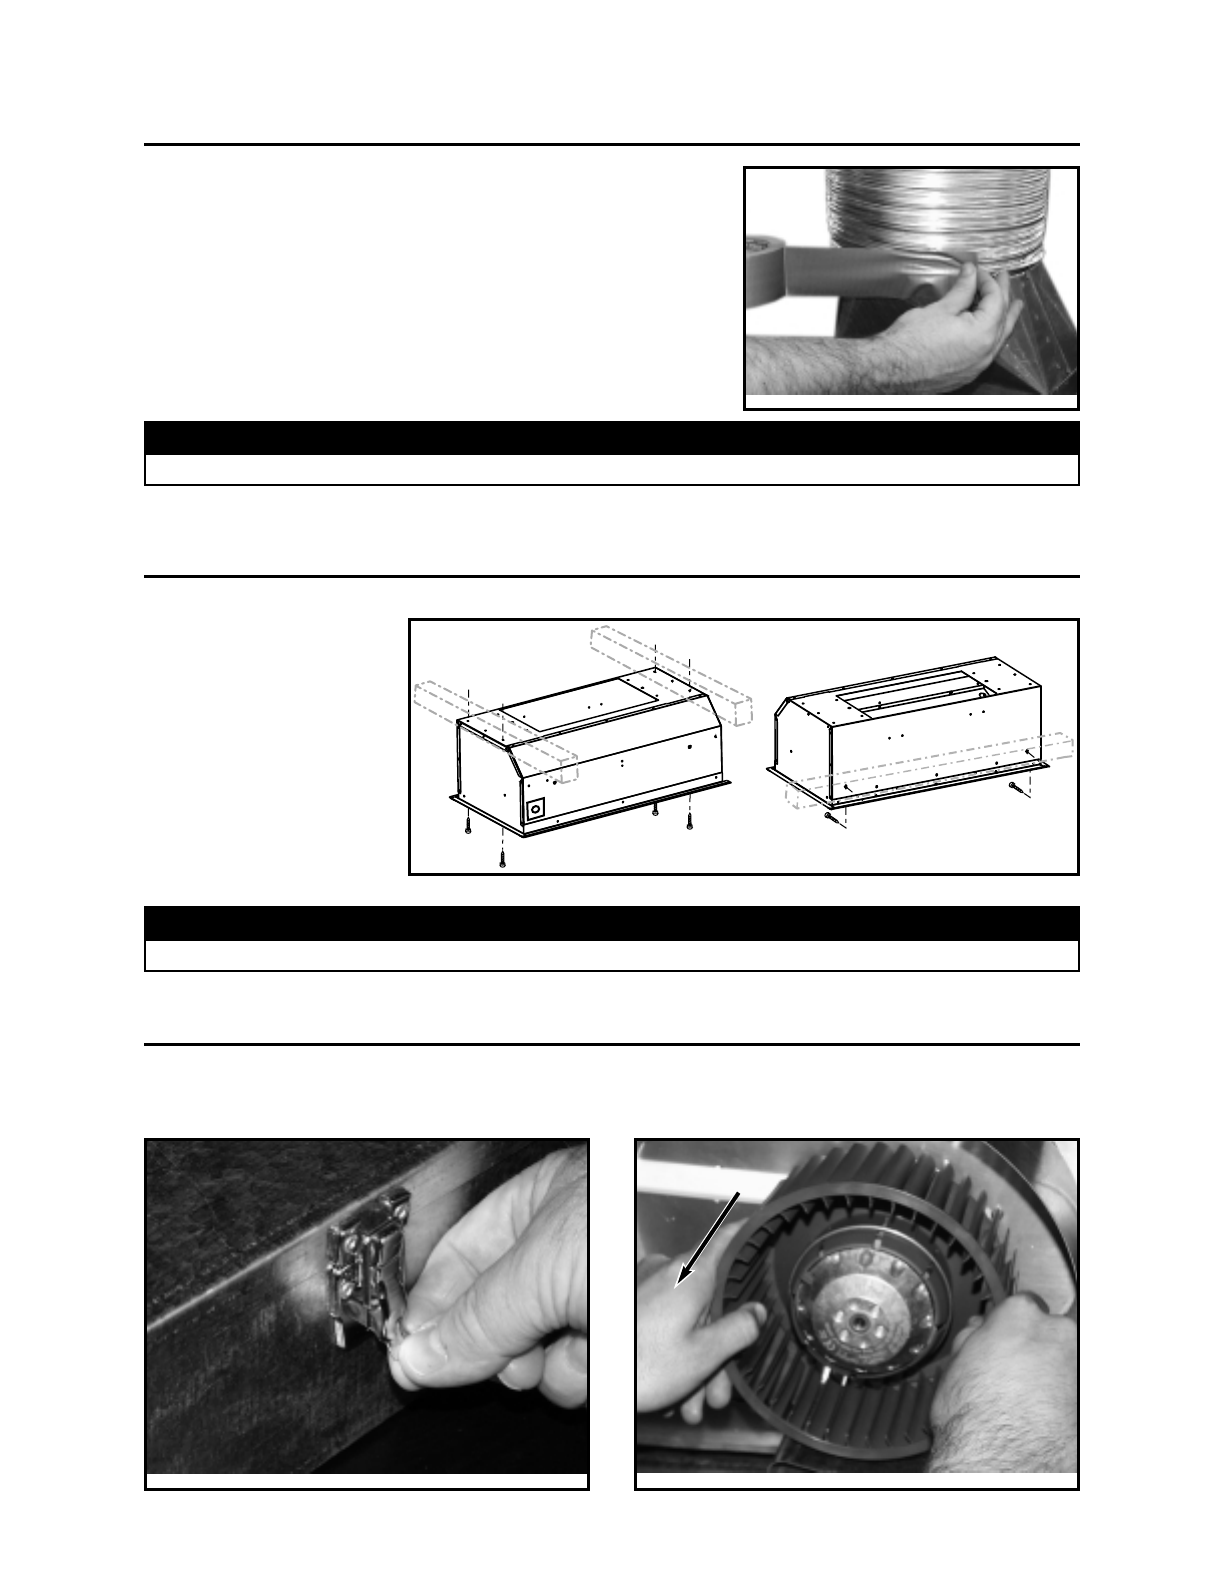
18. INSTALL THE BLOWER (INTERIOR BLOWER)
The blower must be installed to the rough-in plate using (6) #8 x 3/8” screws for the single blower unit and
(8) #8 x 3/8” screws for the dual blower unit. Remove the cover from the blower assembly. Remove the
impeller(s) by pulling them out gently (see pictures below).
HD0021
HD0022
HD0085
TOP
REAR
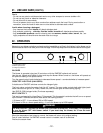
CAUTION
Take care not to kink ducting or pinch electrical cable when installing insert.
CAUTION
Take care not to kink ducting when installing insert (step 17).