-4- -5-
1. Set the skillet on a flat, dry, heat resistant surface. Some
countertop and table surfaces, such as Corian
®
and other
surfaces, are not designed to withstand the prolonged heat
generated by certain appliances. If you plan to use the product
for a prolonged period of time, we recommend placing a hot
pad or trivet under your skillet beforehand to prevent possible
damage to the surface.
2. Turn temperature control to “OFF”, plug temperature control
probe securely into receptacle on skillet, plug into standard
120V AC outlet and turn temperature control to desired setting.
3. The temperature control indicator light will come on when you
set or adjust the temperature. Once the desired temperature is
reached, the indicator light will go out. (When adding food,
the indicator light will come on briefly as the overall cooking
temperature is reduced.)
4. Preheat the skillet with the lid on for 10 – 15 minutes or until the
indicator light goes out. NOTE: The cooking temperatures listed
in this user manual are estimates. Adjust the cooking temperature
slightly up or down to achieve the results you prefer.
5. A steam vent is located on the Glass Lid. The steam vent allows
steam to escape while cooking with the lid in place. CAUTION:
Escaping steam is hot! Be careful when removing or lifting lid.
Oven mitts are recommended when removing cover from skillet
base or when replacing it.
NOTE: If heating oil, always leave the lid off. If oil smokes,
immediately turn skillet “OFF” and allow to cool.
HOW TO USE YOUR ELECTRIC SKILLETKNOW YOUR ELECTRIC SKILLET
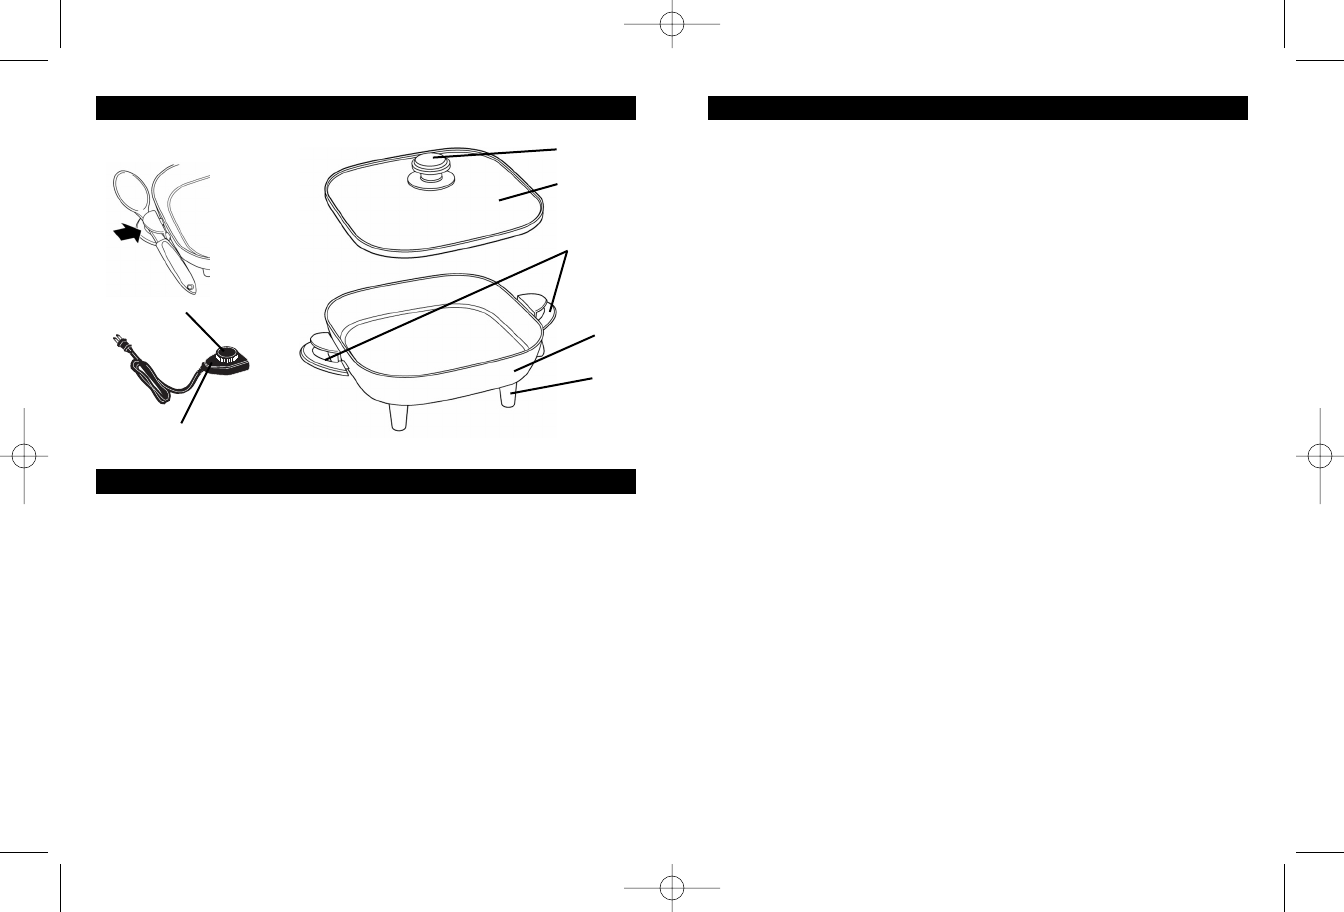
Figure 1
HOW TO ASSEMBLE YOUR ELECTRIC SKILLET
Remove all parts from the packaging.
1. Locate Lid Knob in packaging.
2. Holding Lid Knob on the outside top of the Glass Lid, align
hole in Lid Knob into hole located on the outside of the Lid.
Knob should be centered on Glass Lid.
3. Place the Phillips head screw through screw hole on the inside
of the lid.
4. Tighten screw until snug. Do not overtighten. The Lid is now
ready for use.
Temperature Control probe
Temperature Control dial
Skillet Handles
Skillet Pan
Skillet Leg
Lid Knob
Glass Lid
Spoon Rest
(located on
both sides
of skillet)
S11P-RevA.qxd:S11P_07EM1 V.qxd 4/23/09 11:52 AM Page 4


