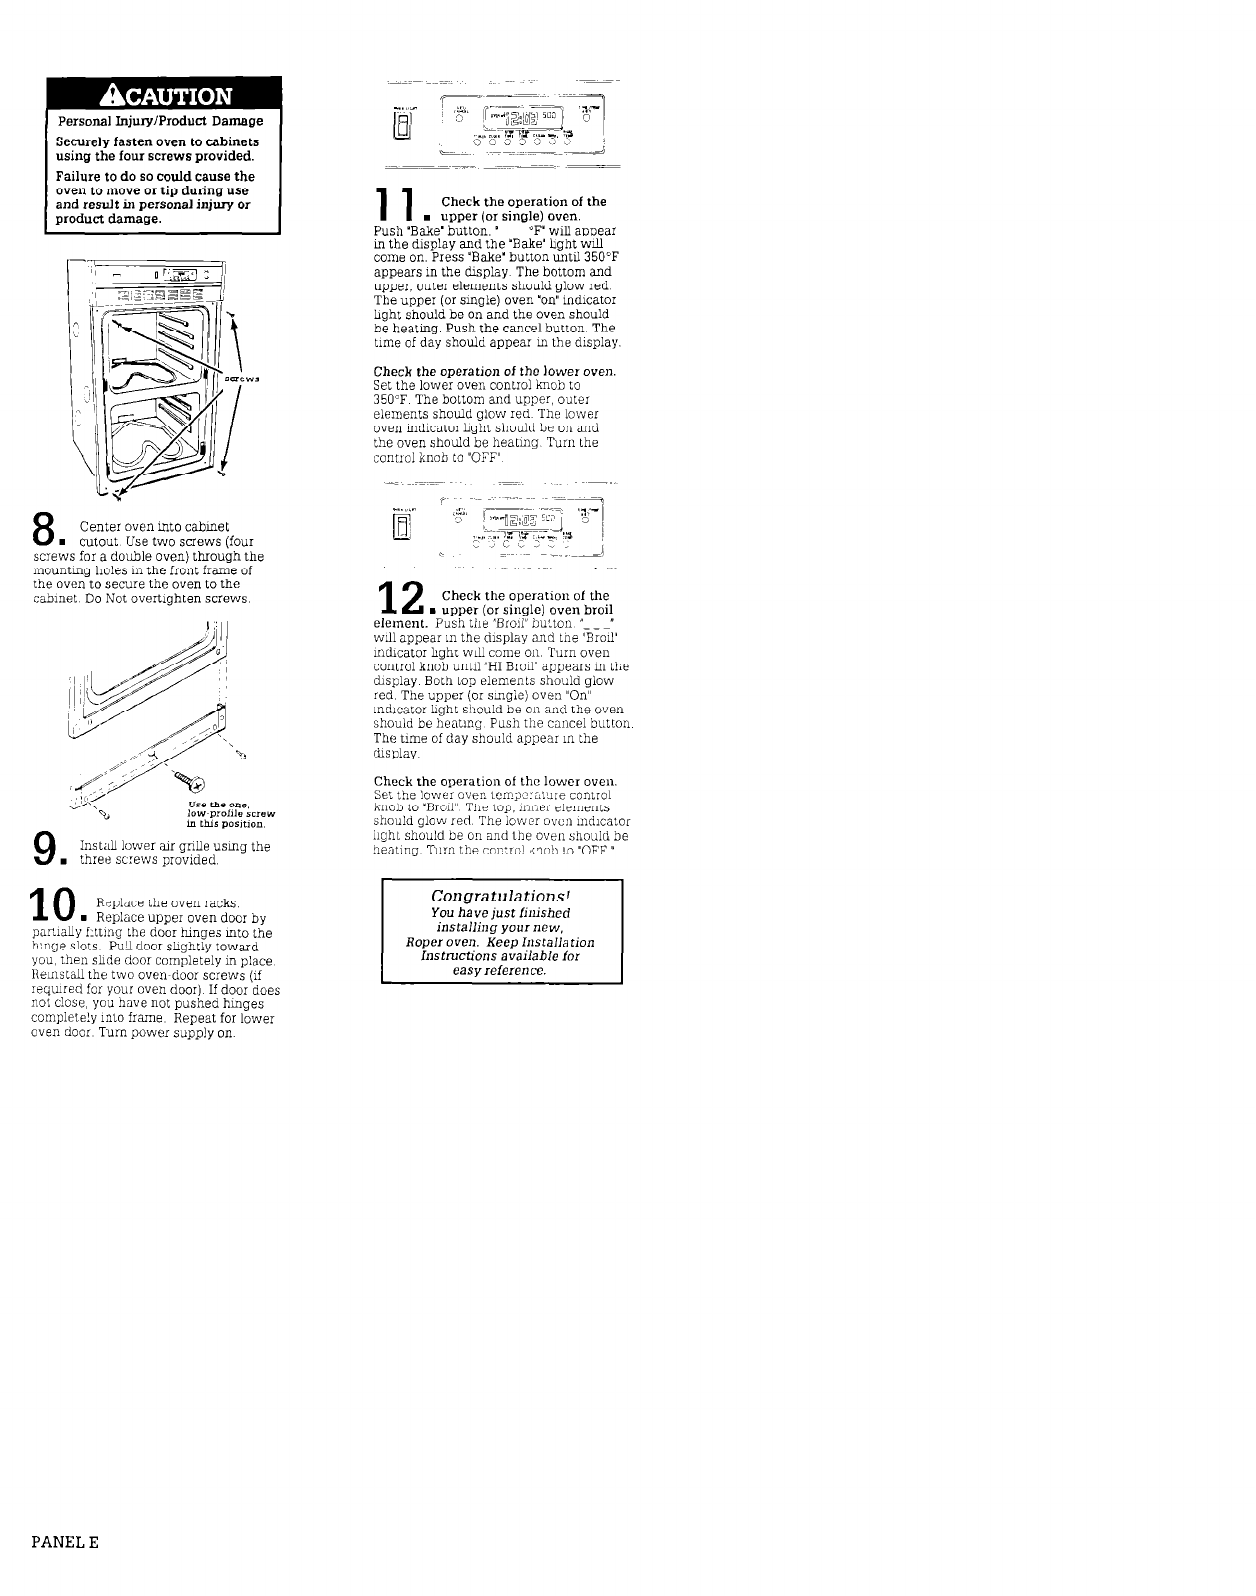
Personal Injury/Product Damage
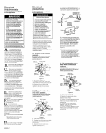
Securely fasten oven to cabinets
using the four screws provided.
Failure to
do
so could cause the
oven to move or tip during use
and result in
personal injury or
product damage.
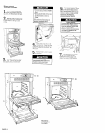
8
Center oven mto cabmet
n
cutout Use two screws (four
screws for a double oven) through the
mountmg holes m the front frame of
the oven to secure the oven to the
cabmet Do Not overtlghten screws
3°C
“se the one.
-b
low prollle screw
in ml Posltmn
9
InstaU lower air grille usmg the
. three sxews provided.
10
Replace the oven racks
. Replace upper oven door by
pW.laLly flttmg the door hinges mto the
hmge slots FuLl door shghtly toward
you, then shde door completely m place
Remstall the two oven~door screws (lf
rec;ured for your oven door) If door does
not close, you have not pushed hmges
complete!y ml0 frame Repeat for lower
oven door Turn power supply on
11
Check the operation of the
n
upper (01 single) oven.
Push ‘Bake’ button. ‘- _ _ “F” will appear
m the dxplay and the “Bake” hght will
come on. Press “Bake” button until 350°F
appears m the &splay The bottom and
uoper. outer elements should alow red
The upper (or smgle) oven ‘on”mdlcator
hght should be on and the oven should
be heatma. Push the cancel button The
tnne of day should appear III the display.
Check the operation of the lower oven.
Set the lower oven control knob to
350°F The bottom and upper, outer
elements should glow red The lower
oven mdlcator haht should be on and
the oven shouldbe heatmg Turn the
control knob to “OFF”
12
Check the operation of the
l
upper (or single) oven broil
element. Push the “Broil” bu!ton “_ _ -”
will appear m the display and tne “Broil’
uxhcator hghr wLLl come on Turn oven
control knob until “HI Broil aDoears m the
&splay Both lop elemerlts sh&ld glow
red The upper (or smg;e) oven “On”
mdlcator hght should be on and the oven
should be hentmo Push the cancel button
The time of day should appear m the
dlsp1ay
Check the weration of the lower oven
Set the low& oven 10m;)2:i.tu1e ConlTol
k11ob to ‘Broil” The top, !m:er elements
should
QlOW
red The lower ovci, mdxator
huh1 should be on
and
the oven should be
Congratulations!
You have just finished
installing your II~W.
Roper oven. Keep Installation
Instructions available for
easy reference.
PANEL E


