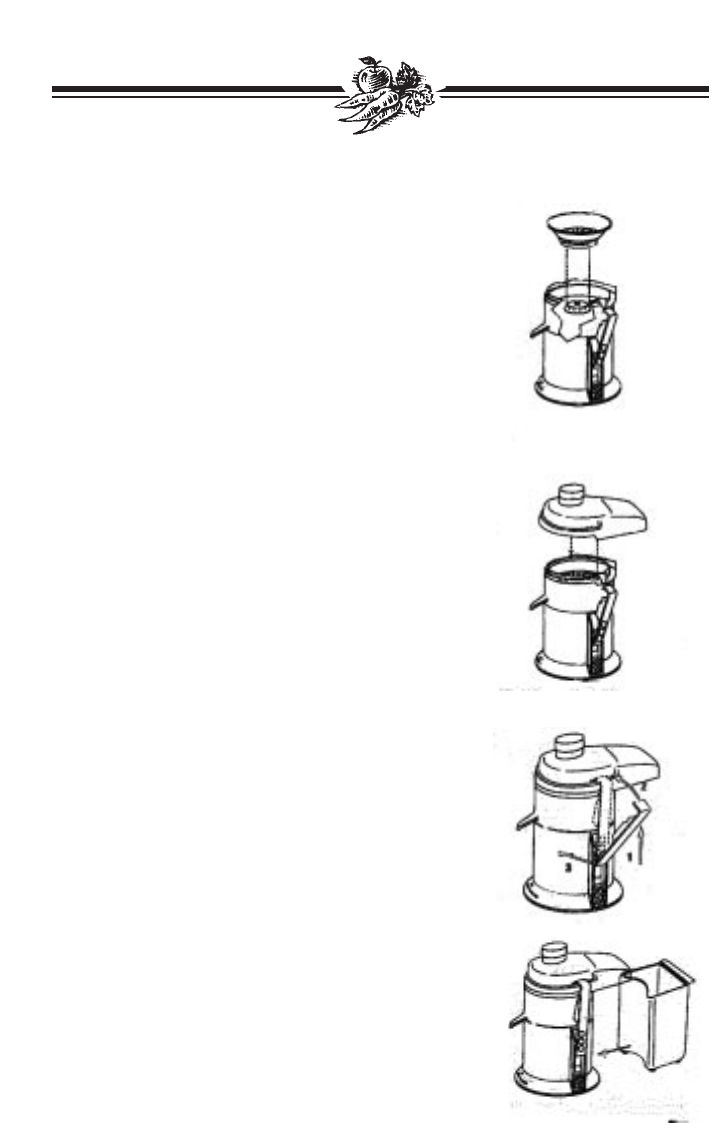
ASSEMBLY INSTRUCTIONS (Continued)
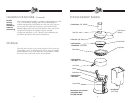
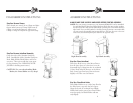
Step Three: Place Blade Basket
Grasp Blade Basket around top rim with both
hands and center Basket over Motor Base Hub.
Carefully lower Blade Basket onto Hub and rotate
slightly until it drops into position and is seated
properly. When seated properly, the Blade Basket
will not lift out of the Blade Holder and will
spin freely.)
CAUTION: Use care when handling the Blade
Basket; the Cutter Blades are very sharp!
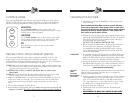
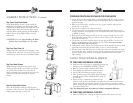
Step Four: Place Clear Lid
Align Clear Lid so Pulp Ejection Opening is over
the Pulp Spout. Place cut-outs in the Lid over the
matching cut-outs in the rim of the Blade Holder.
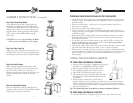
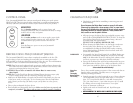
Step Five: Attach Clamps
While holding Clamp from the bottom, push
Clamp up and in until top of Clamp rests in slot
on the Lid. Place thumb onto center dot on
Clamp and firmly press in until the bottom of the
Clamp snaps into place. Repeat for opposite
Clamp.
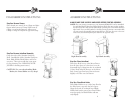
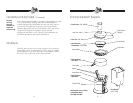
Step Six: Place Pulp Collector
Place the Pulp Basket under the Pulp Ejection
Opening on the Clear Lid. The Pulp Basket will fit
snugly against the edge of the Juicer.
9
PREPARING FRUITS AND VEGETABLES FOR YOUR JUICER
• Clean all produce thoroughly, using a natural bristle brush. If you are not using
organic produce, we recommend using a biodegradable cleaner to help remove
pesticide residue.
• Remove and discard the outer leaves of non-organic produce and peel any
waxed fruit or vegetable.
•Trim away any discolored or bruised sections.
• The skin may be left on all produce (including pineapple and melons) except
oranges, grapefruit, and tangerines. The oil found in these skins tastes bitter and
is difficult to digest.
• Remove melon seeds when possible, as they may escape through the top of the
Feed Tube while juicing. The pits of fruits such as cherries, pears, and peaches
should also be removed.
• Cut produce into pieces small enough to fit into the Feed Tube. Use the Food
Pusher to gently direct produce through the Feed Tube.
Never push produce
into the Feed Tube with your fingers.
• Leafy greens, parsley, wheat grass, and sprouts should be bunched up into a small,
tight ball and pushed through with either a carrot or the Food Pusher.
• Bananas are not suitable for juicing; a clear juice cannot be obtained from them
and residue left in the machine can clog the micro-mesh screen. Produce such as
apricots, plums, pears, peaches, and tomatoes should be firm for best results
when juicing.
USING THE JUICEMAN
®
JM418SS
TO TURN YOUR JUICEMAN® 418SS ON:
• Make sure that your Juicer is completely and properly
assembled. See ASSEMBLY INSTRUCTIONS.
• Remove the Food Pusher from the Feed Tube.
• Press HIGH Speed Button for harder produce.
• Press LOW Speed Button for softer produce.
• Place produce into the Feed Tube and gently direct
through the Feed Tube and Blade Basket with the
Food Pusher.
• When juicing a combination of hard and soft
produce, such as carrots and apples, you will want to use HIGH speed for the
carrots and LOW speed for the apples. You do not have to turn the machine
OFF to change speeds. Simply press the appropriate Speed Button for each type
of produce being juiced.
Tip: Try alternating types of produce to ensure maximum efficiency.
TO TURN YOUR JUICEMAN® 418SS OFF:
• Press the OFF Button. Unplug the Juicer from the outlet when not in use.
6


