15
STEP 2
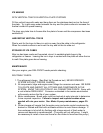
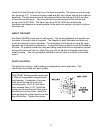
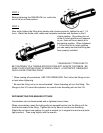
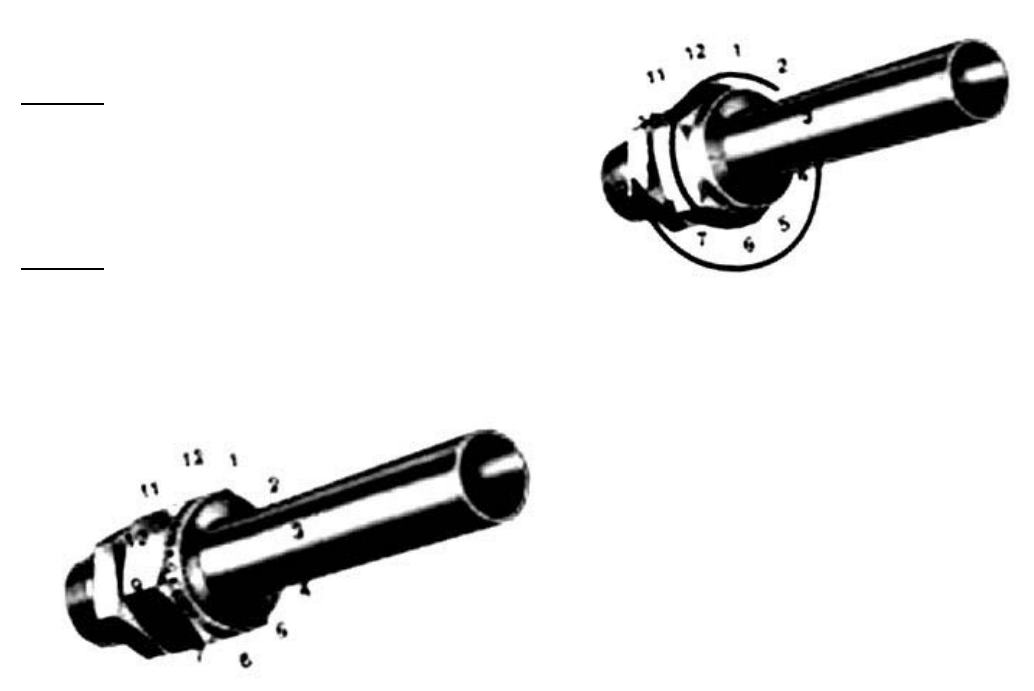
Before tightening the SWAGELOK nut, scribe the
nut at the six o'clock position.
STEP 3
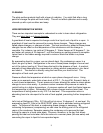
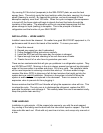
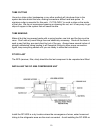
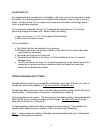
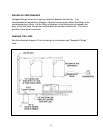
Now, while holding the fitting body steady with a backup wrench, tighten the nut 1 1/4
turns. Watch the scribe mark, make one complete revolution and continue to the 9
o'clock position. By scribing the nut
at the 6 o'clock position as it appears
to you, there will be no doubt as to
the starting position. When tightened
1 1/4 turns to the 9 o'clock position,
you can easily see that the fitting has
been properly installed.
* SWAGELOK FITTINGS ARE TO
BE TIGHTENED TO A TORQUE SPECIFICATION NOT INFINITE TIGHTNESS. BE
SURE YOUR STARTING POINT IS WRENCH SNUG. A DISTORTED TUBE MIGHT
GIVE A FALSE STARTING POINT.
* When making all connections, USE TWO WRENCHES. Don't allow the fittings to turn
or twist when tightening.
* Be sure the fitting nut is not cross threaded! Cross threading will ruin the fitting. The
fittings on the V/U cannot be replaced; as a result cross threading will ruin the V/U.
RECONNECTING PRE-SWAGED FITTINGS
Connections can be disconnected and re tightened many times.
When reconnecting, insert the tubing with pre-swaged ferrules into the fitting until the
front ferrule seats in the fitting. Tighten the nut by hand to avoid cross threading.
Rotate the nut about one-quarter turn with a wrench (or to original one-and-one-quarter
tight position). Then snug slightly with the wrench.


