27
CLEANING AND CARE
• Do not use the razor blade for daily cleaning as it may wear
the pattern on the glass.
METAL MARKS OR BURNED ON RESIDUE
Metal marks and burned on residue should be removed
immediately after the cooktop has cooled. Metal marks can
become permanent if not removed prior to future use.
1 Dampen a “scratchless” or “never scratch” pad
that is safe
for non-stick cookware.
The pattern and glass will be damaged
if the pad is not damp or is soiled or if another type of pad is
used.
Apply a cleaner cream for glass ceramic cooktops.
2 Scrub to remove as much soil as possible.
3 Apply the cleaner cream over the soil, cover with a damp
paper towel and let stand 30 minutes to 1 hour. Keep moist by
covering the paper towel with plastic wrap.
4 Scrub again and wipe off with another clean, damp paper
towel. Then wipe dry.
Note:
• Do not use aluminum foil on the cooktop.
• If pots or pans of aluminum or copper are allowed to boil dry,
permanent damage may affect the ceramic glass surface.
• Do not slide pots and pans across the cooktop surface.
• Cookware with rough bottoms can mark or scratch the
cooktop surface.
• Do not use a dull or nicked blade. Be sure to use a new,
sharp razor scraper.
MICROWAVE DRAWER
INTERIOR
Cleaning is easy because no heat is generated to the interior
surfaces; therefore, there is no baking and setting of spills or
spattering. To clean the interior surfaces, including drawer
sealing surfaces, wipe with a soft damp cloth. DO NOT USE
ABRASIVE OR HARSH CLEANERS OR SCOURING
PADS. For heavier soil, use mild soap; wipe clean with a soft
damp cloth. Do not use any chemical oven cleaners.
MICROWAVE DRAWER GUIDES
Remove the food crumbs from the Microwave Drawer guides.
Wipe with a soft dry cloth in order to keep the Microwave
Drawer opening and closing easily.
WAVEGUIDE COVER
ATTENTION
The waveguide cover (located on the inside
top of the microwave drawer area) is made from mica, so
it requires special care. Keep the waveguide cover clean
to assure good microwave performance. Carefully wipe
with a soft damp cloth any food spatters from the surface
of the cover immediately after they occur. Built-up splashes
may overheat and cause smoke or possibly catch fire. Do
not remove the waveguide cover.
ODOR REMOVAL
Occasionally, a cooking odor may remain in the Microwave
Drawer. To remove, combine 1 cup water, grated peel and
juice of one lemon and several whole cloves in a 2-cup glass
measuring cup. Boil for several minutes using 100% power.
Allow to set in the Microwave Drawer until cool. Wipe interior
with a soft cloth.
OVEN
CAUTION
Before cleaning any part of the oven, be sure the
oven is turned off. If not, press Stop/Clear.
Allow the oven to cool before cleaning.
INSIDE OF THE DOOR
You do not need to clean the area inside the gasket by hand
since the area is cleaned during the self-clean cycle.
Do not rub, clean or move the door gasket. Replace gasket
when it is worn or frayed.
The area outside the gasket and the door liner can be cleaned
with a soap-filled steel wool or plastic pad, hot water and
detergent. Rinse well with a vinegar and water solution.
INSIDE OF THE OVEN (SELF-CLEANING)
See page 24.
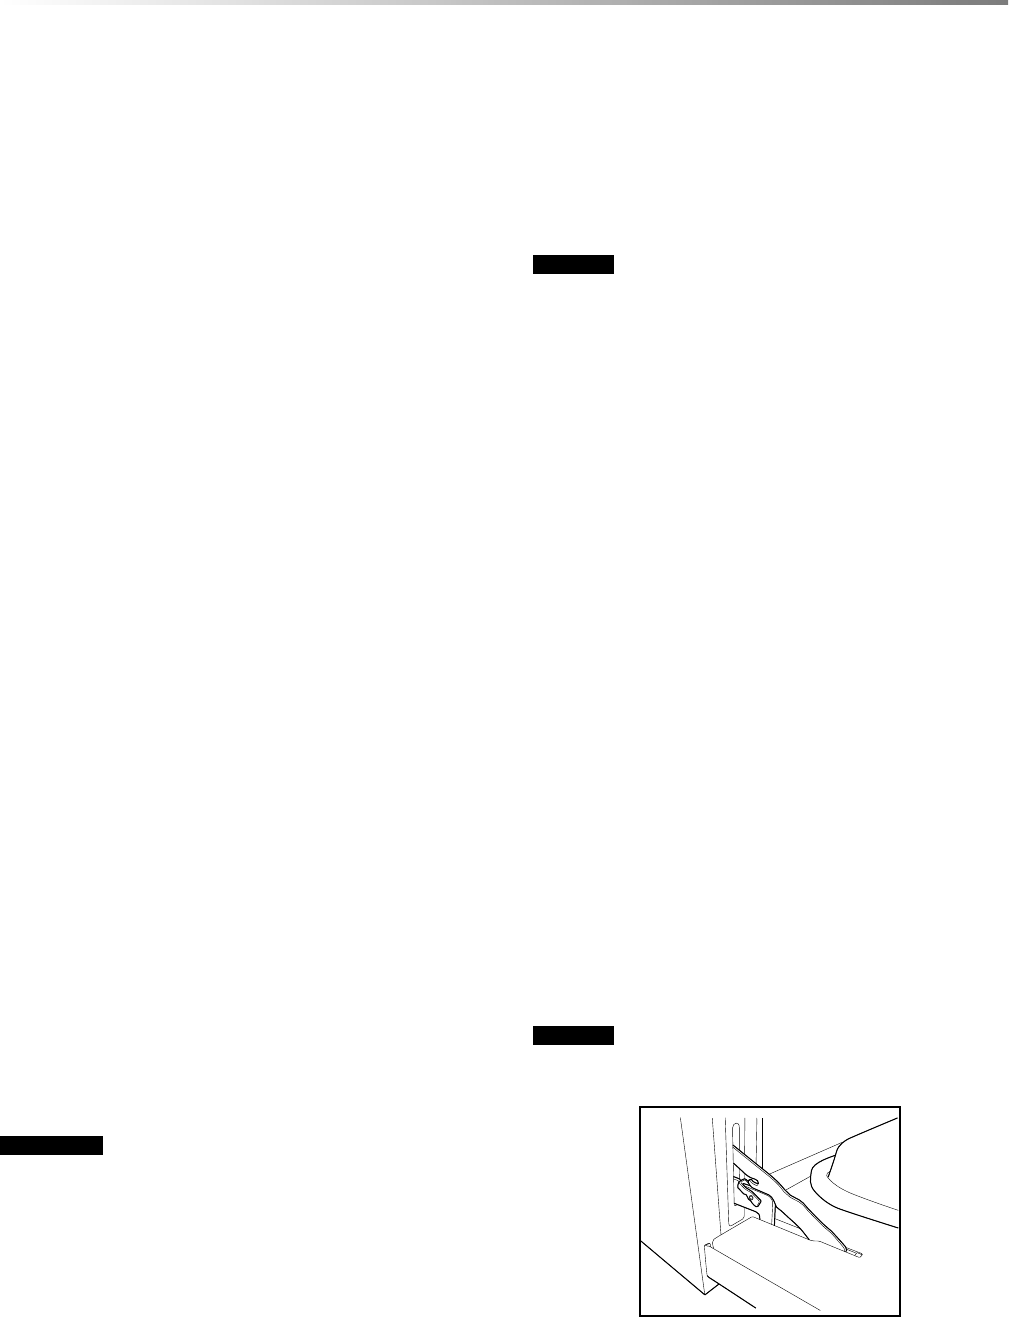
REMOVE AND REPLACE OVEN DOOR
1 Open the door to the fully opened position.
2 Pull the lock located on both hinge supports up and engage
in the hook of the hinge levers. You may have to apply a little
downward pressure on the door to pull the locks fully over
the hooks.
3 Grab the door by the sides, pull the bottom of the door
up and toward you to disengage the hinge supports. Keep
pulling the bottom of the door toward you while rotating the
top of the door toward the range to completely disengage the
hinge levers.
4 Proceed in reverse to reinstall the door.
Make sure the hinge supports are fully engaged before
unlocking the hinge levers.
CAUTION
The door is very heavy. For safe, temporary storage,
lay the door flat with the inside of the door facing down.
Lock in normal position.


