8
CONTINUOUS ON MODE
When the Warming Drawer is in Continuous On mode, it will
remainonuntilturnedoffmanually.Toavoidarehazardor
burns, exercise caution when operating the unit in Continuous
On mode. Touch POWER to turn the unit off.
AUTO SHUT-OFF
Do not block the humidity vents on the back of the drawer
front and along the left and right sides of the drawer. Excessive
heat buildup can occur.
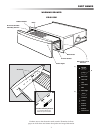
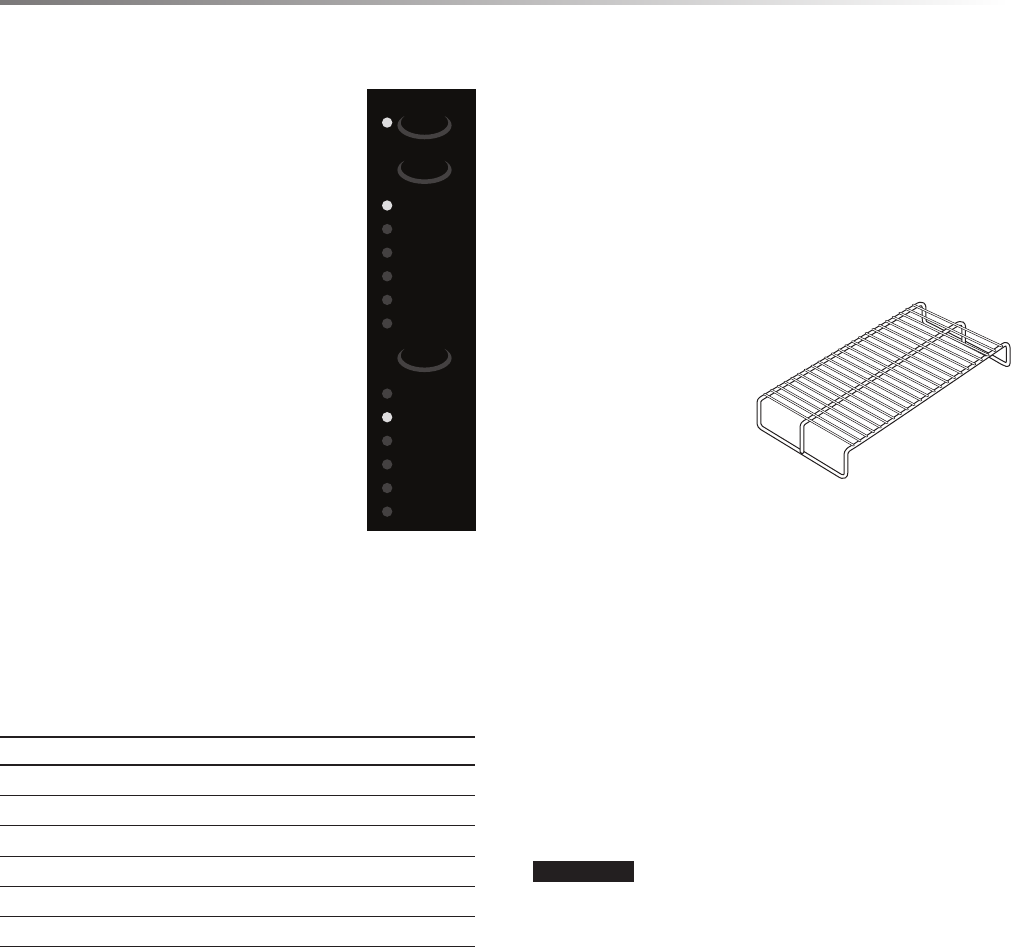
RACK
A wire rack is included
to use for double stacking
items.
Therackwilltfromfront
to back or from side to
side.
Preheat with the rack in place.•
The use of accessory attachments not recommended by •
Sharp may cause injuries.
Always place racks in desired position while drawer is cool. •
If racks must be removed while Warming Drawer is hot, do
not let the potholder contact the heating elements.
DO NOT USE• aluminum foil to line any part of the
WarmingDrawer.Usingafoillinercouldresultinare
hazard,ortheobstructionoftheowofheatandventilation
air. Foil is an excellent heat insulator and heat will be
trapped underneath it. This trapped heat can upset the
performance of the Warming Drawer parts.
DO NOT• place more than 50 pounds in the drawer.
CAUTION
Plastic containers or plastic wrap can melt if
in direct contact with the drawer or a hot utensil. Items may
melt and cause damage to the Warming Drawer or injury.
WARMING DRAWER USE
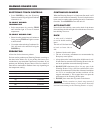
ELECTRONIC TOUCH CONTROLS
Press • POWER to turn the Warming
Drawer on and off. Signal light will indicate
when unit is on.
TO SELECT DESIRED
TEMPERATURE
Select temperature by pressing • TEMP
until indicator light is on next to desired
temperature.
TO SELECT DESIRED TIME
SelectfromvepresettimesorContinuous•
On by pressing TIME until light is on next
to desired time.
Use caution when selecting Continuous On. •
Unit will need to be turned off using the
POWER key.
PREHEATING
Allow time for the drawer to preheat.
For best results, preheat your Warming Drawer according to
the chart below before use. If you put hot food into a cool,
connedarea,anysteamthatispresentwillcondense.Ifyou
preheat your Warming Drawer, there will be less chance of
water due to condensation. Preheat times vary depending on
the temperature setting.
TEMPERATURE SETTINGS APPROXIMATE TIME
90˚ Proof Preheat Not Required
125˚ Low 8 minutes
150˚ 12 minutes
175˚ Medium 16 minutes
200˚ 19 minutes
230˚ High 24 minutes
On/Off
Temp.
Time
POWER
90° Proof
125° Low
150°
175° Med.
200°
230° High
1/2 Hour
1 Hour
2 Hours
3 Hours
4 Hours
Continuous On


