


PRODUCT
OPERATION
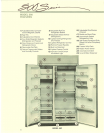
The importance of the installation
of your Sub-Zero cannot be over-
emphasized.
The properin-
stallation
of
your unit
is
the
responsibility
of
the selling deafer
or
installer. Any questions or
problems pertaining to the installation
should be directed to the selling
dealer.
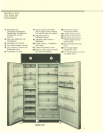
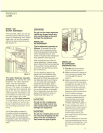
TEMPERATURE
CONTROLS
Your
new refrigerator/freezer was
thoroughly inspected and tested
before
it
was shipped from the
Sub-Zero factory. During these
procedures, the temperatures
were preset to maintain approxi-
mately
38
degrees
in
the refrigera-
tor section and approximately 0
degrees in the freezer section.
If
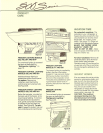
you wish to adjust the temperature,
simply turn the control dial. The
illuminated dial indicates the
control setting,
#1
warmest
to
#10
coldest. See Figures 1,2, and
3.
You
should be aware
it
is
normal
for temperatures to fluctuate
slightly depending on external
influences, such
as:
an open door
for extended periods, the degree
of humidity present and room
temperature.
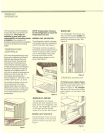
Figure 1
NOTE: A/ways allow
24
hours
for the refrigerator
to reach the
temperature you set.
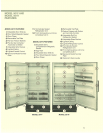
MODELS
532,
542
AND 561
The refrigerator control
is
located
on the back wall of the refrigerator
near the top right. See Figure
1.
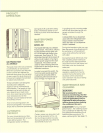
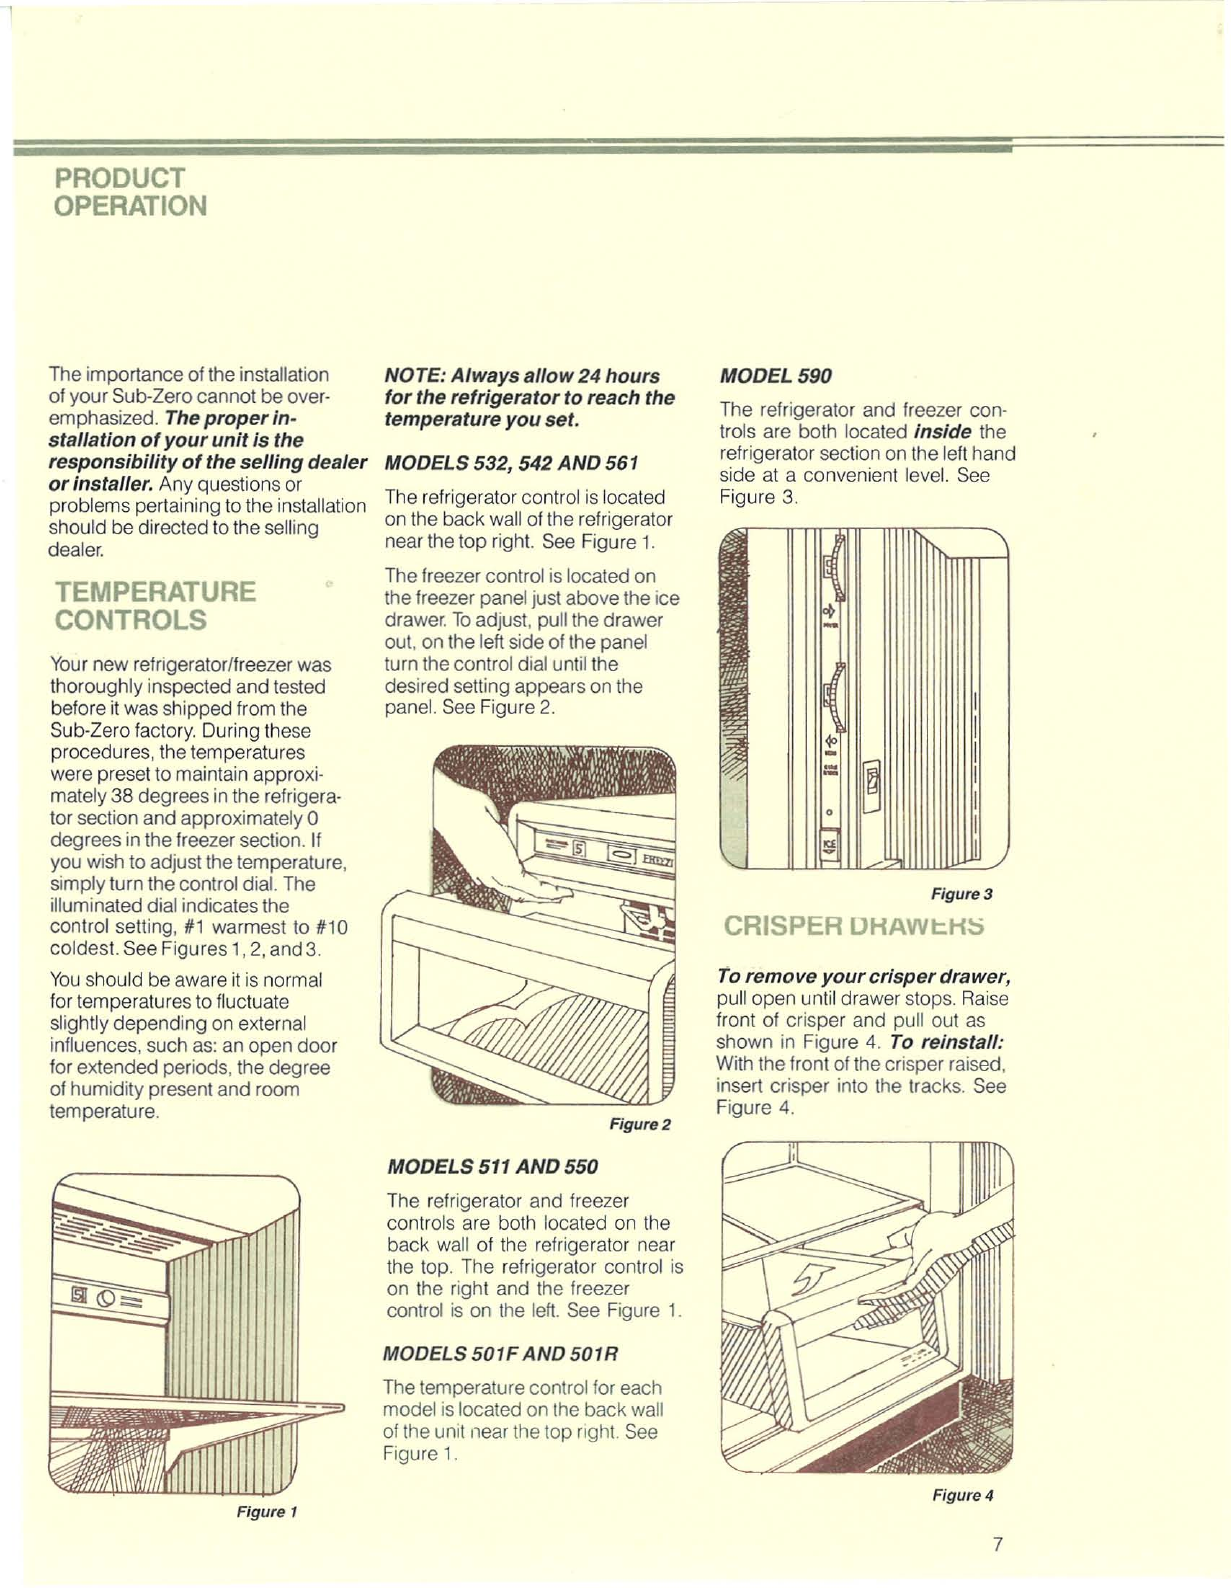
The freezer control is located on
the freezer panel just above the ice
drawer.
To
adjust, pull the drawer
out, on the lefl side of the panel
turn the control dial until the
desired setting appears on the
panel. See Figure
2.
Figure
2
MODELS
511
AND
550
The refrigerator and freezer
controls are both located on the
back wall of the refrigerator near
the top. The refrigerator control
is
on the right and the freezer
control
is
on the
lett.
See Figure
1.
MODELS
501FAND
501R
The temperature control for each
model is located on Ihe back wall
of
Ihe
unilnear
Ihe top right. See
Figure
1.
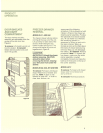
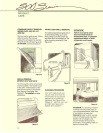
MODEL 590
The refrigerator and freezer con-
trols are both located inside the
refrigerator section on the left hand
side
at
a convenient level. See
Figure 3.
•
Figure 3
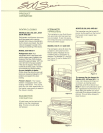
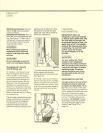
CRISPER
DHAWt:H~
to
remove
your
crisperdrawer,
pull open until drawer slops. Raise
fronl of crisper and
pullout
as
shown
in
Figure
4.
To
reinstall:
With the front of the crisper raised,
insert crisper into the tracks. See
Figure
4.
Figure 4
7