


INSTALLATION
INSTRUCTIONS
ElllARGE
TO
3,0,,"
OI.UlE'TER
Figure
21
Il
I
~--~--~
SCREWOROIoIMET
~
p
....
•
....
14".0
_ .....
'i((j--
1:
! UPPER
QRILU
S~~:
P
.......
:O-O'~
".
""IN
FIlAME
ADDSCREW GROMMET
TO PROPER
HOl£
--<'-1<-_
'"
10·
GRILLES
II"
GRILLE
ONLY
532 &590
1,"
THRU
1S"
GR1LlE
ALL OTHER MODELS
TEMPLATE
USE EXISTING
QRIU,£
~~~l~~~
SCREW
fOR(IlIID£
FOR
l,"THRU
'5"
GRILLES
PILOT HOLES
DRILL WITH
11.·
DRILL
81T
lOWER
GRillE
SCREW
P,,,
.j..:ro-o"-II
Figure
20
C)
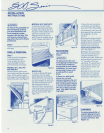
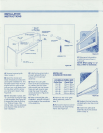
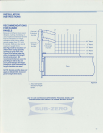
Slide panel into position
in grille frame as shown in
Figure 22.
NOTE: When using
'/4"
or
less, a filler
is
necessary.
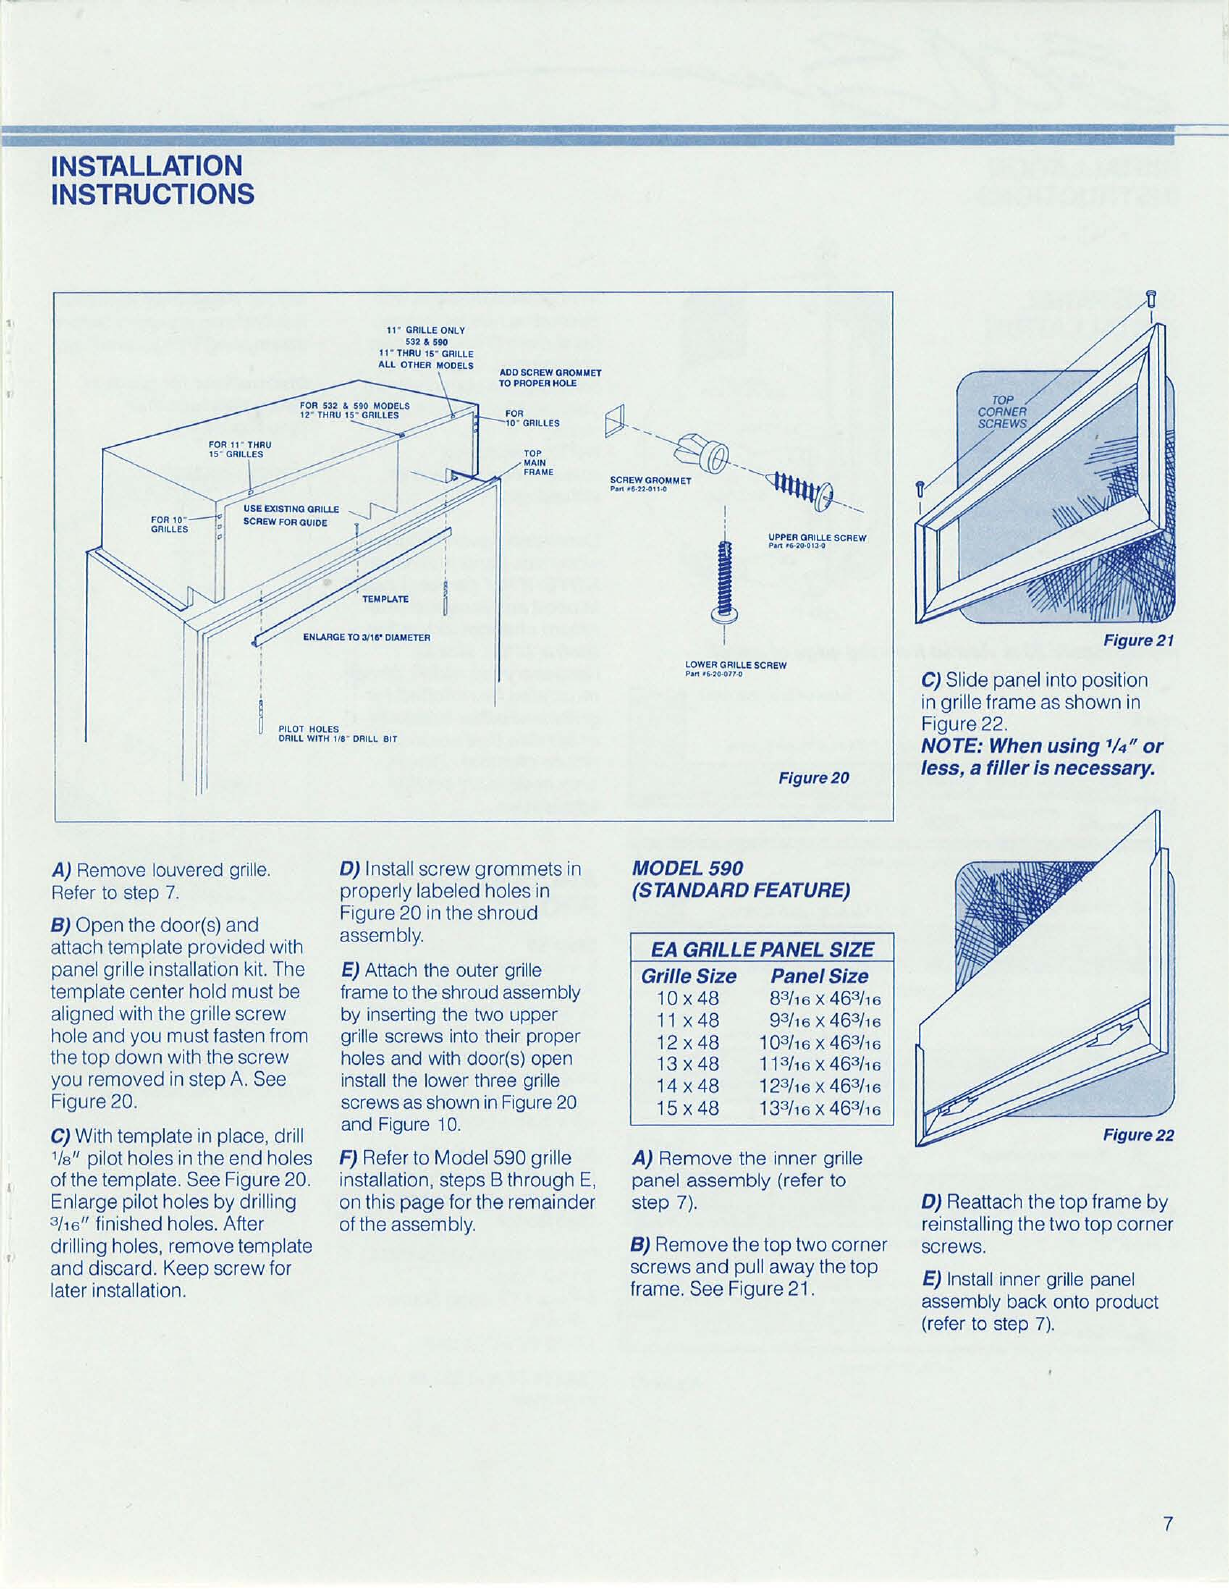
A)
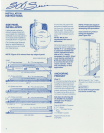
Remove louvered grille.
Refer
to
step
7.
B) Open the door(s) and
attach template provided with
panel grille installation
kit.
The
template center hold must be
aligned with the grille screw
hole and you must fasten from
the top
down
with the screw
you removed in step
A.
See
Figure 20.
C)
With template in place, drill
'/8" pilot holes in the end holes
of the template. See Figure 20.
Enlarge pilot holes by drilling
3f,e"
finished holes. After
drilling holes, remove template
and discard. Keep screw for
later installation.
D) Install screw grommets in
properly labeled holes in
Figure 20 in the shroud
assembly.
E)
Attach the outer grille
frame to the shroud assembly
by inserting the two upper
grille screws into their proper
holes and with door(s) open
install the lower three grille
screws
as
shown
in
Figure 20
and Figure
10.
F) Refer to Model 590 grille
installation, steps B through
E,
on this
page
for the remainder
of the assembly.
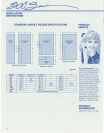
MODEL
590
(STANDARD FEATURE)
EA
GRILLE PANEL
SIZE
Grille Size Panel Size
10 x 48 8
3
f,6 x
46
3
f,6
11
x48
9
3
f,6 X46
3
f,e
12
x48
10
3
f,6 X
46
3
f,6
13x48
113f,6x46
3
/,6
14
x48
12
3
f,6 X
46
3
f,6
15 x 48 13
3
f,6 x
46
3
f,6
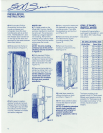
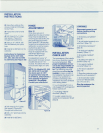
A)
Remove the inner grille
panel assembly (refer to
step
7).
B)
Remove the top two corner
screws
and
pull away the top
frame. See Figure 21.
Figure
22
D)
Reattach the top frame
by
reinstalling the two
top
corner
screws.
E)
Install inner grille panel
assembly back onto product
(refer to step
7).
7