


Convection Steam Oven Installation 13
wolfappliance.com/specs
Install the Oven
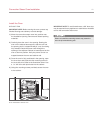
WITH TRIM
IMPORTANT NOTE:
Trim kits are an optional sales acces-
sory and not required to install the convection steam oven.
Depending on the trim kit you have purchased, trim panels
may look slightly different than shown in the illustrations.
Not all parts provided with the trim kit will be used for
installation with the convection steam oven.
IMPORTANT NOTE: Before moving the oven, protect any
finished flooring and cabinetry to avoid damage.
1) Move the convection steam oven into position near
the installation opening. Remove and discard packing
materials.
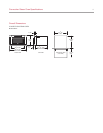
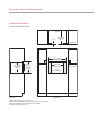
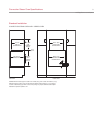
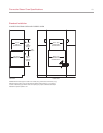
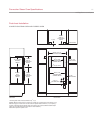
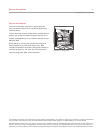
2) Position the trim panels as shown below. When
properly oriented, the four mounting holes will be
positioned near the bottom of the four spacers.
3
) Carefully place the oven in the opening. Resting the
oven on the cabinet base support, slide the unit into
the opening until it is approximately 6"
(152) from being
fully installed. Guide the power cord through the
opening of the adjacent cabinet or base support as the
oven is slid into position. Verify the power cord is not
trapped between the oven and cabinet wall.
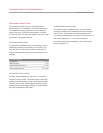
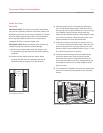
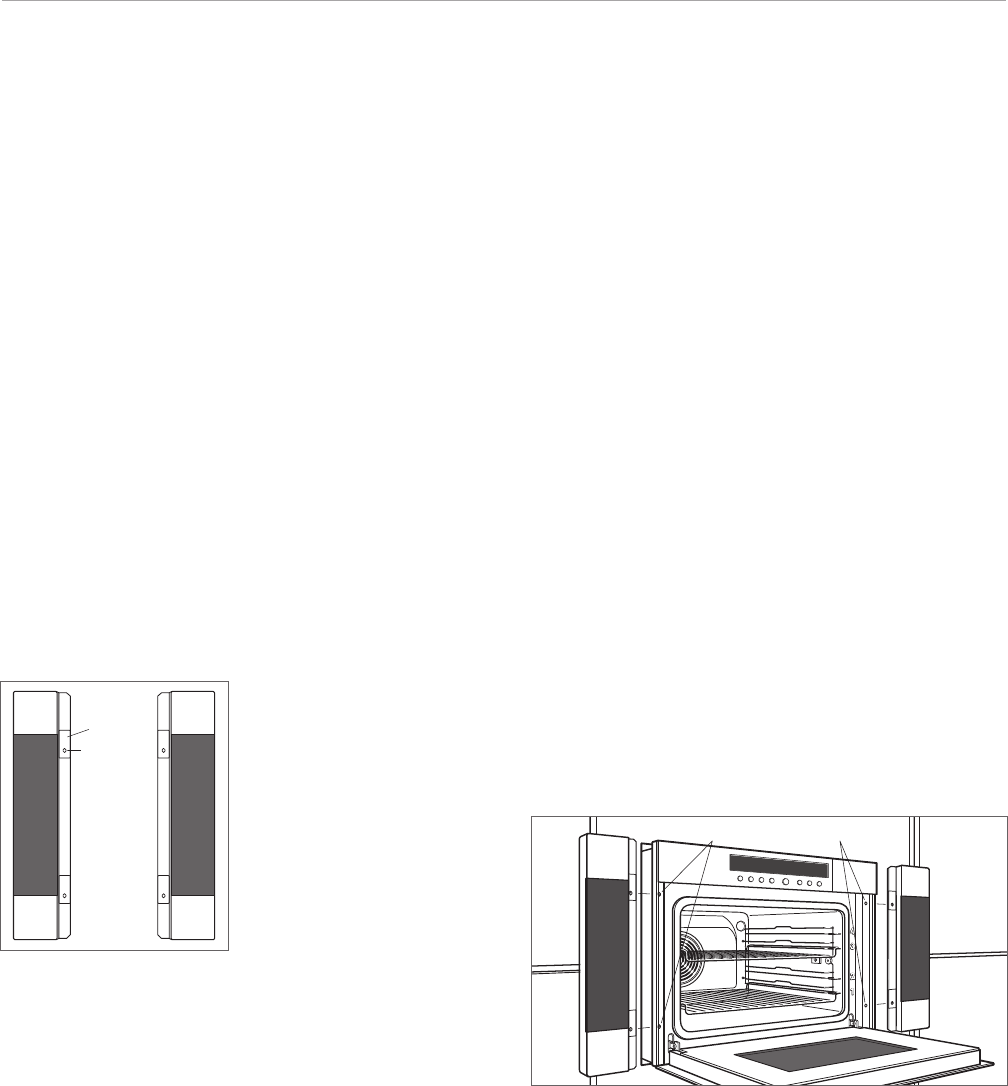
4) Continue to slide the unit back into position until it is
1
/4" (6) proud of the cabinet face frame. Open the oven
door and locate the four mounting holes on the oven
side trim. Refer to the illustration below. Use a
1
/1
6
" drill
bit to drill pilot holes into the cabinet.
5) Locate the four mounting screws provided with the
convection steam oven. Place the left trim panel
behind the oven side trim. Slide the left side of the
oven back and install two of the mounting screws just
far enough to hold the trim in place. Repeat with the
right trim panel.
6) To complete the installation, verify the trim panels align
with oven trim and securely tighten all four mounting
screws.
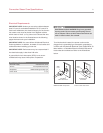
MOUNTING
HOLE
S
PACER
Trim panel orientation.
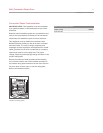
T
E
M
P
M
O
D
E
L
I
G
H
T
W
A
T
E
R
T
I
M
E
O
F
F
P
O
W
E
R
O
N
OVEN MOUNTING HOLES
Oven installation with trim.