10
PRO 48 INSTALLATION INSTRUCTIONS
MOVING THE PRO 48
After you've completed the steps for unpack-
ing the PRO 48 and have removed the grille
a
nd installed the anti-tip bracket, carefully
move the unit onto an appliance dolly. When
securing the unit on the appliance dolly, use
t
he corner protectors retained from the pack-
aging under the strapping to avoid damage to
the stainless steel exterior. Also, secure the
doors and drawers closed with the strapping.
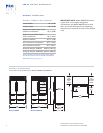
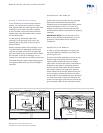
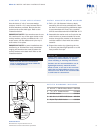
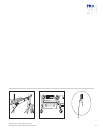
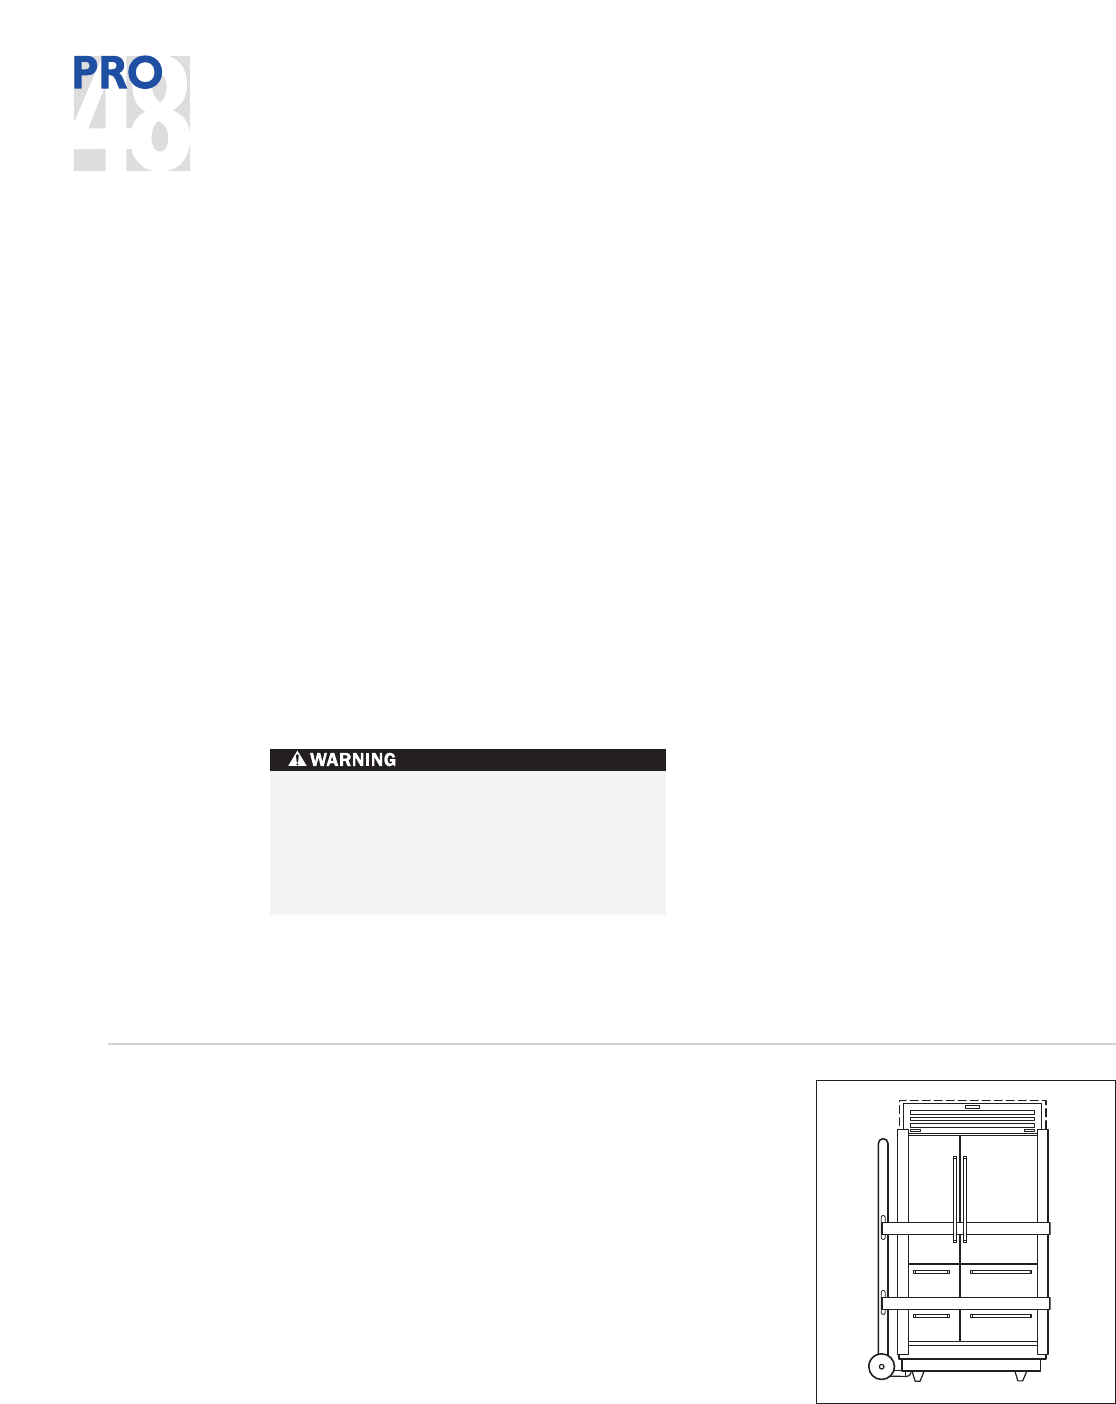
Refer to the illustration below for proper
placement of the appliance dolly.
IMPORTANT NOTE:
Protect the surrounding
finished flooring with masonite, plywood,
1
/8"
(3) pressed fiberboard or other suitable
material before moving the unit across it.
Carefully move the PRO 48 into place near the
rough opening and move it off of the appliance
dolly. The PRO 48 is equipped with rollers, so it
can be moved into position more easily.
The PRO 48 is very heavy – 885 lbs (401
kg) or 900 lbs (408 kg) – be sure to have
adequate manpower when moving and
positioning the unit. Secure doors and
drawers closed before moving the unit.
Proper placement of appliance dolly
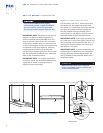
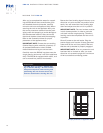
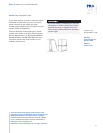
Retract the front leveling legs all the way up to
a
llow the unit to be moved into position more
easily. You will extend the front leveling legs
down and adjust once the unit is in position.
IMPORTANT NOTE:
The rear levelers must be
in their lowest position in order to push the
unit back into the rough opening. Therefore,
leveling cannot be completed until the unit is
in position.
Shut off power to the wall outlet. Plug the
power supply cord into the 15 amp grounded
outlet and roll the unit into position. Be sure
that the anti-tip bracket is properly engaged.
IMPORTANT NOTE:
If for any reason the unit
has been laid on its back or side, you must
allow the unit to stand upright for a minimum
of 24 hours before connecting power.


