7
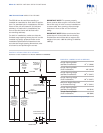
Dimensions in parentheses are in
millimeters unless otherwise specified.
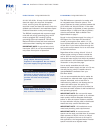
WATER FILTER BYPASS MODE
If you choose not to use the water filtration
system, the system can be placed in water
f
ilter bypass mode by removing the water filter
cartridge. In this mode, the water supplied
to the ice maker will not be filtered and the
e
lectronically controlled water filter monitor
will be deactivated.
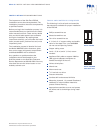
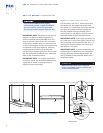
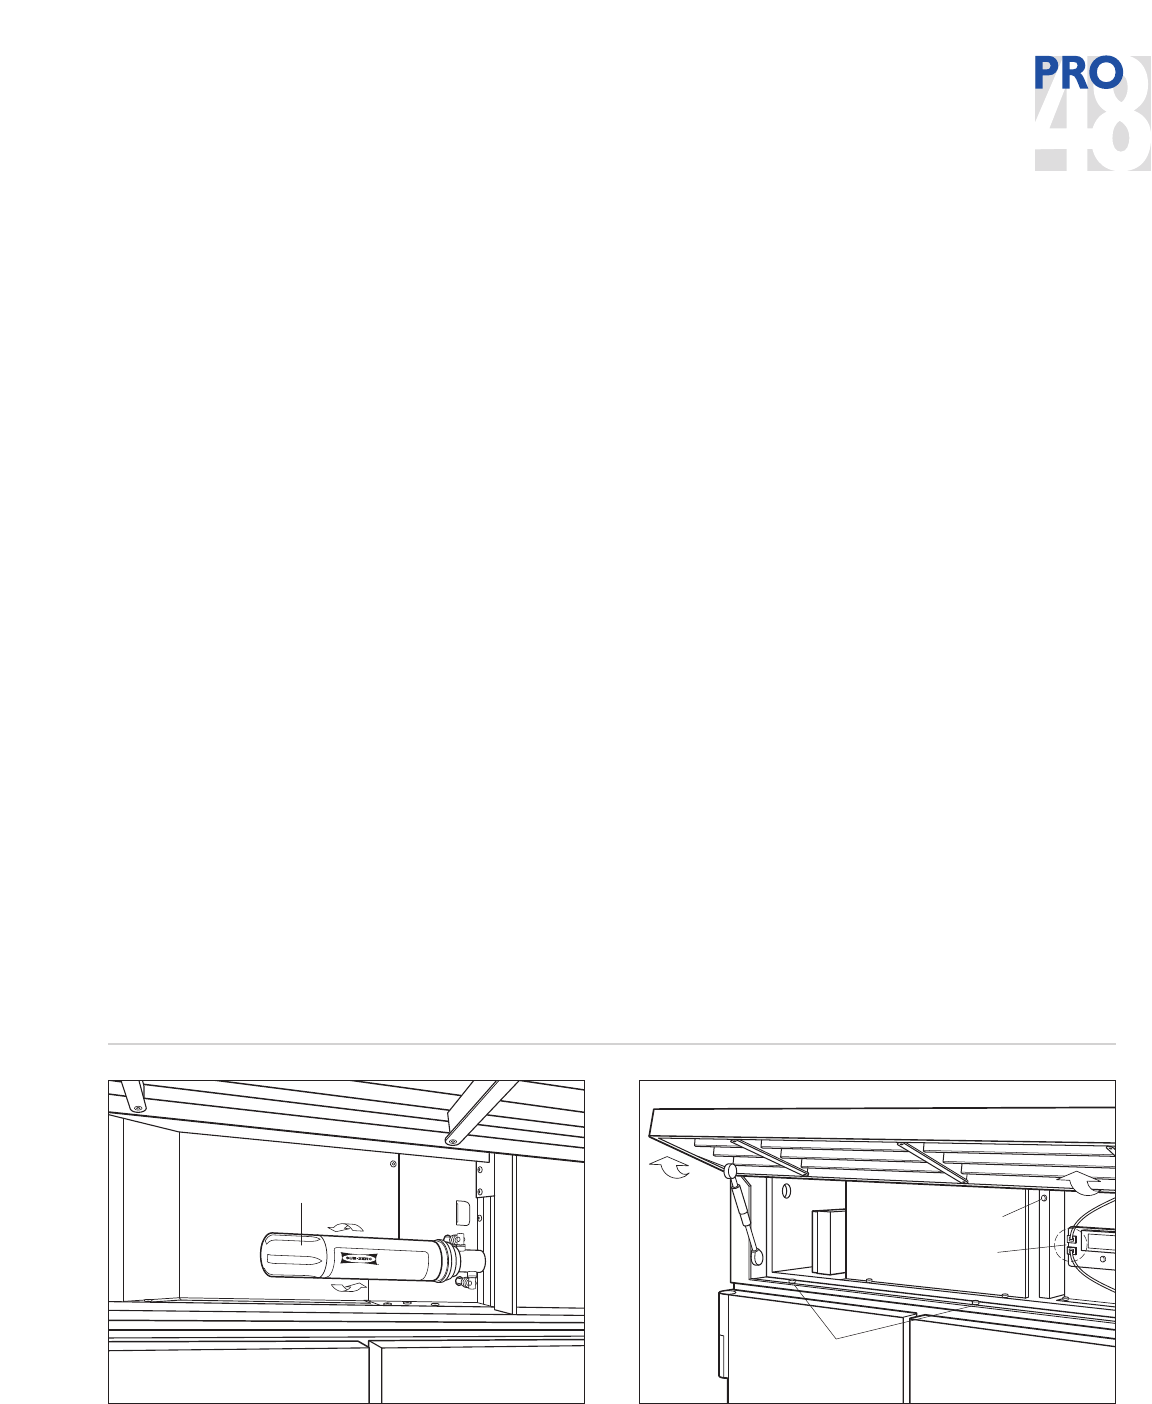
Lift the grille to access the water filter
cartridge. To lift the grille, pull out on the
bottom edge of the grille and tilt the grille
frame forward.
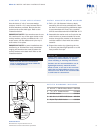
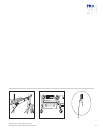
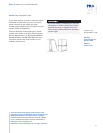
Slowly rotate the water filter cartridge
1
/4 turn
counterclockwise to disengage. Gently twist
until the cartridge is free from the base, DO
NOT pull. Refer to the illustration below. There
will be water in the filter cartridge, so it is
normal for a small amount of water to spill out.
The water filtration system automatically goes
into bypass mode when the filter cartridge is
removed.
UNPACKING THE PRO 48
Uncrate the unit and inspect for any damages.
Remove the wood base and discard the
s
hipping bolts and brackets that hold the wood
base to the bottom of the unit. Tip the unit
slightly to each side to remove styrene pads
u
nder the base. Remove and discard all packing
materials.
IMPORTANT NOTE:
Do not discard the kick-
plate, anti-tip bracket and hardware or corner
protectors. These items will be needed for
installation.
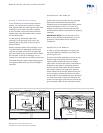
REMOVING THE GRILLE
In order to prevent damage to the grille, the
top grille assembly should be removed prior
to moving the unit.
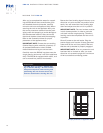
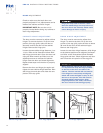
To remove the grille assembly, pull out on the
bottom edge of the grille and tilt the grille
frame forward. Disconnect the low-voltage
cable which connects the exterior temperature
displays on the grille to the display module,
and cut the two white cable ties which attach
the network cable to the right grille support.
These cables ties should be replaced once the
unit is properly installed with the extra cable
ties provided in this package. Remove the three
7
/16" bolts from base of the grille. Remove the
screw from the upper grille area to remove the
grille assembly. Refer to the illustration below.
UPPER
GRILLE SCREW
LOW-VOLTAGE
CABLES
LOWER
GRILLE BOLTS
Removing the grille
WATER FILTER
Water filter
PRO 48 INSTALLATION INSTRUCTIONS


