


Use and
Care
Information
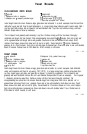
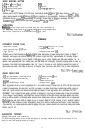
Before assembling your Sunbeam Mixmaster Mixer BE SURE THE POWER CORD IS UNPLUGGED and
Speed Control dial is in the OFF position.
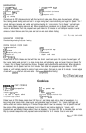
1,
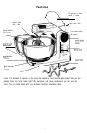
Fit the revolving turntable into the base of the stand using the socket
corresponding to the size of bowl selected (large or small).
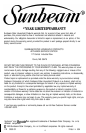
2. Tilt the mixer head by pressing in on the button on the bottom of the
mixer head. Lift it up and back toiilt it out of the way of the bowl.
Lifl up until the mixer head snaps into a locked position.
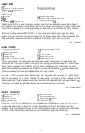
3. Attaching the beaters. It is most important that the beaters are fully
inserted into the proper sockets or your Sunbeam Mixmaster Mixer
will not operate correctly. The beater with the nylon button should
be inserted by its shaft into the socket closest to the side of the
Lock down button
bowl. The square shaped beater without the nylon button is inserted
in the socket closest to the center of the bowl. insert the beaters one at a time with a slight
twisting action until they snap into place. Release the button and lower the mixer into the bowl ready for use.
Note: If a beater should not properly snap into place pull it out of the socket and rotate it one quarter turn. Reinsert the
beater into the socket until it snaps into position.
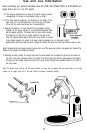
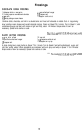
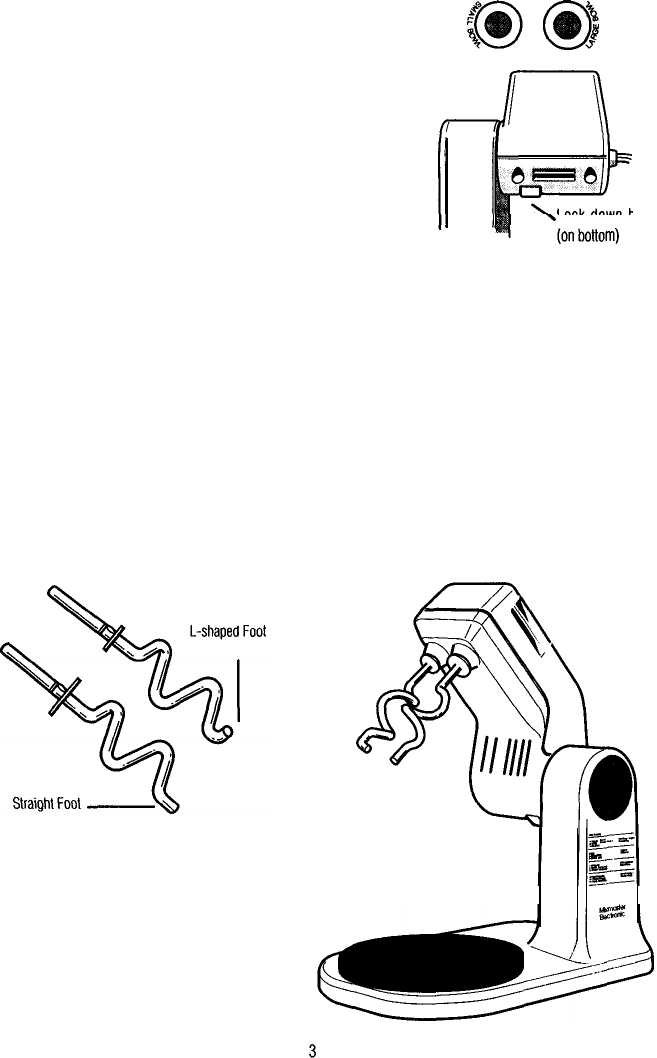
4. Attaching the dough hooks. The dough hook with the small washer and L-shaped foot goes into the socket on
the side of the mixer nearest the side of the bowl. The other dough hook with the large washer and straight
foot goes into the socket nearest the center of the bowl. See the dough hook symbols located on the front of
the mixer head.
Note: The dough hooks must go into the correct sockets. The mixer will not operate with the dough hooks in the wrong
position as the dough hook will hit the bowl. Read the following instructions carefully.