


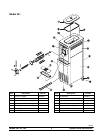


13
Models 340, 341, 342 Operating Procedures
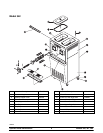
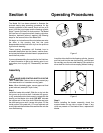
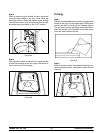
Slide the white, plastic front bearing onto the bearing
hub, making certain that the flanged end of the bearing
is resting against the freezer door. DO NOT lubricate
the door gasket or front bearing.
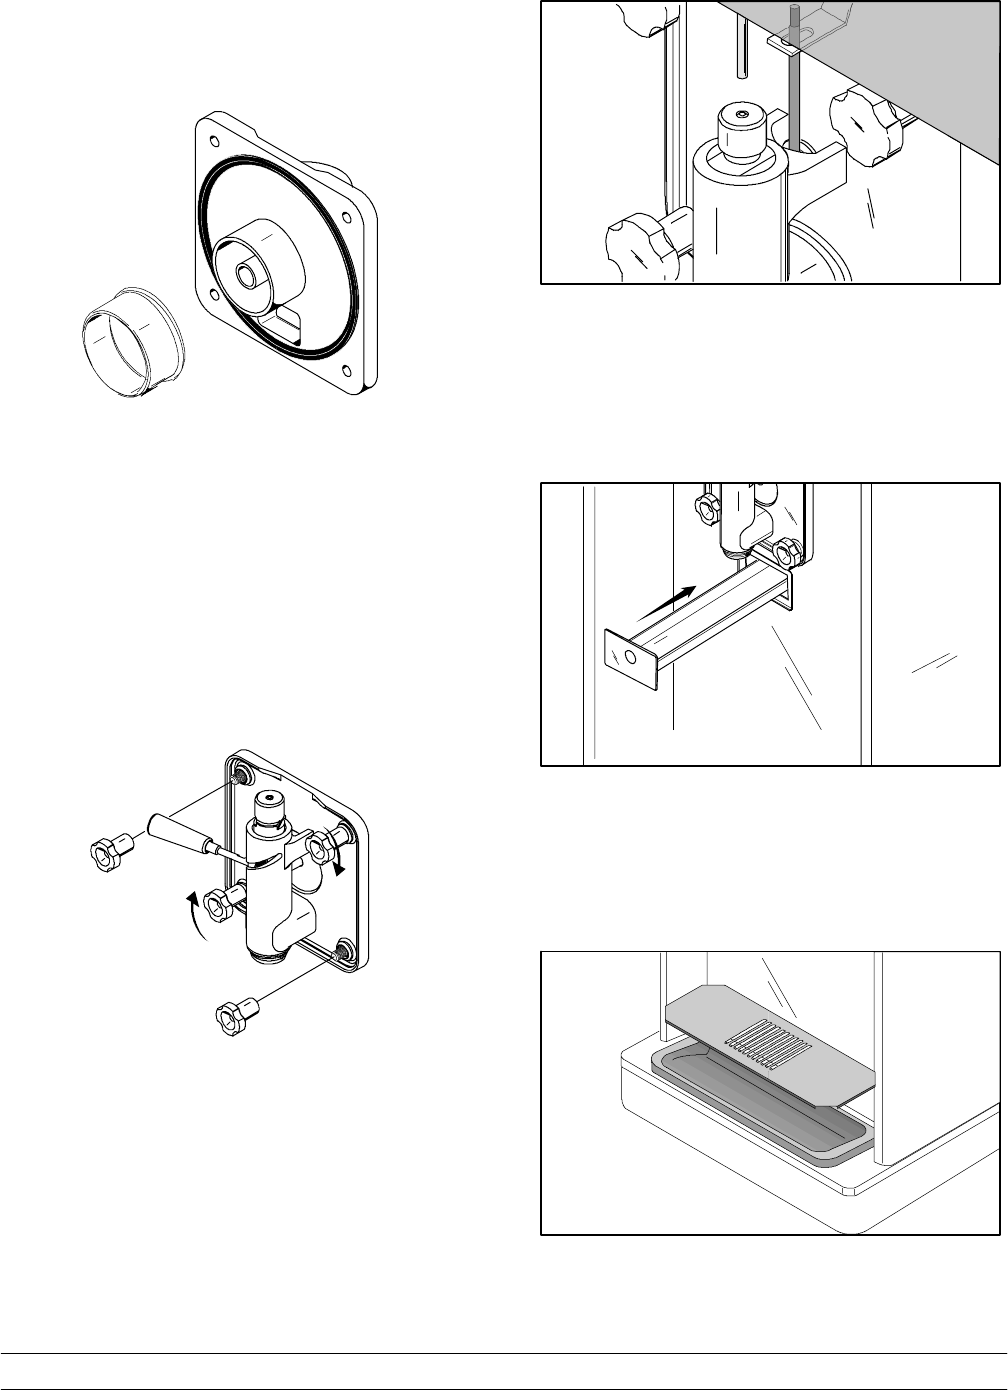
Figure 14
Step 6
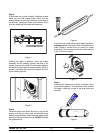
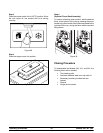
Install the freezer door. Place the front end of the baffle
into the hole in the center of the door. Position the door
onto the four studs on the front of the freezing cylinder
and push the door into place. Install the four
handscrews onto the studs and tighten them equally in
a crisscross pattern to insure that the door is snug. DO
NOT over-tighten the handscrews.
Note: If the freezer door does not fit into place easily,
position the open end of the beater assembly in the 11
o’clock position.
Figure 15
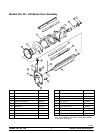
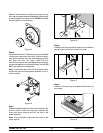
Step 7
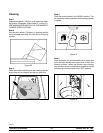
Rotate the baf fle assembly so the hole in the end of the
shaft is vertical. Insert the torque arm between the
draw valve spout supports and into the hole in the
baffle assembly.
Note: During operation, the torque arm rests on the
spout support.
Figure 16
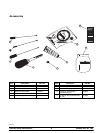
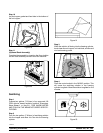
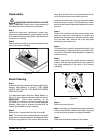
Step 8
Install the rear drip pan and the restrictor cap. Slide the
long drip pan into the hole in the front panel.
Figure 17
Step 9
Install the front drip tray and splash shield under the
door spout.
Figure 18