5
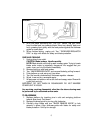
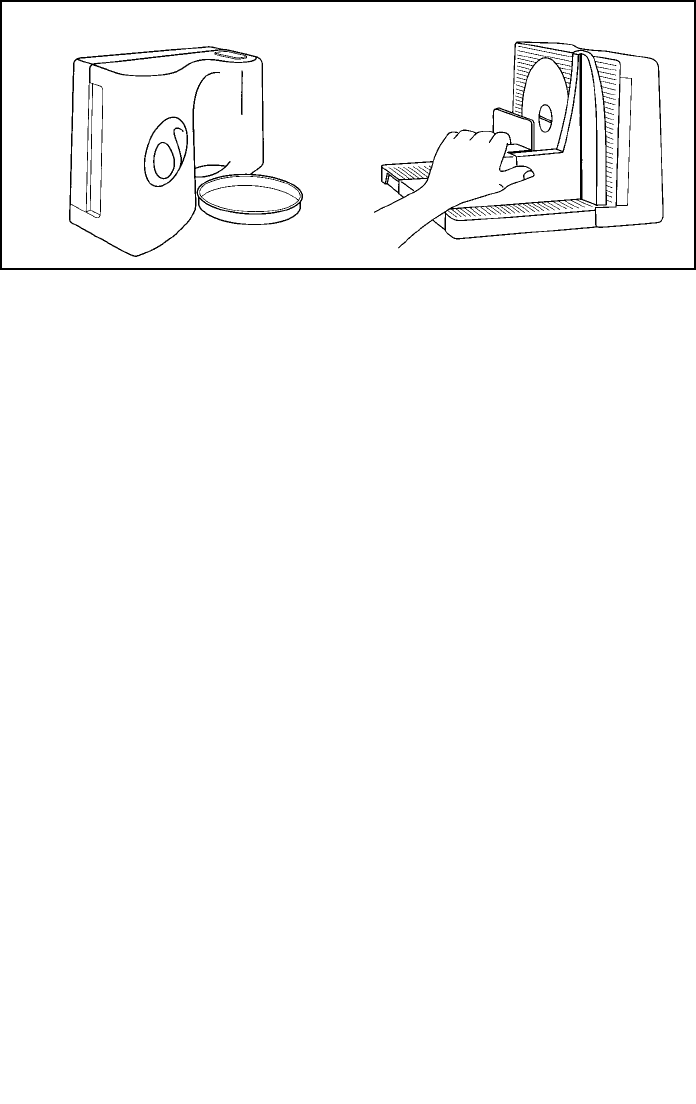
4. With one hand controlling the “ON/OFF” switch, use your other
hand to slide food tray towards blade. Move tray steadily back and
forth, pressing food gently with the food pusher against the thickness
guide for even slices.
5. When finished slicing, unplug unit. Turn “THICKNESS REGULATOR
DIAL” to align with blade for safety and blade protection.
CARE AND CLEANING
1. Unplug slicer from outlet.
CAUTION: Blade is sharp. Handle carefully.
NOTE: Blade should not be left to soak in soapy water. Trying to locate
blade under water is potentially dangerous. We suggest that you
wash, rinse, and dry the blade immediately.
2. Remove food tray and food pusher.
3. Turn “BLADE RELEASE KNOB” and remove blade by pulling forward.
4. Fold platform up and swing out from slicer.
5. Turn dial counter clockwise until thickness regulator releases.
6. Wash, rinse and dry removable parts.
7. Wipe power unit exterior with a soft cloth and soapy water. Rinse with
a wet cloth and dry.
IMPORTANT. DO NOT WASH IN DISHWASHER. DO NOT IMMERSE
POWER UNIT IN LIQUID.
Any servicing requiring disassembly other than the above cleaning must
be performed by an authorized service center.
TO RE-ASSEMBLE
1. Replace platform by inserting pins in slot and swinging platform
toward slicer body. Fold down.
2. Replace thickness guide by turning dial clockwise.
3. Carefully align blade and turn “BLADE RELEASE KNOB” to lock
securely in place. Align thickness guide with blade for safety and
blade protection. Fold up for storage.
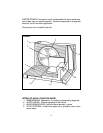
FIGURE 2


