8
HOW TO USE YOUR RICE COOKER
ASSEMBLY & COOKINGASSEMBLY & COOKING
ASSEMBLY & COOKINGASSEMBLY & COOKING
ASSEMBLY & COOKING
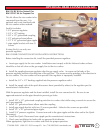
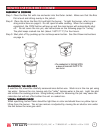
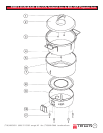
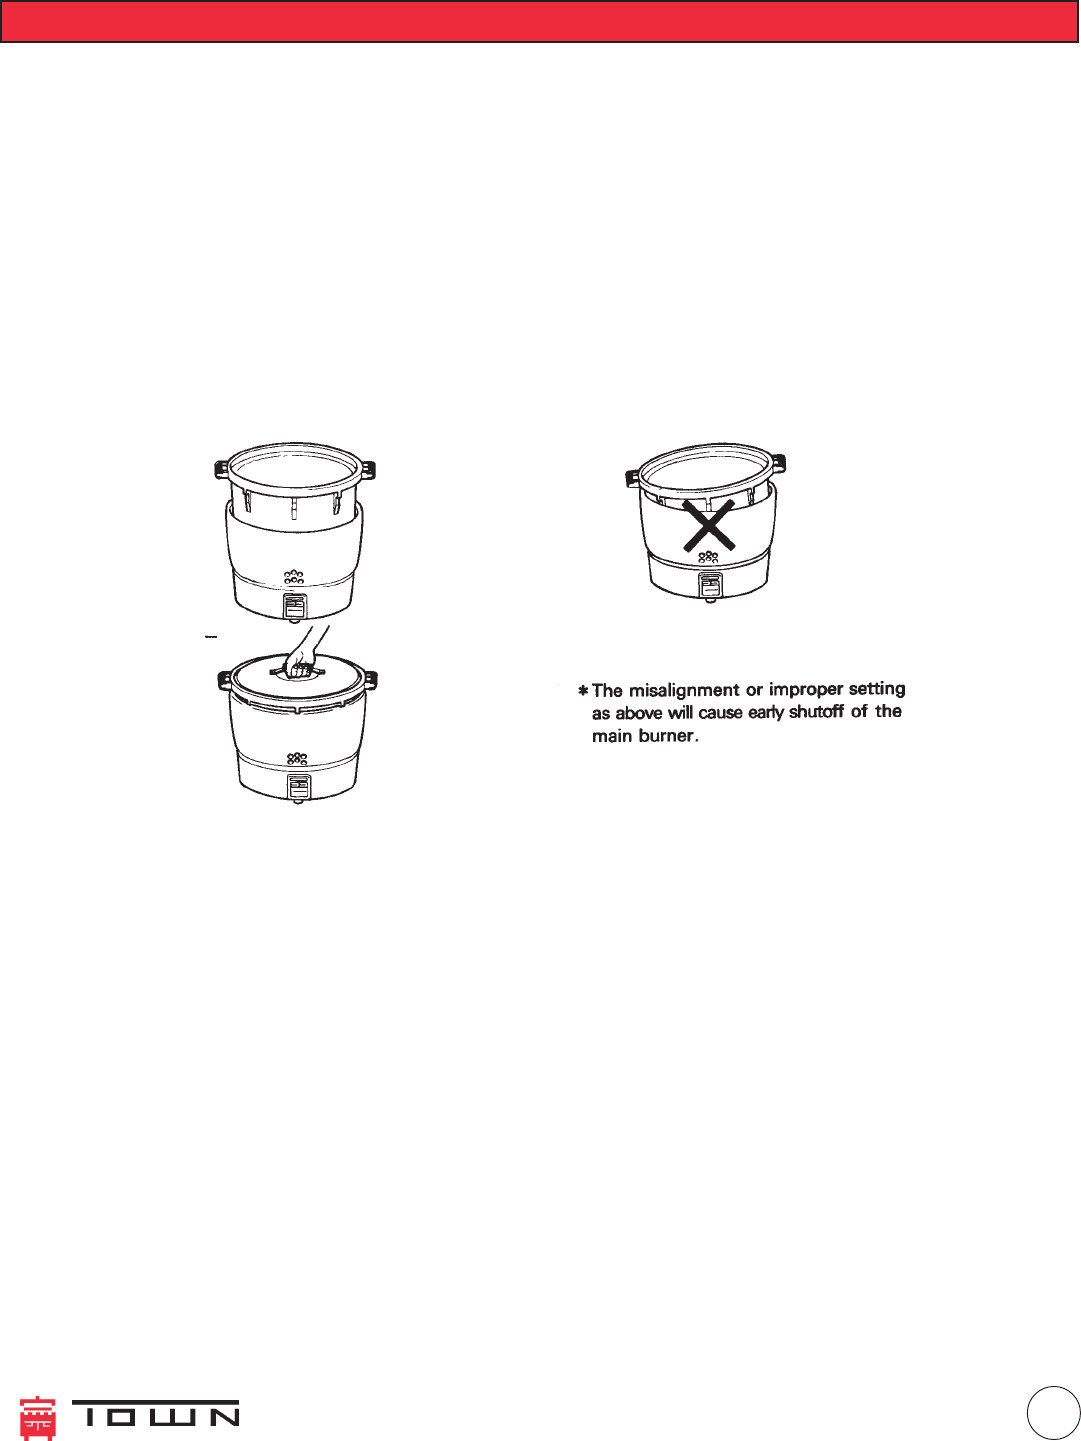
Step 1: Place the Rice Pot with rice and water into the Outer Jacket. Make sure that the Rice
Pot is level and sitting evenly in the jacket.
Step 2: Place the lid on the Rice Pot and light the burner. To light the burner, refer to oper-
ating instructions on page 6. Do not open lid while cooking. When the cooking is
completed, the COOK button will pop up and the main burner will automatically shut
off. Do not serve the rice yet; see instructions on the following page for “curing.”
The pilot keeps cooked rice hot (about 160ºF/71ºC) for four hours.
Step 3: Shut pilot off by pushing up the red keep warm button. See Shut Down instructions
on page 6.
SEASONING THE RICE POTSEASONING THE RICE POT
SEASONING THE RICE POTSEASONING THE RICE POT
SEASONING THE RICE POT
A new Rice Pot should be carefully seasoned once before use. Wash rice in the rice pot using
tap water. Remove the rice, leaving only the “milky” looking water in the pot. Light the pilot
and initiate the cooking process. Using ordinary water for seasoning the pot may cause dis-
coloration but will not effect either the unit or cooked rice.
VISUAL BURNER CHECKVISUAL BURNER CHECK
VISUAL BURNER CHECKVISUAL BURNER CHECK
VISUAL BURNER CHECK
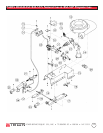
When operating, burner flame should be light blue in color and should have no yellow tips or
lifting from the burner. The air/gas mixture is adjusted by moving the air shutter arm under
the unit below the main gas valve.
FOOD SERVICE EQ. CO., INC. • 72 BEADEL ST. • BKLYN • NY • 11222


