


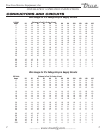
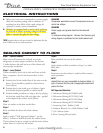

............ www.truemfg.com ............
True Food Service Equipment, Inc.
10 10
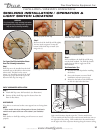
SHELVING INSTALLATION / OPERATION &
LIGHT SWITCH LOCATION
INSTALLATION / OPERATION INSTRUCTIONS
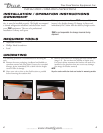
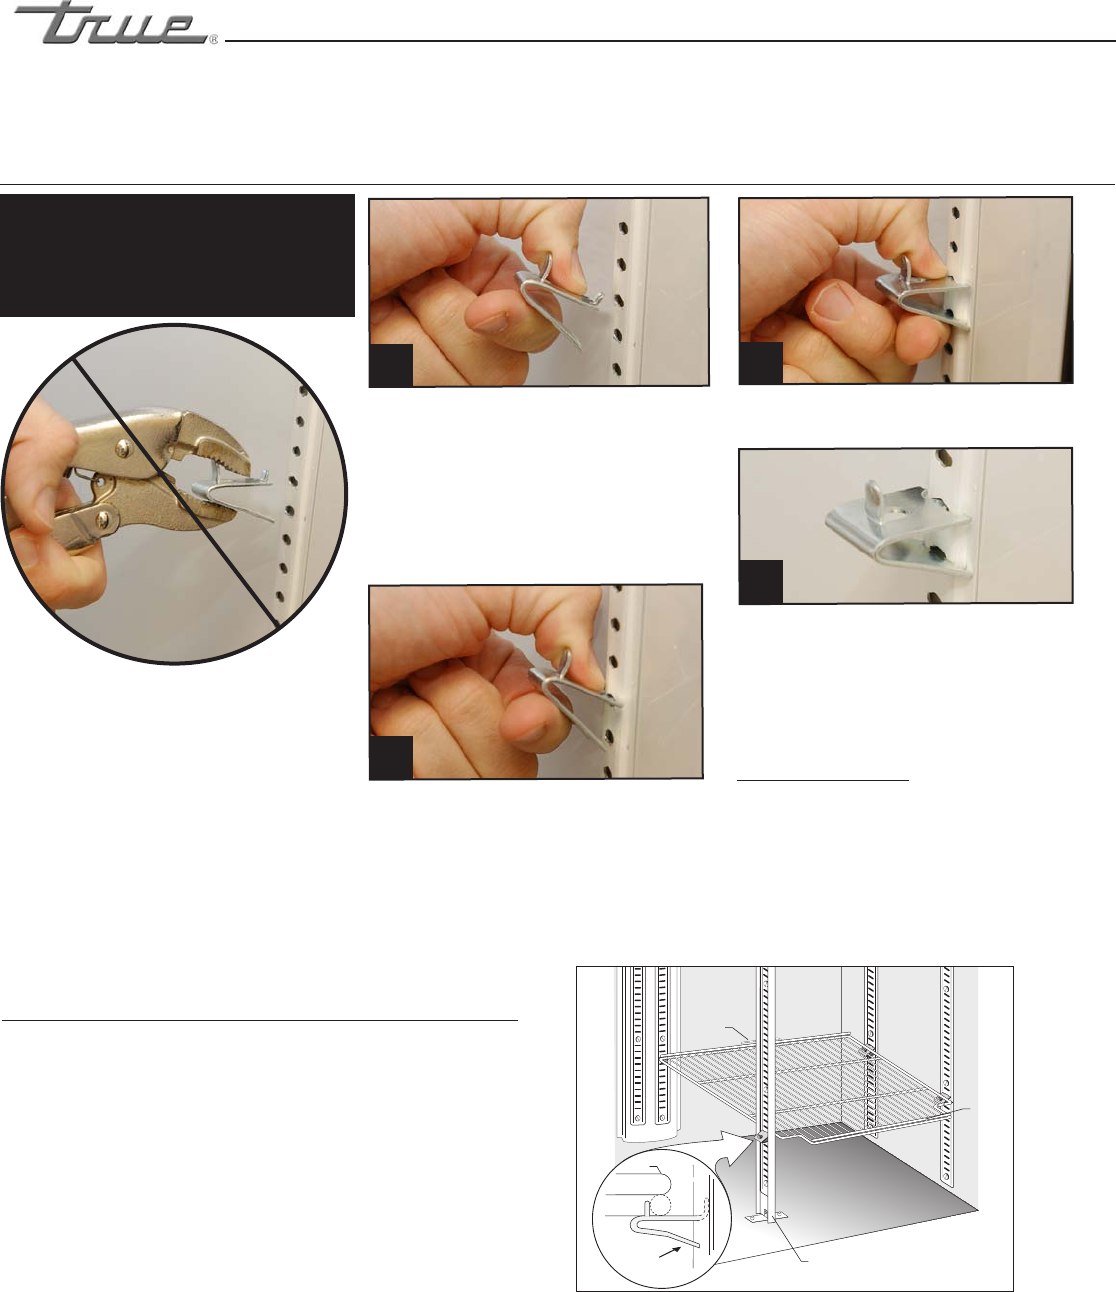
SHELF & ORGANIZER INSTALLATION:
Step 1
A. Hook shelf clips onto shelf standards. (see illustration).
B. Position all four shelf clips equal in distance from the
floor for flat shelves.
WIRE SHELVES
Wire shelves are oriented so that cross support bars are facing down.
NOTE
T-Series models include an airflow guard on the rear of shelves to
maintain an air space at the rear of the cabinet. (see illustration).
Step 2
Place shelves on shelf clips making sure all corners are seated
properly.
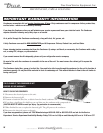
LIGHT SWITCH LOCATION:
Light switch location depends upon the T-Series model. Most
T-Series models will have the light switch located inside the unit on
the right side of the ceiling. Some models have the switch located
on the right side of the evaporator housing along the interior ceiling.
Shelf
Clip
Shelf
Shelf
T-Series
& GDM-5
Airflow
Guard
Pillaster
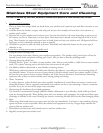
WARNING
Do not use pliers or any crimping tools when
installing shelf clips. Altering shelf clips in any
way can lead to shelving instability.
For Proper Shelf Clip Installation Please
Read The Following Instructions.
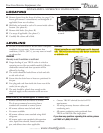
Step 1
Shelf clips are to be installed into the shelf
standards next to the labels on the interior
cabinet wall. is label can be seen in
images1-4.Installthetoptaboftheshelf
clip into the proper hole. Push up on the
bottom of the clip. (See image 1).
Step 2
Bottom tab of the shelf clip will fit tightly.
You may need to squeeze or twist the
bottom of the shelf clip to install. (See
image 2 & 3).
Step 3
After installation, the shelf clip will fit snug
into the shelf standard. e shelf clip should
not be loose or able to wiggle out of the
shelf standard.
Shelf Installation Tips
1. Install all the shelf clips before installing
the shelves.
2. Start at the bottom in terms of shelf
installation and work your way up.
3. Always lay the back of each shelf down
on the rear clips before the front.
(Installing top tab of shelf clip)
(Installing bottom of the shelf clip)
You may need to squeeze or twist the bottom
of the shelf clip to install)
(Shelf clip installation complete)
1
2
4
3