2175DWRWC 7
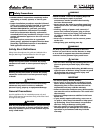
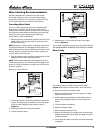
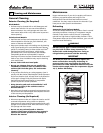
Figure 2
IMPORTANTIMPORTANT
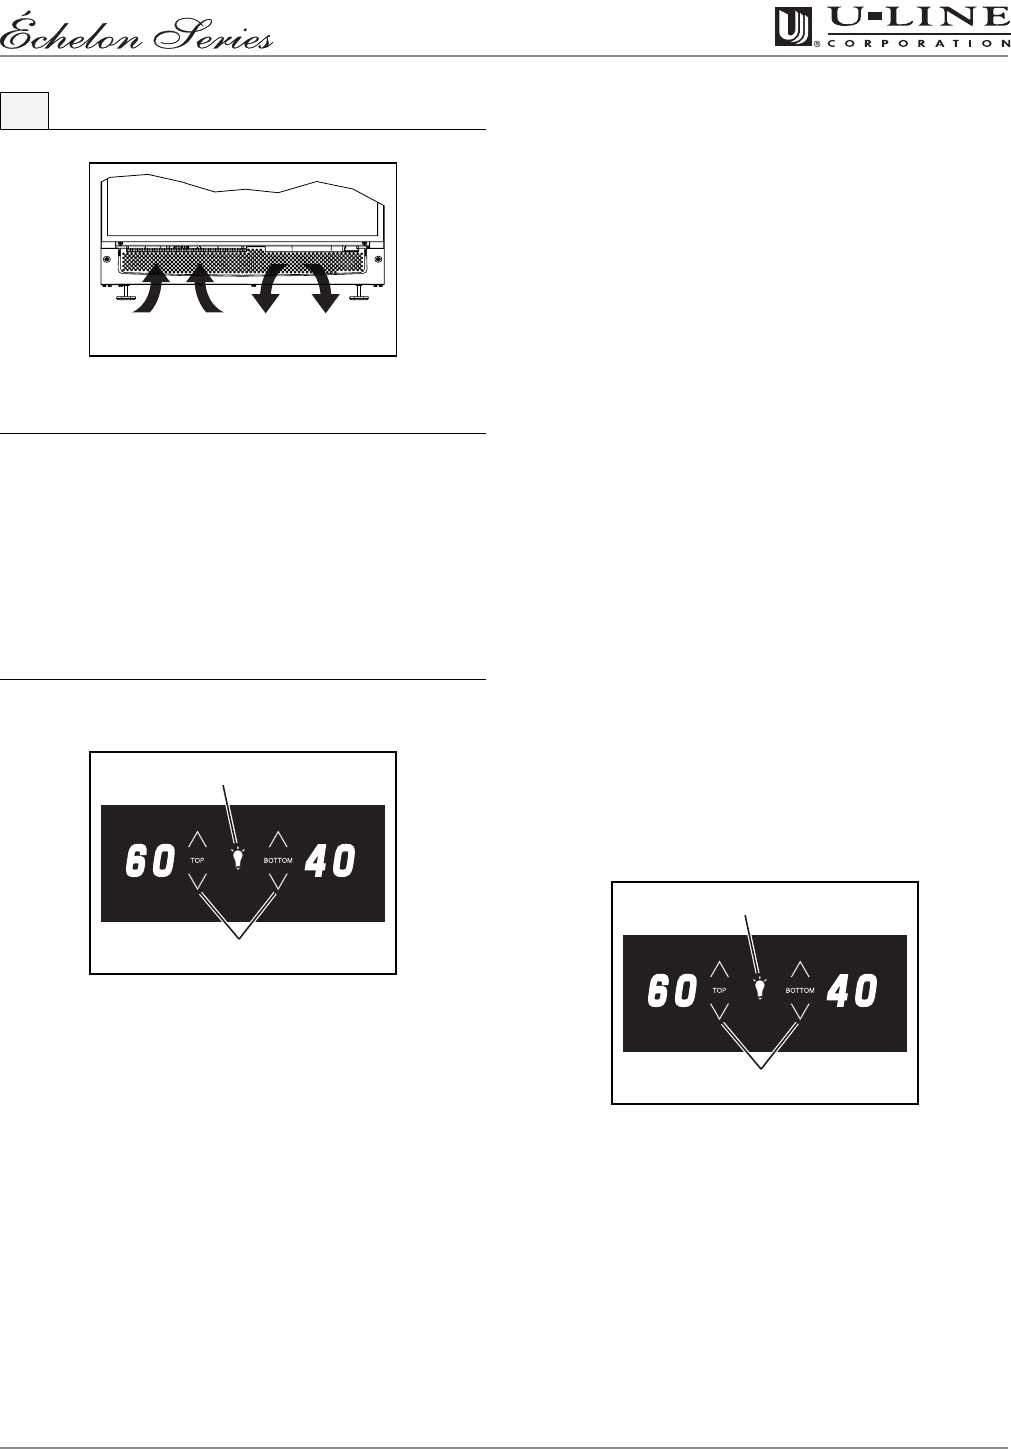
Proper air flow is required for your unit to operate
at its highest efficiently. A grille, located in the base
of the unit, must not be blocked at any time, or
your unit will not perform as expected (Figure 2).
Initial Startup
All U-Line units are shipped with controls that are preset.
No initial adjustments are required.
IMPORTANTIMPORTANT
U-Line recommends the unit be allowed to run
overnight prior to loading with product.
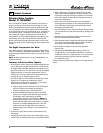
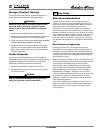
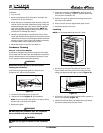
Figure 3
Plug the appliance cord into a 115V polarized, grounded
electrical outlet. The unit will turn on and the
temperature controller LEDs (Figure 3) will display
factory programmed set-point of 60°F for the top drawer
and 40°F for the bottom drawer.
Interior Lighting With Drawer
Closed
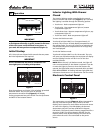
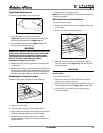
The interior lighting can be controlled by the control
panel. Each time the LIGHT icon (Figure 3, 1) is touched,
the lighting is scrolled through the following options:
• Touch once - Both compartment lights on
• Touch twice - Top compartment light on, bottom
compartment light off
• Touch three times - Bottom compartment light on, top
compartment light off
• Touch four times - Both compartment lights off
To enter the blackout mode:
Touch and hold the LIGHT icon for approximately 15
seconds. This will turn off both display temperatures and
the cabinet lights. The unit will continue to maintain the
compartment set-point temperatures even though they
are not displayed.
To exit the blackout mode:
Touch and hold the LIGHT icon for 10 seconds. The unit
will come out of blackout mode, the set-points will display
and the lighting function will be in one of the four
scrolled positions.
NOTE: When the unit is in blackout mode, the light will
come on automatically if the drawer is opened. If you do
no want the lights to come on when the drawers are
opened, the light bulbs must be removed. Refer to LIGHT
BULB REPLACEMENT. A flashing indicator light (LED dot)
indicates a thermistor error in that drawer. Call for service.
Electronic Control Panel
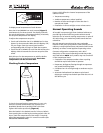
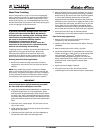
Figure 4
The temperature controls (Figure 4, 2) are integrated in
the top, front drawer panel. They consist of an LED
display, touch sensors for each drawer and a touch sensor
to control the lighting. The LEDs display the drawer’s
temperature set-point and are calibrated in degrees
Fahrenheit. The control panel is factory programmed for a
set-point of 60°F for the top drawer and 40°F for the
bottom drawer. Each drawer’s display will show its set-
point when the unit is first connected to the power
source.
5 Operation
ULIN_0080_A
ULIN_0240_A
1
2
ULIN_0240_A
1
2


